Yep, I said it. Cool beans. This feature is quite handy when you want to photograph with a macro lens and show some incredible depth of field in your image.
The 4K Photo Mode in the Lumix GX85 and the G85 called Post Focus which allows you to choose the frame with the focus where you want it, after the shot, also allows you to focus stack the images together to enhance the depth of field. One downside to using this method is that we are pulling stills from the video which means there is 8MP worth of file size with which to work. A file of this size will get you to a 20-inch print with no problem, but if you want to go bigger, you’ll need to use a different method. I’ll share that with you in the next day or so.
Let’s take a look.
I call this Green Bug. This image is a single frame grab from the 4K video. Printable and OK. But let’s see something a little better.
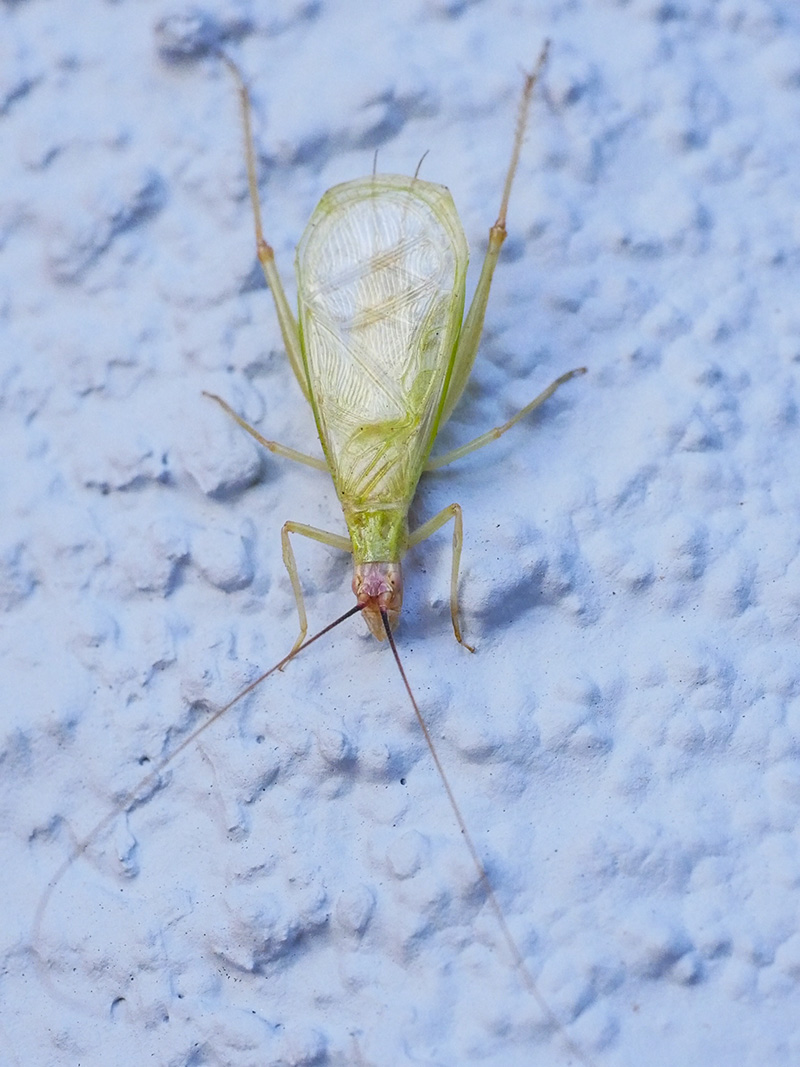
Now let’s take a look at the image after all the images in the stack have been combined to show the sharpest parts of each frame in the video.
Check out the detail throughout the photo now.
Here’s a little zoom in on the back leg of my friend the Green Bug.
There is a new Firmware version out for the GX85 the leverages the 4K video feature called Post Focus. Post Focus will run a little video capture that will make an image with approximately forty focus points. You can pull any of the still frames, and each frame of the video is focused in a different place. You can then play back the video in camera and select any frame you wish and save as an eight megapixel still frame. See the video below.
You ask, “Wait a minute Bob, why is this a nice feature?”
Number one, it enables you to choose what’s in focus in the image after the fact. For example, you are capturing an image of someone’s face with a VERY shallow depth-of-field without a lot of time to check on your focus point. You can dial in the corner of the eye or the beginning of the iris or the other eye if you’d like for creative possibilities. Here’s the cool part. You can take a few of these images and put them together with a process called Focus Stacking and control exactly what is in focus or out of focus in your photo.
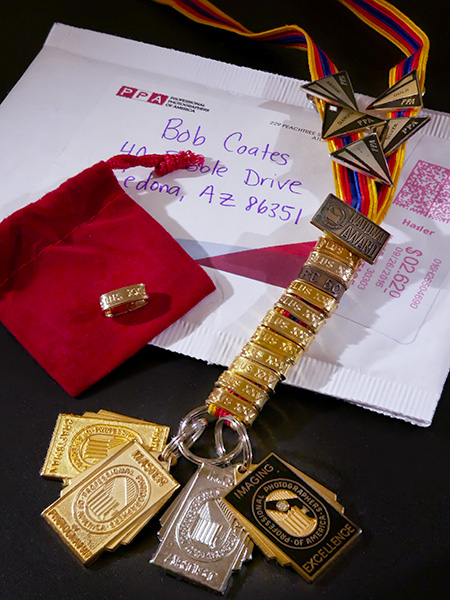
Single still frame with just the middle portion of the image in focus bringing attention to the Plus 25 bar placed on the red bag.
Number two on the cool list, we can now do the focus stacking right in camera and have it saved as a jpeg right to the card. This can save a bunch of time. Before you had to take the video into another program, save each image as a single frame and then run those frames through Photoshop or another program to obtain your stacked focus image.
This image was Focus-Stacked in-camera to show detail throughout the entire range. Total time for processing about thirty-seconds
Nuber three, you can use this feature the way I have been to get a hyper-focus image but stacking all the images together. This will allow you to use a macro lens which can give incredible detail. Usually, that detail is very shallow depth-of-field, but with Focus Staking you can get focused detail from the front to the back of the image.
Here’s the video showing all the points of focus that were captured. The original is a little over one second long. I slowed it down to about twenty percent so you can see it move through all the focus points.
This is a photo of the representation of my achievements and service to photography through Professional Photographers of America (PPA). The bar on the red bag is the newest sent to me and shows 25 merits earned through service, education, and imaging competition. The medals on the bottom of the ribbon are degrees earned and the small rectangle in the PPA National Award presented by Arizona PPA. As members of the association, we are charged with wearing the medals at conventions and PPA events. It is a message to other members that we are accomplished photographers available to answer questions.
Happy Independence Day! Fireworks lined my frying pan yesterday with a sizzle and a pop in anticipation of the holiday.
Everybody likes bacon.
Almost.
For those that don’t, you can leave the post now unless you want to follow along and see how you pull a still photograph from a video clip shot with the Lumix GX8.
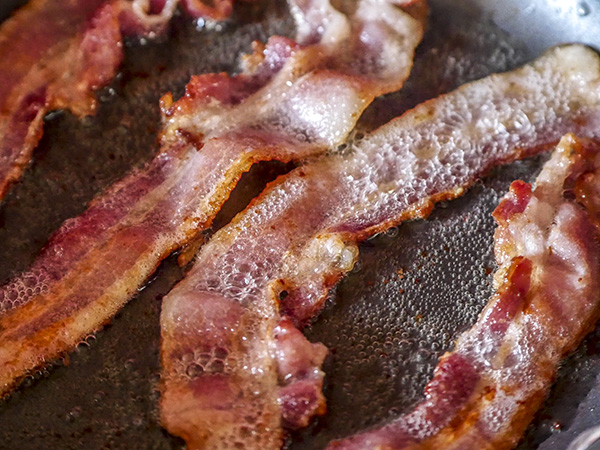
4K video bacon frying (you can almost smell it MMMM)
Now this was not a commercial photo shoot. I just grabbed my camera while I was frying up some Smithfield Farms bacon so it was a handheld grab using 4K Photo Mode. The Photo Mode sets the video so you can pull still images from the video without the problem of ‘rolling shutter’. Rolling shutter is what would happen if you tried to pull a still from ‘normal’ video where you are trying to absolutely smooth video. Because the video capture is 4K, four times the size of HD video, it’s possible to pull an 8MP still frame. That’s good for a twenty-inch size print.
Bacon photograph
When choosing the above still frame I was able to step through the video one frame at a time deciding on the best grease bubbles formed from the heat as the bacon browned. I uploaded the MP4 video to Adobe Premiere Pro played the video until I was close to the image for which I was looking. Then I was able to quickly step through individual frames using the arrow keys. Once the frame is selected a simple push of the camera icon saves the image out as a still. Easy as that. You could also easily save the image out using the back of the camera but I prefer using the larger screen to make my decisions.
There are a number of Lumix cameras that have the 4K Photo Mode including the Lumix G7, GH4, LX100, FZ1000, and more.
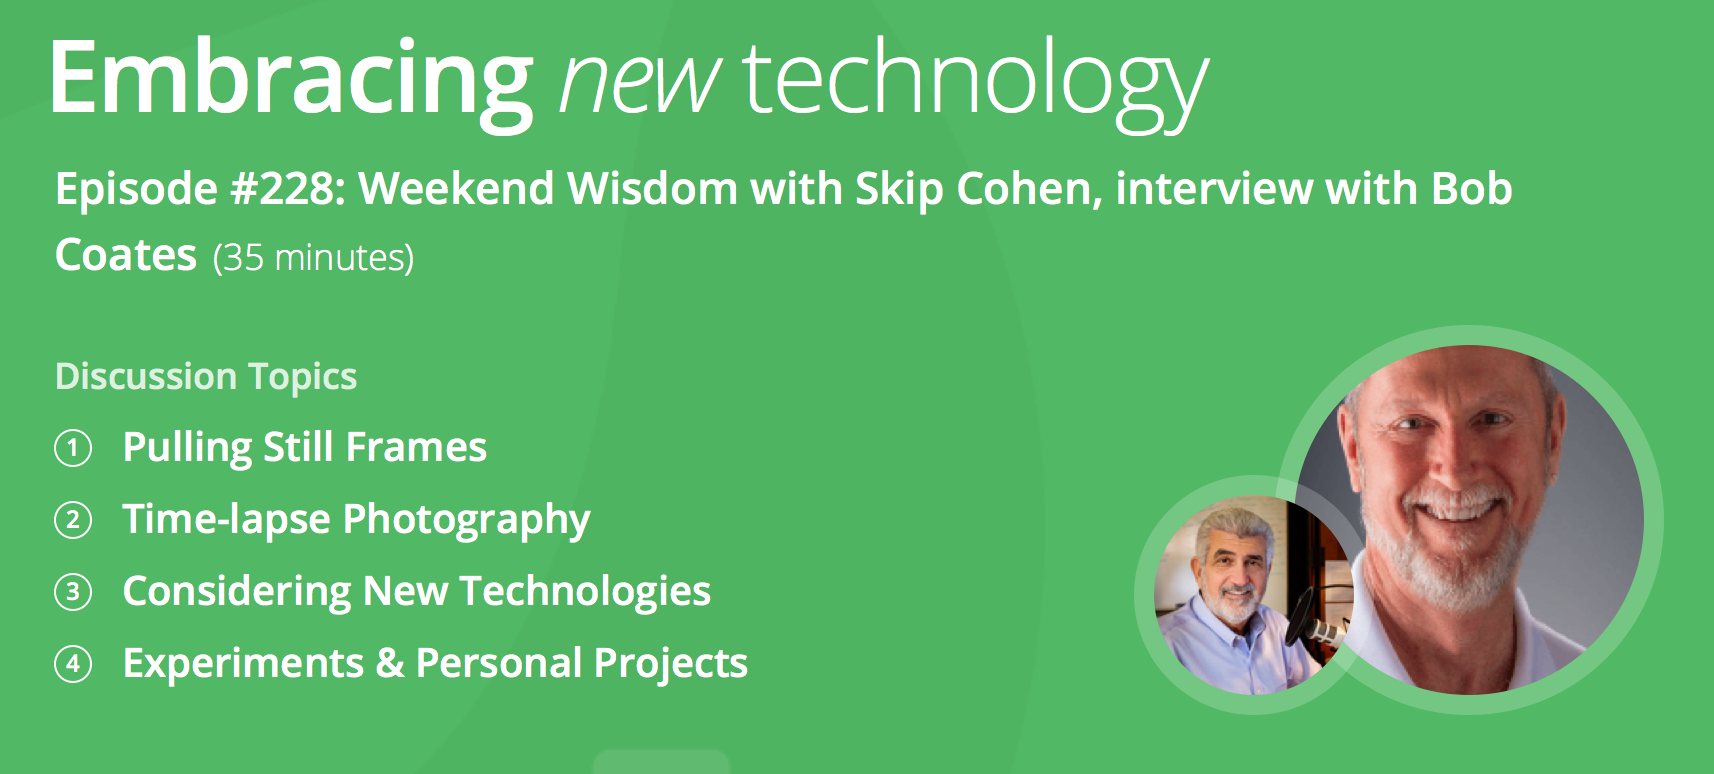
Always fun chatting with Skip Cohen about the photography business. This is a chat about Embracing new tech in photography. Being a Lumix Luminary has moved me from being the last to jump into new technology to getting to try out new things that are changing faster than you can imagine.
Embracing new technology. Weekend Wisdom with Skip Cohen Listen here
With new ways of processing and capturing images in camera there are more tools at our beck and call then ever before. If you aren’t checking out some of the new ways to leverage these tools in your business you may be falling behind… Many cameras are now more like a computer with a lens attached. Time-lapse captures have never been easier with in-camera processing. 4K video allows you to capture video and pull still frames that can easily be printed to twenty inches. Again the 4K video can be leveraged to give you the opportunity to choose your focus point after the fact. I’m sure there are a number of cameras capable of many of the things I’m sharing here but, I’m familiar with the Panasonic Lumix cameras. The GH4, GX8, G7, FZ1000, LX100 and others are changing the way photographers work and the way photography is growing into the future.
Check out the podcast and let me know what you think…
It’s hard to beat the Lumix FZ1000 as a travel camera. At two and a half pounds there’s no problem having the camera on your shoulder all day long. The 25-400mm f2.8-4 lens is pretty sweet. With the Macro Mode on you can focus down to less than an inch. what more do your need?*
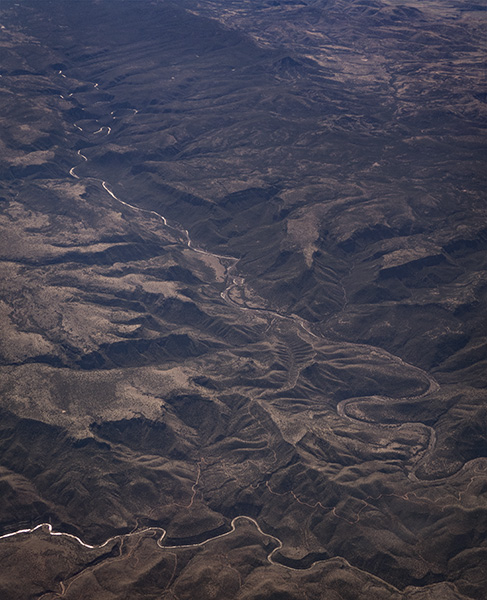
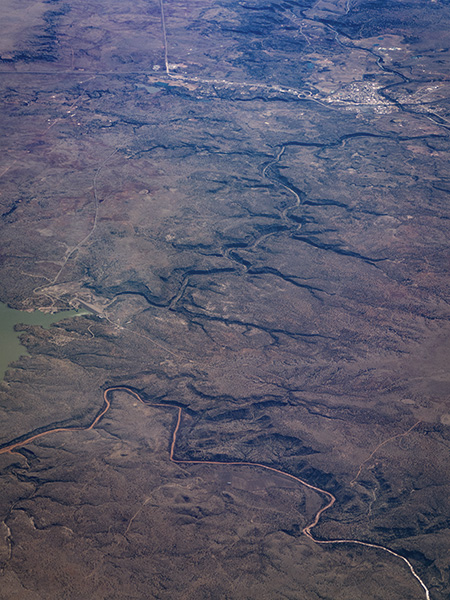
Here’s a few images from 34,000 feet from the window seat of an American Airlines plane wending it’s way from Detroit, where I was speaking and judging at a photography convention, to Phoenix on my way home.
Love the movement of the water through the scene. Gives the story about how some of the landscapes are formed over the years.
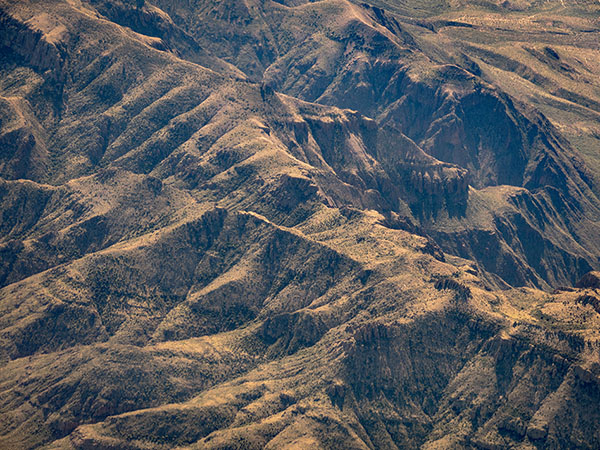
It’s fascinating watching the country unfold from way up high! Toto I don’t think we’re in Kansas anymore…
Lots of different views from above…
I find myself inspired to take these images after reading Julianne Kost’s Window Seat – The Art of Digital Photography and Creative Thinking. Great images and story of how she created her book.
Yours in Creative Photography, Bob
* Well you may not need it but the camera also has 4K video and Photo Mode so you can pull 8MP stills from your video and a whole bunch more features that come in quite handy.
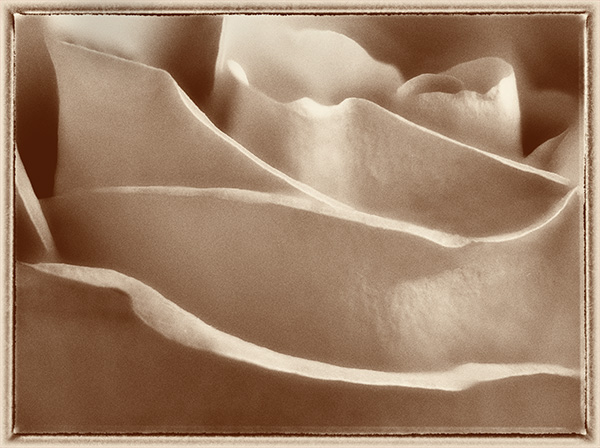
It’s a feature I wasn’t sure I had a reason for but again in the studio I used the Post Focus Setting on the Lumix-G7 to focus stack to get a different look from my 45mm Macro lens. This image started with a seven second video clip with the focus point being moved by the camera as the camera searched through all of it’s focus points. I’ve found the camera to capture as little as one second of video to as much as ten seconds depending on subject matter and how deep the focus goes through the scene.
This is my favorite rendition of the rose.
Create the Image from the Video
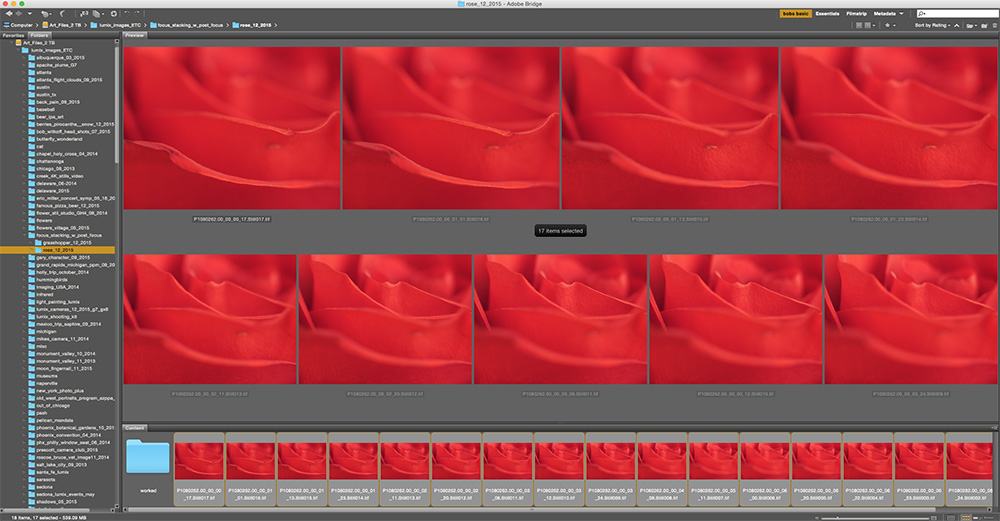
The steps I used were to download the video. Open it in Adobe Premiere Pro and select the still frames I wanted to work with and saved them as TIFF images. I wanted a soft and sharp movement through the final image. All 17 selected images were loaded into a single Photoshop document by using the Adobe Bridge command Tools>Photoshop> Load Files into Photoshop Layers after selecting all the images. Once the images are in Photoshop all layers were selected and under the Edit menu the Auto-Align setting was applied. Then under the Edit menu Auto Blend Layers was selected with the settings Stack Images with the Seamless Tones & Colors checked. This will take all the ‘Sharp Bits’ Of the image and mask them in.
The set of images saved out to individual files for the Post Focus video capture.
Layers Palette after adding images to file, aligning images and blending. Photoshop automatically created the masks.
Rose photograph after blending and cleaning up imperfections in the flower. Used Photoshop Tools then moved in to NIK Color EFX Pro 4 for further modification.
Talking Photography Tools
The tools we have to work with like Photoshop & NIK Color EFX Pro 4 can take images to an entirely new level and I keep trying to push to see what I can do. I hope this has been a help to you and at the very least given you some inspiration to think about image making in a new light.
Yours in Creative Photography, Bob
PS – The Google NIK entire collection of software plugins is only $149. Great suite of tools!
For infrared conversion of my cameras I use LifePixel. Infrared allows you to put an older camera to use and opens up a new time time of day for productive image creation.
Fotopro tripods are well worth checking out. You can learn about the ones I use and recommend by clicking on the Fotopro Tripods link at the top of this page. If you want to see what other tripods might fit your needs check out the Fotopro.com website. Check back with me before you buy as a Fotopro Ambassador I’m able to get you discounted pricing including complementary continental USA shipping for my followers that you won’t find through retail outlets.
Learn Photoshop in a fun environment. Aaron Nace applies the right amount of fun with easy to understand and follow tutorials. Actions and brushes are included with lessons!
Lightning, waterdroplets, sound, time-lapse, HDR sequences, smiles and much more control for your camera!
Cameras Get Smarter -
A High Speed Smart Camera Remote
Best embroidery ever. Give Queensboro a try, get a $20 instant credit to get started by clicking on the logo! They specialize in great quality custom logo apparel and promotional products with the best customer service.
Platypod has become a great resource for being creative in getting your camera gear easily into unusual places. As an Platypod Pro I get to work/play with the gear even before it comes out. Head over to Platypod, subscribe to the newsletter and you will get special discounts reserved only for subscribers.
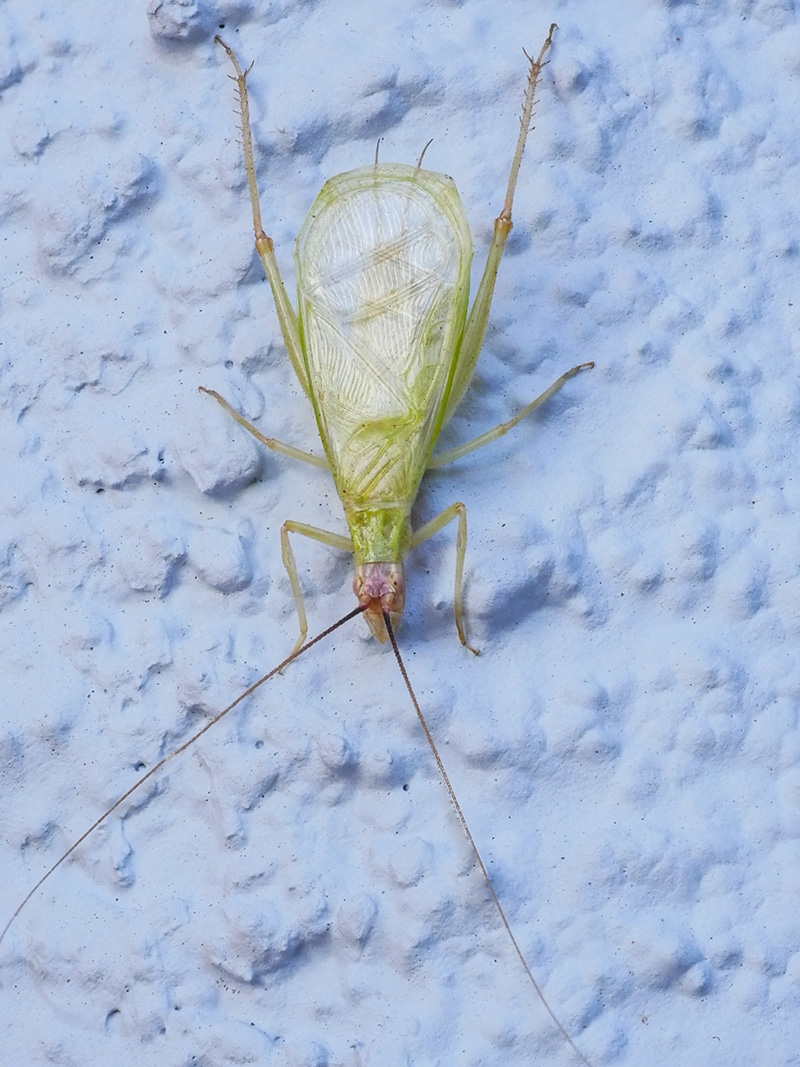
 I call this Green Bug. This image is a single frame grab from the 4K video. Printable and OK. But let’s see something a little better.
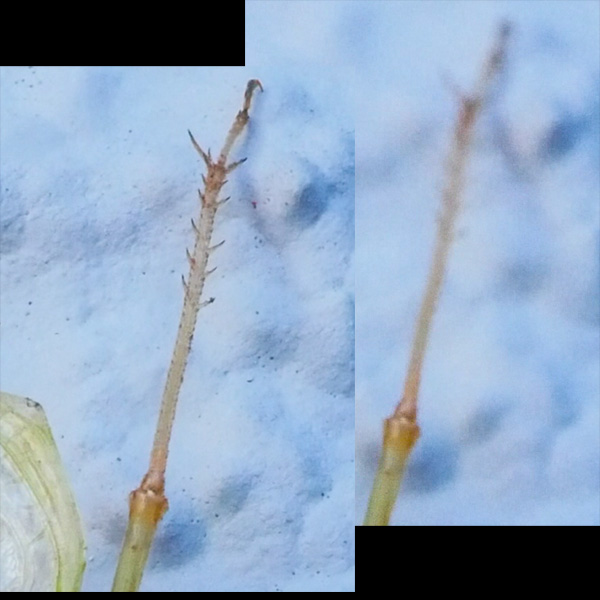 Here’s a little zoom in on the back leg of my friend the Green Bug.