In part Four of this series on outdoor photography, I talk more about the why’s of the gear I carried on this occasion. You can see results from the shoot by checking out part three and working back to the previous posts.
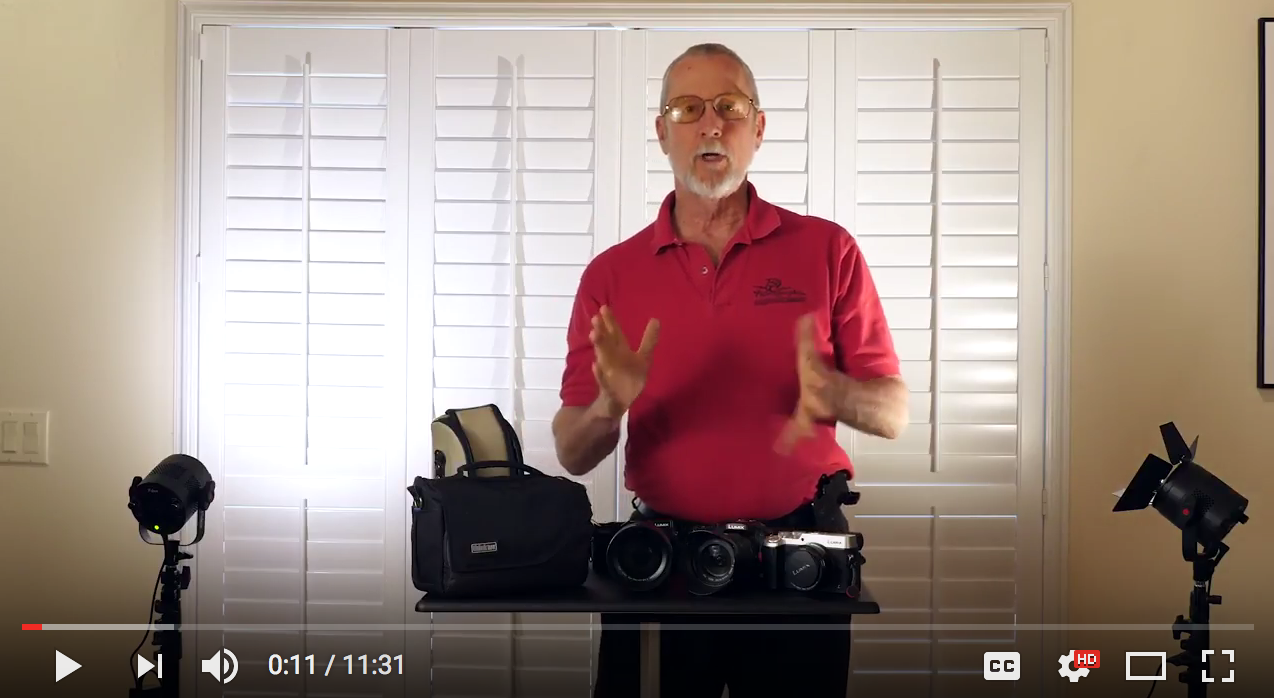
Take a look at the video below for an in-depth look at my photo kit for a full day hike.
Total weight – just less than 15 pounds. If I knew I wasn’t going to be photographing any focus brackets or exposure brackets I could leave the MeFoto Tripod behind. But, you never know. Rather be safe than sorry!
Getting out into the open air in among the Vortexes of Sedona, Arizona is a great pick me up from being behind the screen of the electronic world in which we spend a fair amount of time as photographers. I chose to spend the afternoon on the banks of Oak Creek near Cathedral Rock and thought I’d share some ideas on the gear I assembled for my trek through the woods.
Since I was out for the afternoon, I took a lot of gear to have many options for various shooting situations. Included in that day’s kit were three cameras, five lenses and two tripods. The reason I was able to pack so many alternatives is that of the light weight of Pansonic’s micro 4/3rds camera system. I’ll share a video on the gear and my day over the next couple days but for now, read on about the first camera. Subsequent cameras and their use will follow.
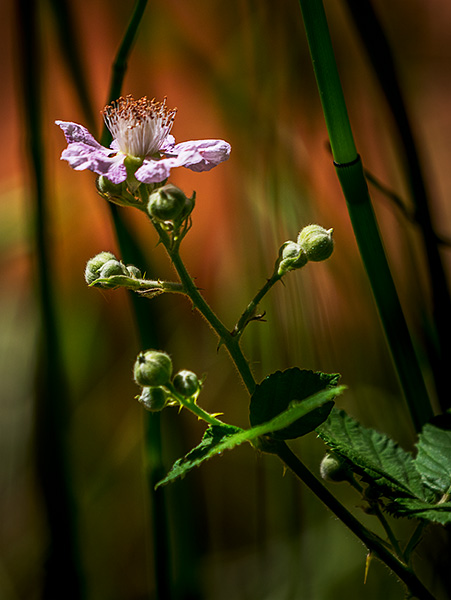
This flower is about the size of my thumbnail. The 100-400mm lens almost works as a macro lens isolating details against a soft background. It’s all about the light.
Lumix GX85 with the Leica 100-400mm lens – Fast becoming one of my favorite combinations for wildlife and art photography. One of the reasons is the five-axis image stabilization plus two. This combination allows for an extra five stops of handhold-ability, negating the need for a tripod in almost any situation that does not involve multiple exposures for the creation of a single image. Weight 4 pounds.
Of course, reaching across the creek for small wildlife and getting plenty of detail is evident. The 100-400mm lens is the equivalent of a 200-800mm and with the stabilization makes for sharp images.
Another feature that helps in obtaining sharp images is the removal of the anti-alias filter. The filter was placed in front of sensors in the past to help prevent moire patterns. That is now being handled by the processing engine. The filter blurred detail. The noise patterns showed the adverse effects of this filter. Now I’m getting a film grain-like noise which is allowing me to push up ISO if necessary with no ill effects.
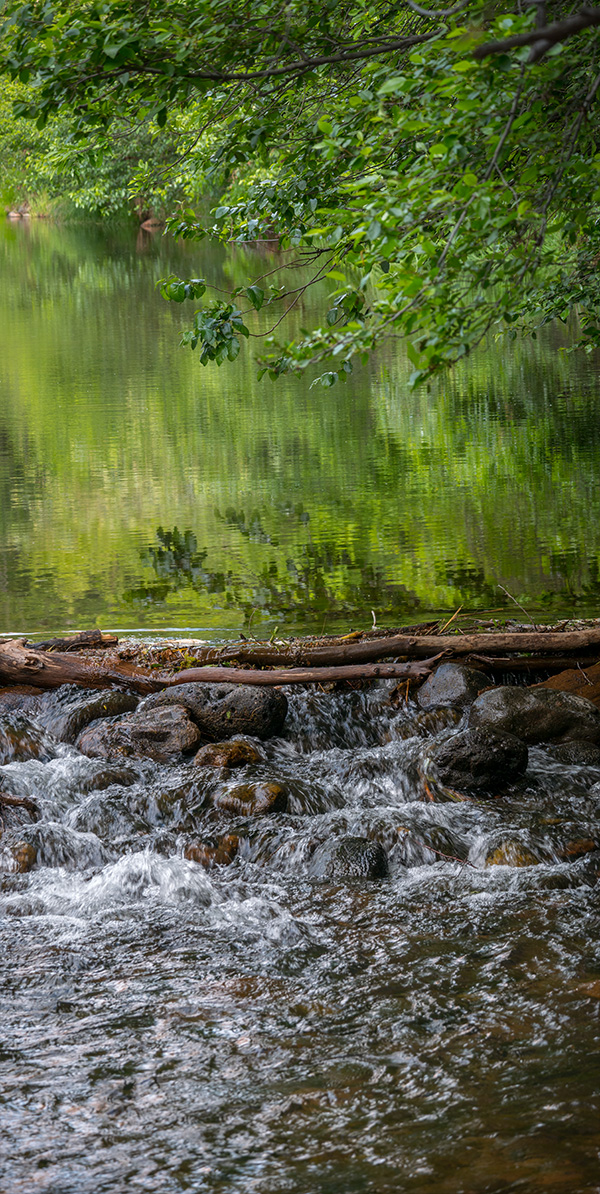
I generally don’t bisect an image, but I stitched two images together to complete the scene. When I go to use this, I can crop to make the images more about the pond or more about the falling water.
These were just a few images from this camera/lens combo. Next post I’ll share why I bring the Lumix GX8 and 20mm 1.7 lens. (along with a couple of others)
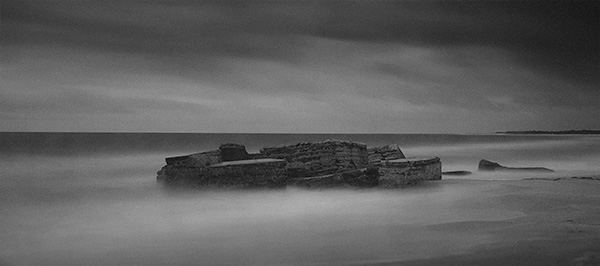
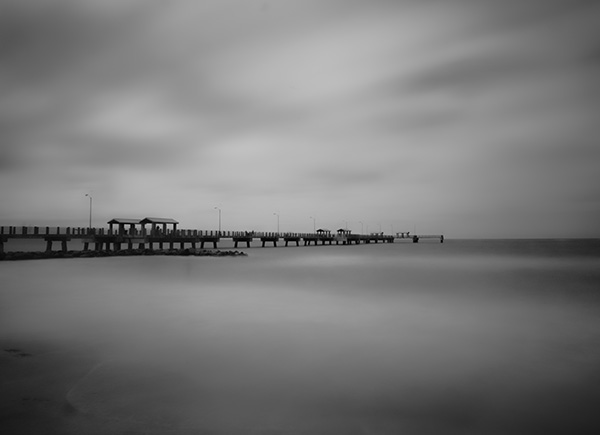
Had a good time making photographs in Tampa with Rob Bird a couple of weeks ago. We were on the beach at Fort Desoto Park, and I was working with my Tiffen ND Pro 100 Landscape filters. I used the 10 Stop plus the three Stop filters stacked together under overcast skies.
Made with Lumix GX8 camera and 12-35mm f2.8 G Vario Lens with a sixty-second exposure. Added a bit more blur to enhance the scene in post processing in Adobe Photoshop
I like the ability to add a sense of time to my images by using the deep ND filters. Clouds and water merge into an otherworldly look. I’ve only just begun to experiment with this type of photography and look forward to getting better.
When working with the Tiffen Filters, I feel confident that the glass will protect the actual filter material. In the past, I had been using plastic filters and often ended up with scratches making replacement frequently a necessity.
This image had the same settings and gear as above. Added just a bit of grain in post-production. Also removed a tower that was in the background that was a distraction.
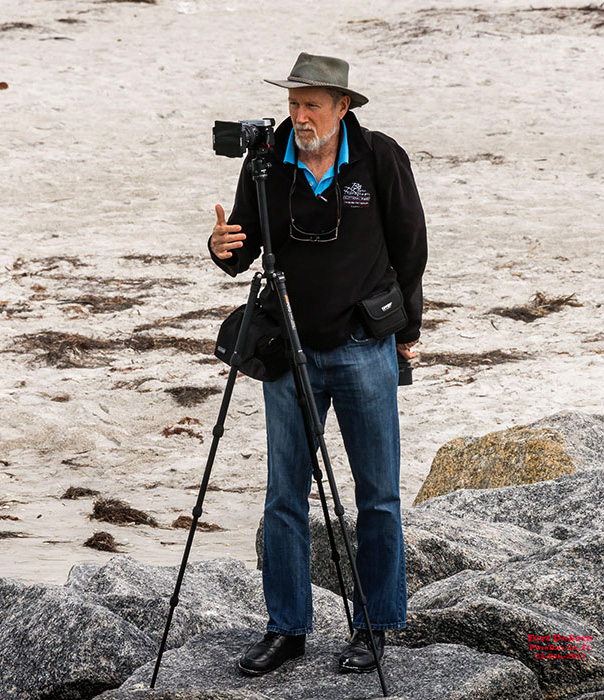
Please note that this is not documentary photography. I am working toward giving you the vision I have for the final art piece. I am always adjusting my artwork to suit my vision. With that said, I am onboard with Julianne Kost in using the term ‘Lens Based Artist’ or ‘Lens Based Art’ to differentiate this work from my more realistic work.
I work light when on location. Here’s my gear list that is pictured above. MeFoto Road Trip Tripod. Lightweight yet solid. Packs up small for travel. Think Tank Mirrorless Mover belt bag. Hold three lenses, spare batteries, lens cloth, mini-tripod and extra SD Cards. Lumix GX8. 12-35mm f2.8 Lumix Vario Lens, 7-14mm f4 lens, 35-100mm f2.8 Lumix Vario Lens, 20mm f1.7 Lens. Also on my belt the Tiffen Filter kit mentioned above. On my shoulder is a Lumix GX85 and the 100-400mm Lens.
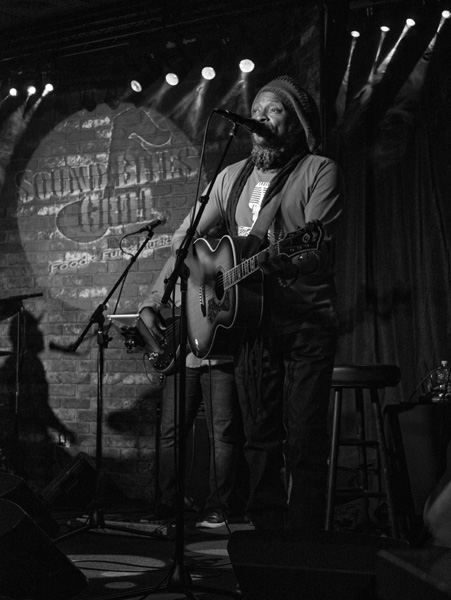
Walt Richardson & Friends at Sound Bites Grill Sedona
What a great show! Walt is known for his reggae music, but he is so much more. He’s a legendary songwriter with a big heart, and it shows during his performance. His friends are entertaining and talented musicians. There’s a reason Walt is in the Arizona Music & Entertainment Hall of Fame.
Walt’s own words say it best, “I am a Soul, Living out my life as a Songwriting, Storytelling, and performing Musician.”
Learn more about Walter Richardson & Friends.
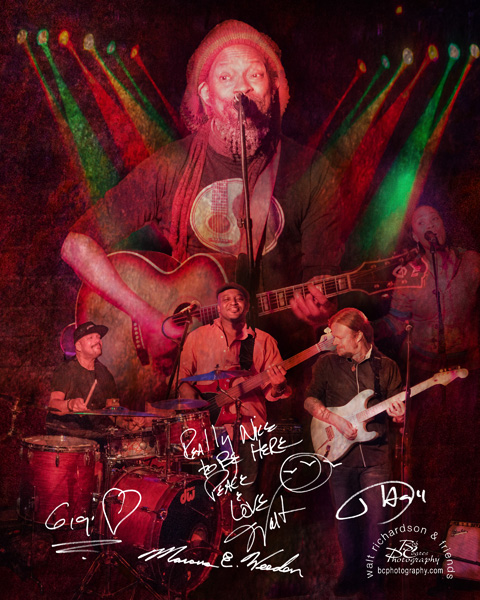
Art with signatures for the Wall of Fame
If you have followed my work you know I photograph the musicians live while they are performing for marketing of future performances. In addition, I create an image for the ‘ Sound Bites Grill ‘Wall of fame’. These art pieces are created with each individual member of the band recorded and then extracted from the image and rebuilt. It’s a great challenge to render each performer and band in a slightly different style. Here in a nod to the reggae, the red and green lighting pattern was utilized in the spot lights. The singer-songwriter and personality of Walt was highlighted by picking an expression with that little smile and wide open eyes.
Non-logoed version of the art.
Most of the images were captured with the Lumic GX85 and a 35-100mm G Vario lens.
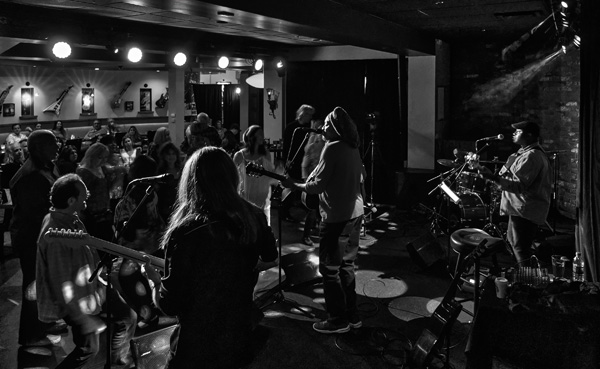
Image of the full band for future marketing and appearances at Sound Bites
Back-stage view at SBG.
Walter Richardson black and white photo.
When I am creating the marketing photos I always make the conversion to black and white as well as a color version. There is more to creating a dynamic black and white image for printing than just desaturating the image to monotone. You need to control the contrast and the highlight and shadows properly to make a solid photo.
The light was fantastic. Scenery amazing. Time? Very short!
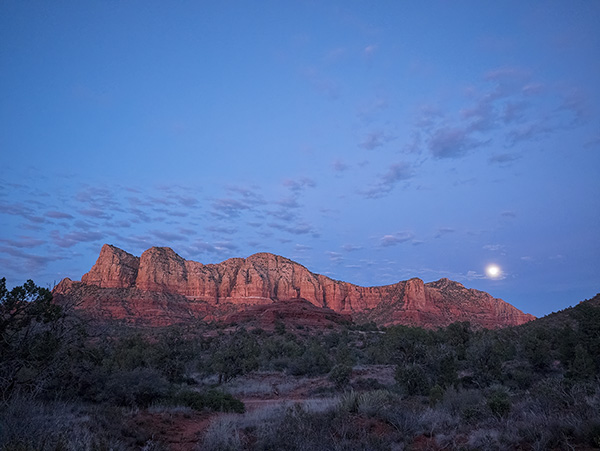
I was on my way to a photo shoot in the evening and saw the moon just starting to peek above the horizon as the light from the fading sun had already dropped below in the west. I grabbed the Lumix GX85 and the 7-14mm f4 lens to see what I might capture in the few minutes I had available. I don’t usually like to rush when a situation like this appears, but duty and a deadline called.
This was the first quick image to make sure I had something in the can.
I first quickly grabbed an overall scene-setting image. Then I tried a couple quick grab shots. I ran down the parking lot to get a better overall view. Having the wide angle lens gave me a lot of the scene but I knew I would need more to be happy.
Nine image panorama capture for further work in post. Note the images have already been adjusted a bit in Adobe Camera RAW
I set up and shot a nine image panorama with the camera in the vertical orientation to gather as much info as possible. Already the light was starting to fade and my job was calling.
Image output after using Photomerge in Photoshop.
I allowed the Adobe Photomerge tool to do a lot of the heavy lifting for me. I highlighted the images in Adobe Bridge selected Photomerge from the Tools drop-down menu Tools>Photoshop>Photomerge… Layout was set to Auto. The following text boxes were checked. Blend Images Together for obvious reasons. Vignette removal. This was checked because the lens had a bit of vignette and would have made for messy skies. A reason for not checking the vignette box would be if you had files that had no vignette because the files could process faster. Geometric Distortion Correction. You can try working without this but I have found in a scene like this the red rocks would have curved. Content Aware Fill Transparent Areas. When a handheld pano is made like this there is often areas that don’t completely fill the rectangle of the final image. Photoshop will look around and use it’s best guess to fill the areas. You can check on them quickly as it will also leave a selection around the areas it filled in case you need to make some adjustments. In this particular case, it did a great job. All setings are available for you to play with if you don’t get the exact results for which you are looking.
Post-production is a huge help in these instances to obtain quality images.
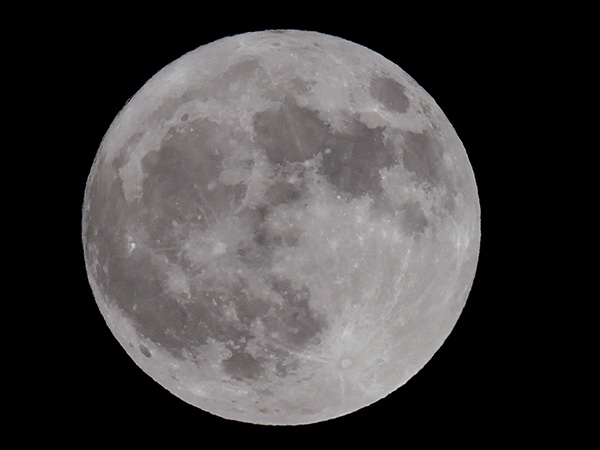
I pulled a full moon from my files as the moon area was blown out. Another case of the eye being better than the camera. If I had more time I would have bracketed exposures to get the detail I needed.
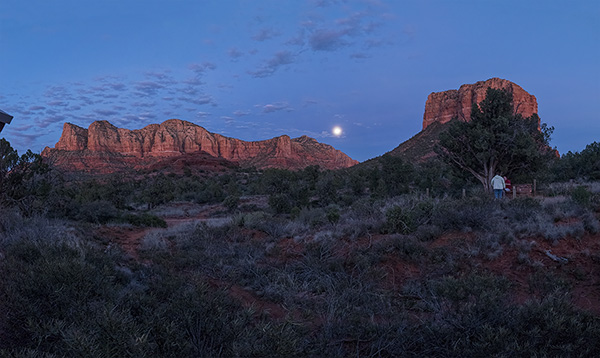
Here’s the final. The moon has detail. The image was cropped to bring attention where I wanted it and
a little judicious Cloning was used to remove the couple under the tree.
If you have any questions or comments give me a shout!
Live Entertainment Photography – Anthony Mazzella Black & White
Many times if I want to check that I have a good solid image capture I convert to black and white to see how the tones do without the distraction of color. The fact that I produce advertising and marketing images for Sound Bites Grill makes me check that even more often as many of the images I create will end up in a newspaper in black and white.
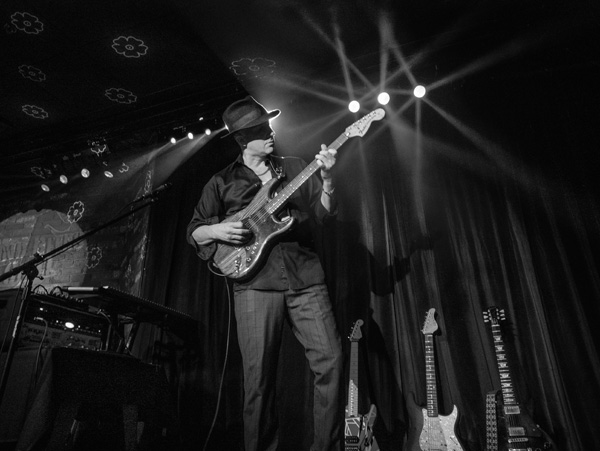
I recently photographed the Legends of Guitar show at Sound Bites featuring Anthony. You can check the color images in my previous post. Here are the black and white versions.
This image still carries the blues feeling. I remember working hard to get Anthony in a spot where there was a separation light on his hat.
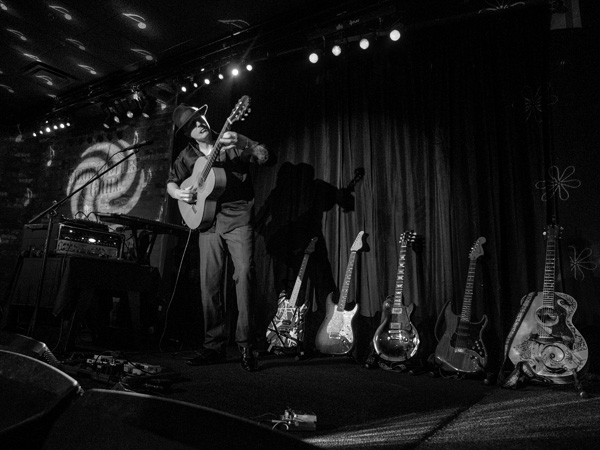
Shows the full line of instruments telling the story of the show.
A little smoke machine action gives extra depth and dimension.
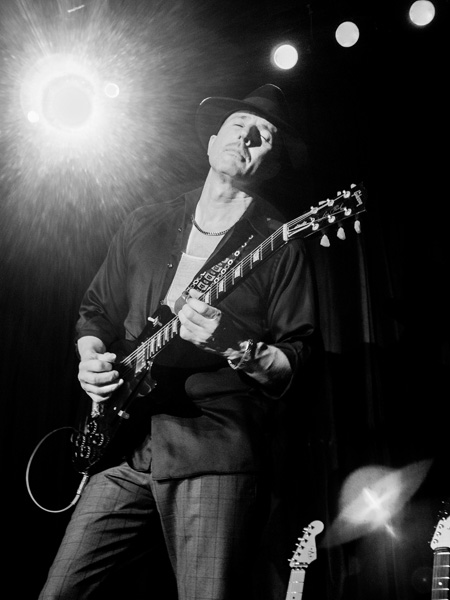
Here’s one that needs the distraction of color. The hot spot of the light is too distracting in this image in black and white.
Check the color versions in the other post to get the most from this post. Images made with the Lumix GX85. The fact they removed the anti-alias filter give a better ‘grain pattern’ in my opinion. Makes for sharper images. And the five-axis image stabilization makes for better handhold ability in the low light.
For infrared conversion of my cameras I use LifePixel. Infrared allows you to put an older camera to use and opens up a new time time of day for productive image creation.
Fotopro tripods are well worth checking out. You can learn about the ones I use and recommend by clicking on the Fotopro Tripods link at the top of this page. If you want to see what other tripods might fit your needs check out the Fotopro.com website. Check back with me before you buy as a Fotopro Ambassador I’m able to get you discounted pricing including complementary continental USA shipping for my followers that you won’t find through retail outlets.
Learn Photoshop in a fun environment. Aaron Nace applies the right amount of fun with easy to understand and follow tutorials. Actions and brushes are included with lessons!
Lightning, waterdroplets, sound, time-lapse, HDR sequences, smiles and much more control for your camera!
Cameras Get Smarter -
A High Speed Smart Camera Remote
Best embroidery ever. Give Queensboro a try, get a $20 instant credit to get started by clicking on the logo! They specialize in great quality custom logo apparel and promotional products with the best customer service.
Platypod has become a great resource for being creative in getting your camera gear easily into unusual places. As an Platypod Pro I get to work/play with the gear even before it comes out. Head over to Platypod, subscribe to the newsletter and you will get special discounts reserved only for subscribers.