by successfulbob | bird photography, Lumix G9, photography, photography creativity, photography software
Flight of the Blue Jay
I’m still a bit limited in getting out to photograph I’m trying to keep my camera reflexes in good shape. I continue looking for creative photo opportunities close to home. Anytime I can study the behavior of birds, no matter the type I find it adds to the storehouse of knowledge that will make ALL my avian photography better.
A case in point. I’ve been watching birds from my back porch and seeing what I can do to show behavior. I prefer to show movement vs. a still portrait in my work when possible. I have noticed that birds will tend to repeat patterns if they are hanging out in one area. IE a hummingbird will approach a feeder or flower a certain way almost every time returning to the same branch to rest. If a bird goes to the top of a tree, there is a good possibility that the bird will return to the same branch in a short period. I often share that you need to observe wildlife for a while before picking up your camera for the most exciting images.
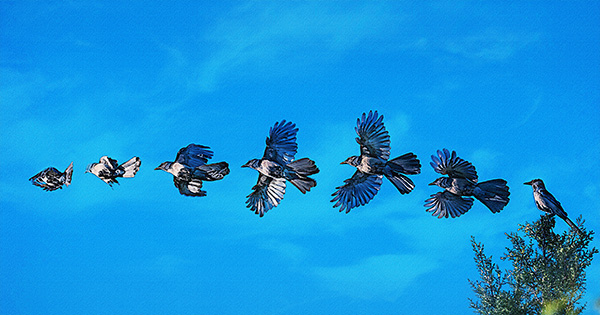
 Screen capture from Adobe Bridge of bluejay flight
Most birds will take off into the wind. The bluejay above was facing the sun and the wind direction. The Great Blue Heron along with many other birds will usually offload some poo just before taking off. If startled or they are feeling threatened they will tend to turn away from the perceived threat.
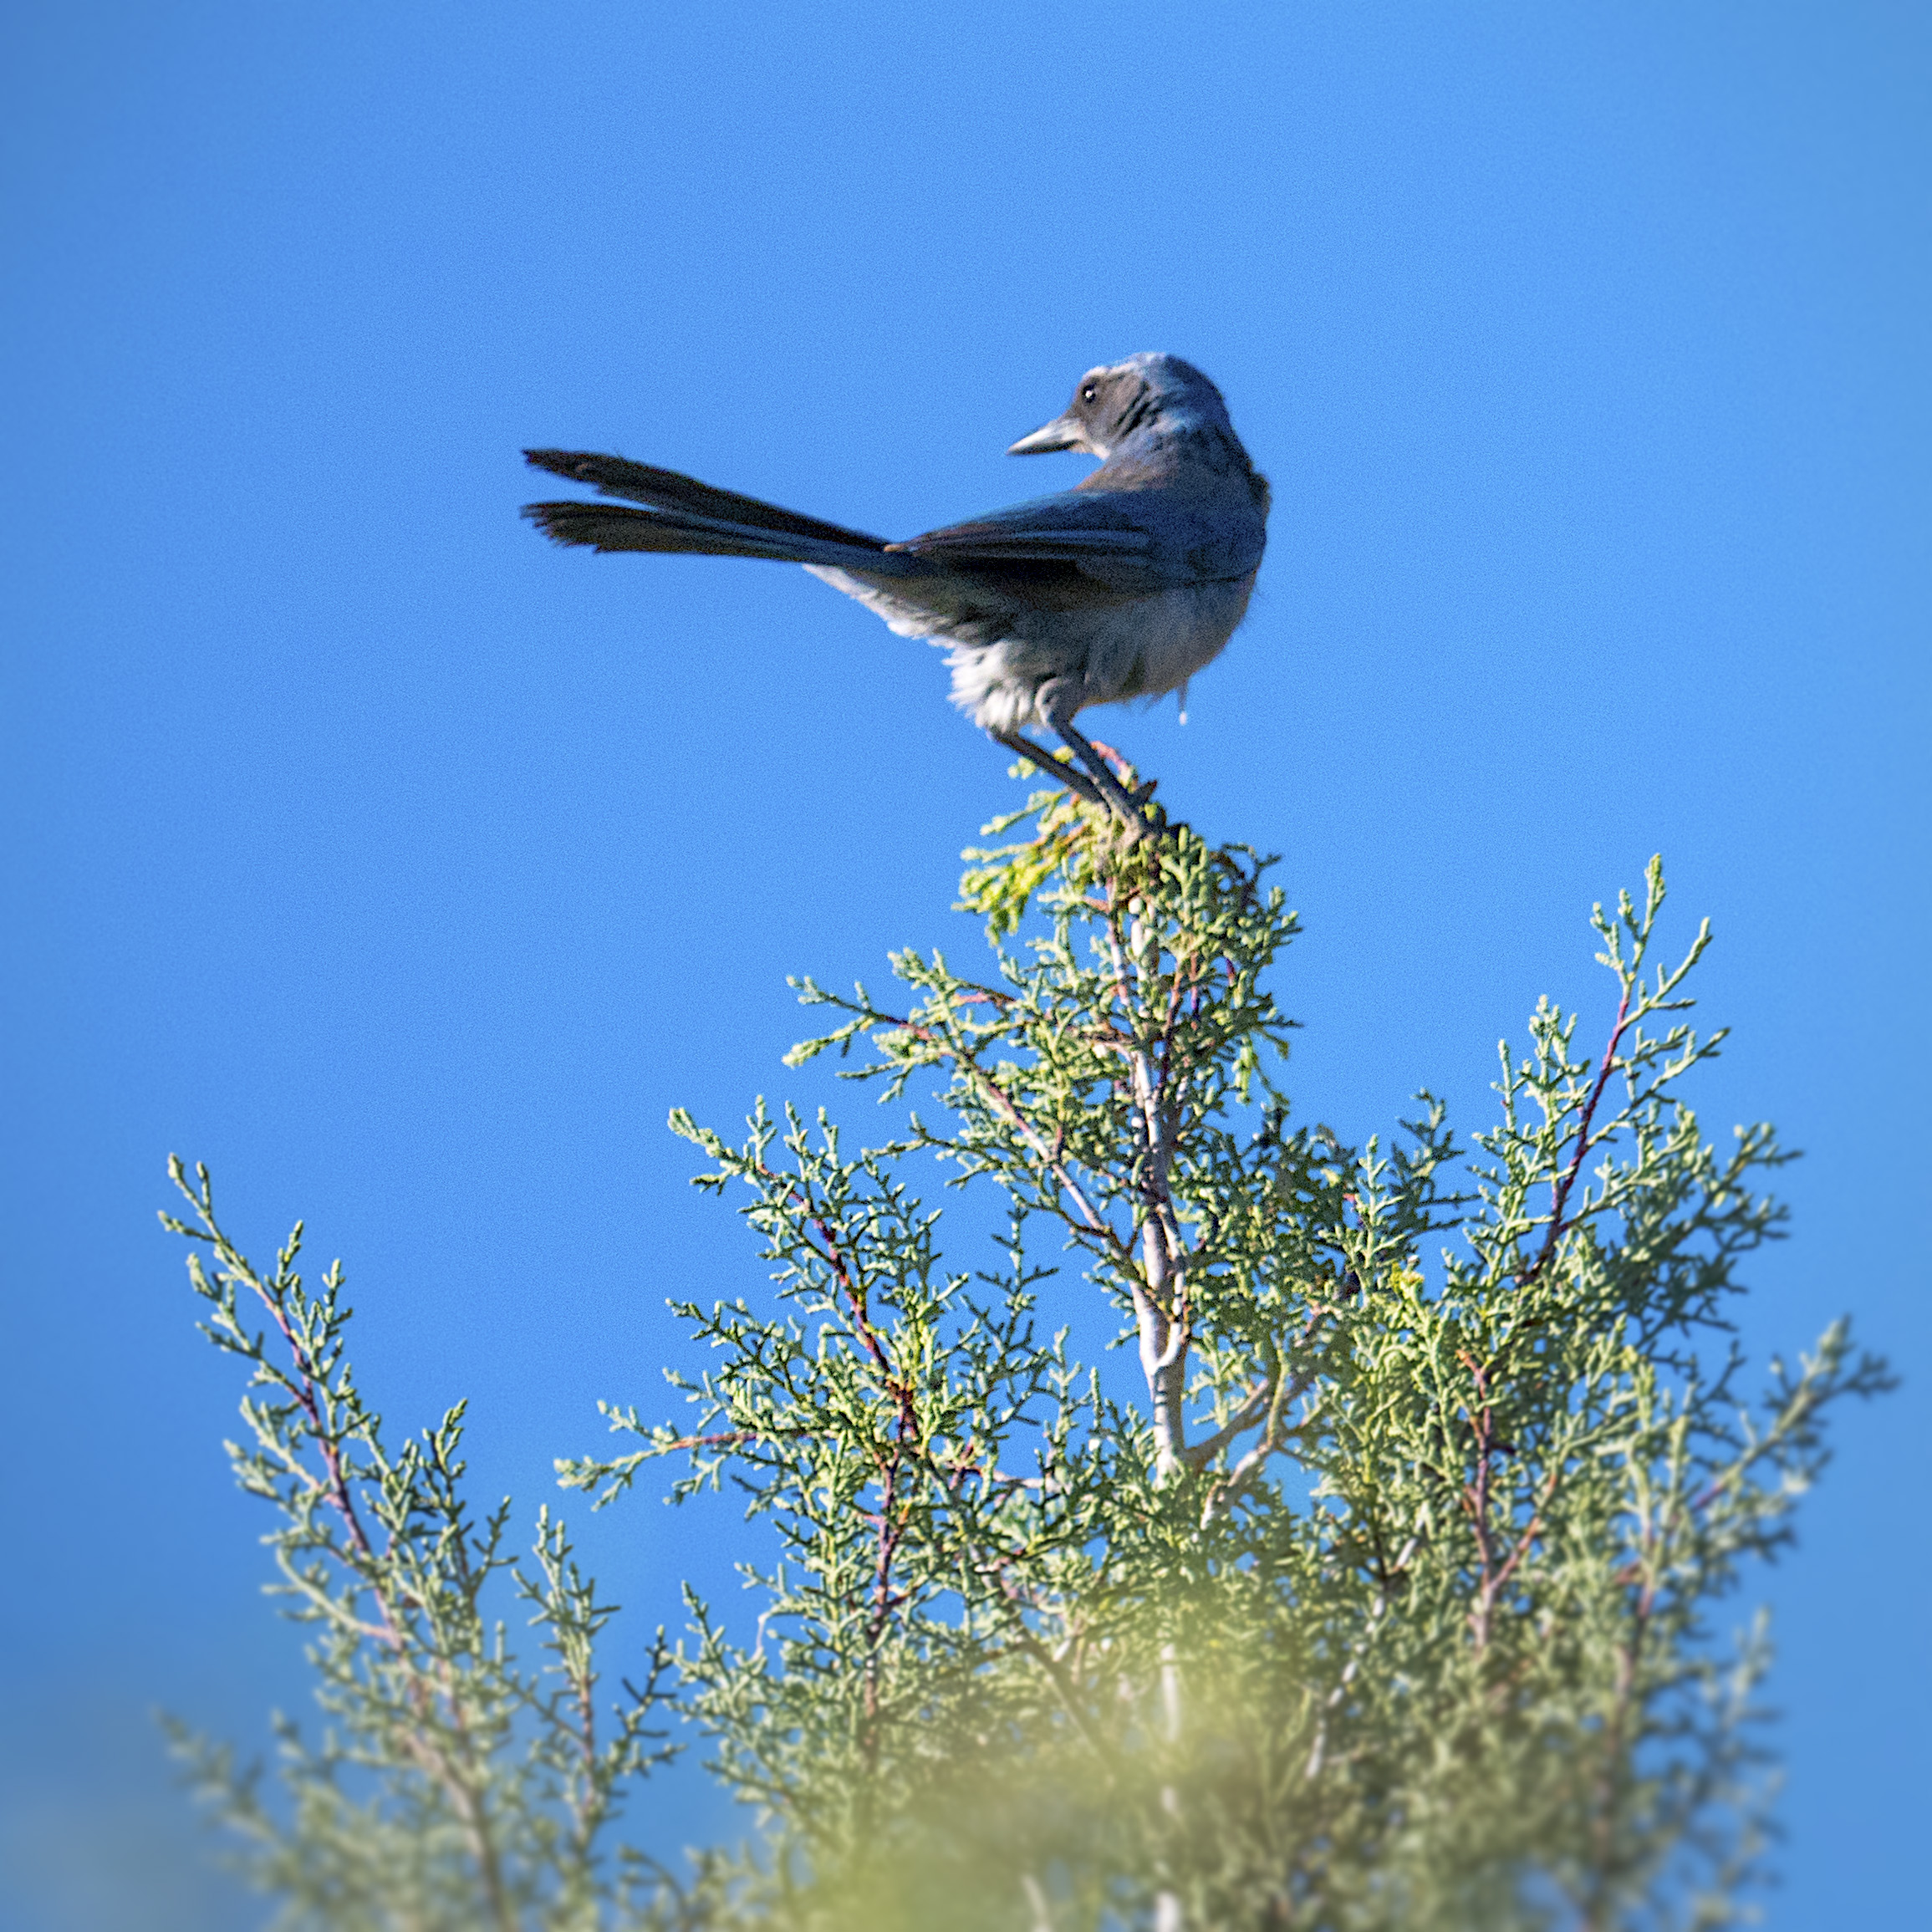 This bluejay landed in the top of the tree waving in the light breeze.
I watched as it left the tree and tried to memorize how it began its flight. Did it fly high and up or start to dive to create lift? How did the wings move? With that image in my mind, I set the Lumix G9 camera to SH which stands for Super High speed. It uses the electronic shutter to allow for twenty FPS. The Leica 100-400mm lens was used fully racked out to its 800MM equivalent
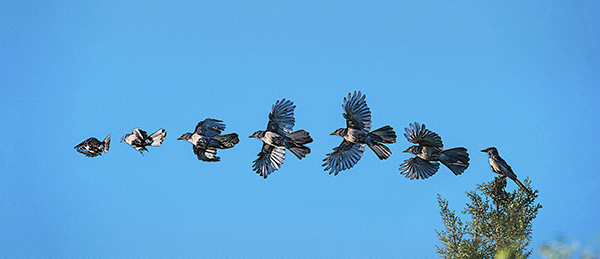 Flight of the Bluejay with watercolor treatment
The image above was composited using Photoshop Layers and Masks. All relevant photos were selected in Adobe Bridge. Under the Tools Menu, I chose Load Files into Photoshop Layers which placed all files into a single PSD. Additional canvas size was added to the left side. Each image was offset and masked so that each image was not overlapping. Then a series of Photoshop Filters were applied to create a watercolor feel to the image.
Because the sky was flat, I added a cloud image to the Photoshop File.
A cloud image was opened and dragged into the flight file. Blend Modes were experimented with until I found one that added subtle sky detail.
This one might call for a Photoshop tutorial to show the progression of this image build. Let me know if you would like to see me produce one.
Yours in Creative Photography, Bob
by successfulbob | infrared photography, landscape photography, Lumix G6, photography software
A Little Infrared – View from Mariposa Restaurant
There’s a wonderful restaurant in Sedona; AZ called Mariposa. Award-winning chef/owner Lisa Dahl created a Latin-inspired Grill menu on the hill between Uptown and West Sedona. I highly recommend heading over there for lunch. Good stuff! This was a location that caused me to say, “There should be a restaurant here!’ every time I passed this location. Much of the thought involved had to do with the spectacular view.
While passing by today, I saw some clouds and thought that a little-infrared imaging was in order. As always I recommend working the scene at least a little bit. Play with composition. Play with cropping. Play with different angles. As I didn’t have a lot of time I didn’t work the scene as much as I might have but here are three images.
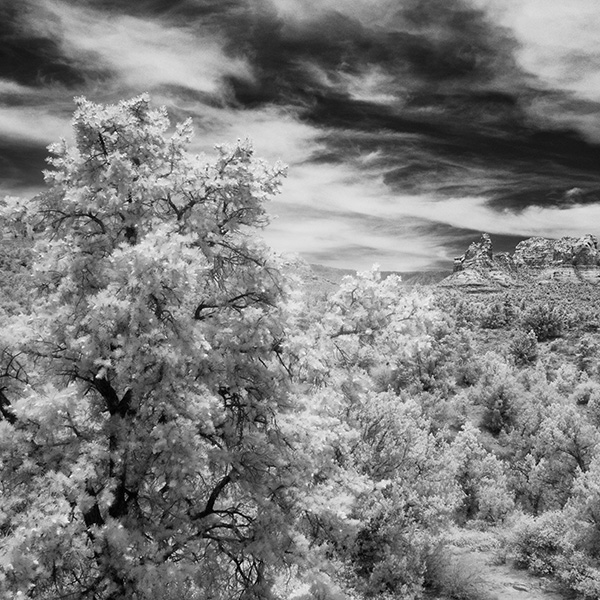
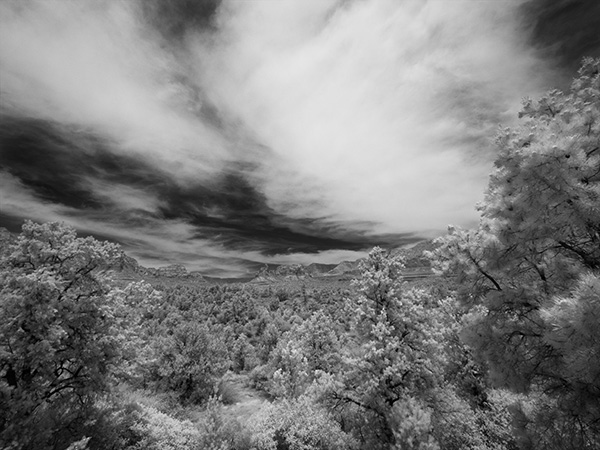 First Capture. I only had a very wide angle zoom. The trees kind of overwhelm the red rocks in the middle ground in this rendition.
 Zooming in a bit and using the play of the foreground tree to balance the red rocks in the background. Using the tighter crop also allowed the sky to read better as there was more movement in the area without clouds.
Here is one last version cropped to a square from the image above. It brings even more attention to the red rocks while honoring the glowing tree.
Images were captured with the Lumix G6 which was converted to infrared by LifePixel. Any camera you have retired just sitting on the shelf after upgrading your equipment can be brought to new life by a conversion. It opens the middle of the day to some creative image making. This is the standard 720nm filter that most looks like infrared of old. Infrared converted cameras that are live view capable make it possible to see the image in real time and not have to make focus adjustments as we once did with film cameras.
I processed these in Adobe Camera RAW and Photoshop to control contrast and set the proper tonal range. I then made a copy of the layer and used Skylum’s Luminar 2018** as a plugin to add a glow to the highlights and tweak specific areas for more contrast control, and then another layer to add a little noise to replicate the look of IR.
Yours in Creative Photography, Bob
** Use CODE COATES to get $10 off if you decide to buy Skylum software such as Luminar and Aurora HDR software.
by successfulbob | landscape photography, LumixGH5, photography, photography software
Desert Cactus – Working Files to Completion
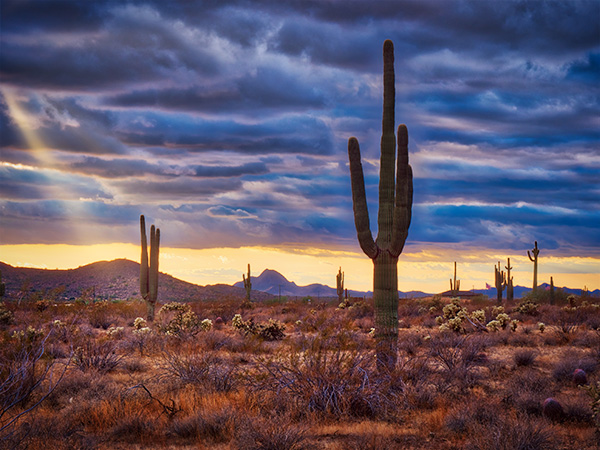
As I wasn’t having a ton of luck getting images from the driveway due to mobility issues I decided to go back into my archives and see if there were any images which I hadn’t processed. I found this desert cactus on a side road in Phoenix. A saguaro cactus is an iconic object screaming “DESERT!” in my mind. Last January as I was heading out of town for a speaking engagement I was watching this scene develop and pulled to the side of the road to explore possibilities.
 Here is the original five stop bracket. It was a bit overcast, so I probably could have made three exposures and been OK, but I like to err on the side of caution to have more information rather than coming up short.
These five images were fed into Aurora HDR 2018 **. I’ve found Aurora to be a solid performer in creating natural looking HDR images without much ghosting or obvious ‘HDR LOOK’ for images that become overcooked.
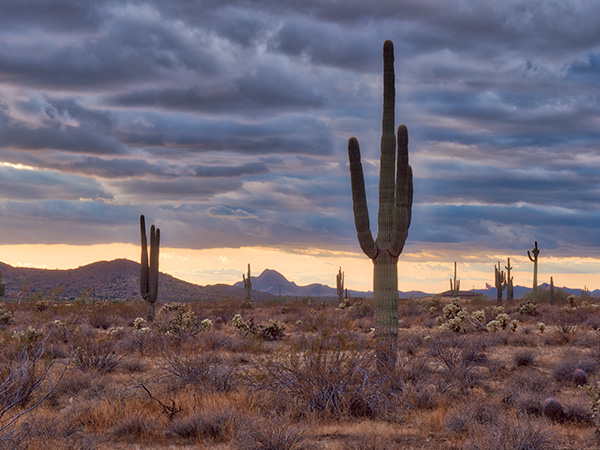 Without too much fiddling in the Aurora program the image has a full range of tones with just the slightest halo around the main cactus in the foreground in the sky.
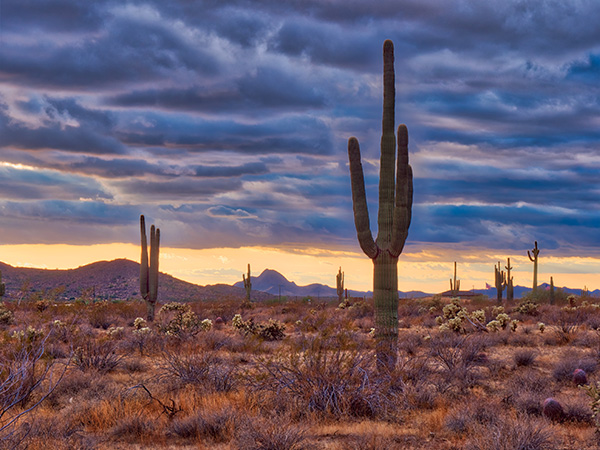 With a small amount of dodging and burning and a Curves ayer cleaned the image up nicely. I often use a Photoshop Layer in Soft Light Mode to Dodge and Burn. Painting with black will darken and painting with white will lighten. I use my brushes at a very low opacity and build up or knock down density to avoid seeing the brush strokes.
Here’s the final image after a stop in Luminar 2018** for some finishing touches and enhancements.
I hope some of these steps will give you some ideas for processing your images. If you have any questions or would like me to address a particular type of image processing, let me know.
Yours in Creative Photography, Bob
** Use Coupon Code – COATES – to receive $10 off on the software programs

by successfulbob | photography software
Aurora 2018 HDR Software Deal
I’ve found the Aurora HDR software to be the cleanest in creating images with a full range of tones and not having to fight the halos that often come with processing HDR files. Not a fan of the what used to be the ‘HDR Look’ but love having a full range of tones avaialble when the situation calls for it.
Skylum is having a sale on the software and upgades. The deal you see below can be sweetened by adding my code COATES for an additional ten bucks off.
Aurora 2018 HDR Deal
AURORA HDR 2018 72 HOUR FLASH SALE OFFER INFORMATION:
Aurora HDR 2018 + 10 sets of proffesional brackets for the lowest price ever!
Current users of Aurora HDR 2017 may upgrade for $39 ($29 with my coupon code);
New users can purchase Aurora HDR 2018 for $79 ($69 with my coupon code);
OFFER AVAILABILITY: Now through Sunday, May 20th.
-
Aurora HDR 2018 – The most advanced photo editor for Mac & Windows.
-
10 sets of proffesional brackets.
Don’t forget to use my coupon code of COATES to get the additional ten bucks off.
Yours in Creative Photography, Bob
by successfulbob | fine art photography, graphic design, inspiration, Lumix G9, photography, photography creativity, photography gear
It’s Good To Have A Muse
Having a fellow artist who encourages you to explore new areas and ideas within your specialty is a fabulous tool to supplement your creativity.
Meet Pash.
She is my muse.
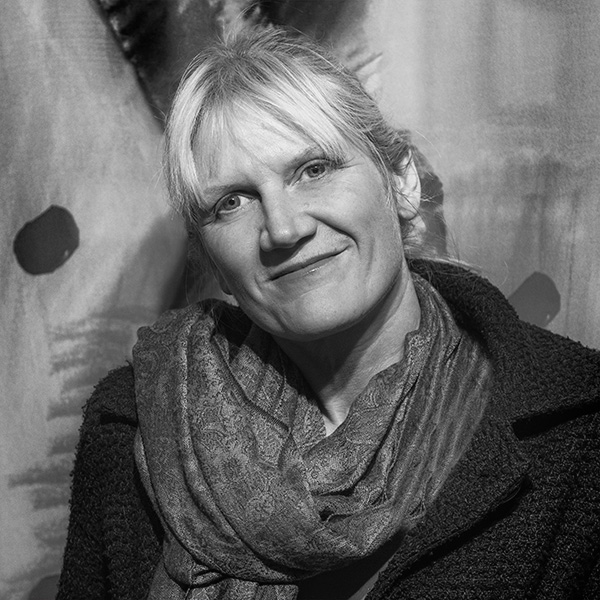 Pash Galbavy – Learn more check out her website
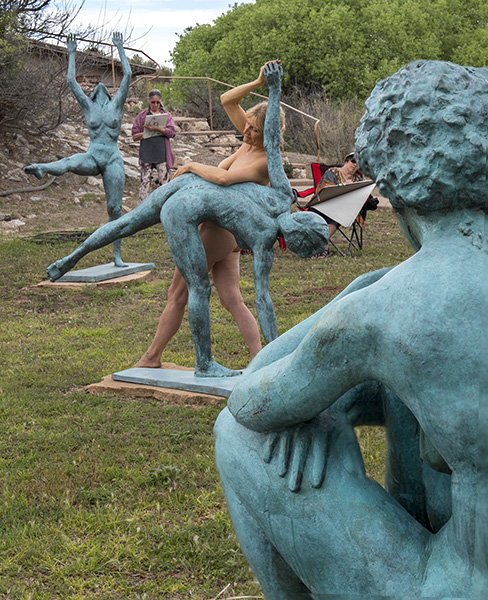
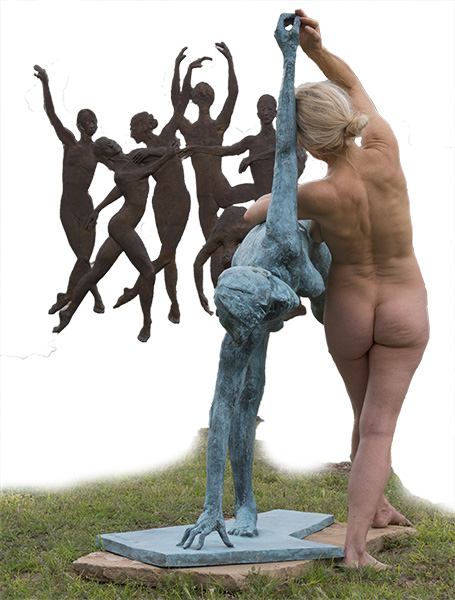
Pash is a life model, dancer, mask maker and performance artist. Her tagline is ‘Masks, Movement, Modeling and More.’ She often is performing new concepts and pushing boundaries that inspire and inform new work for me. Just yesterday Pash asked if I would cover a life posing event for her with her artist group. This day would find Pash and her group at the gallery of John and Ruth Waddell in Cornville, AZ. The Waddells have created a magical space with bronze sculptures dancing and cavorting around the property. A truly magical area that Pash enhanced with her interaction while the artists sketched and drew their interpretations of the scene.
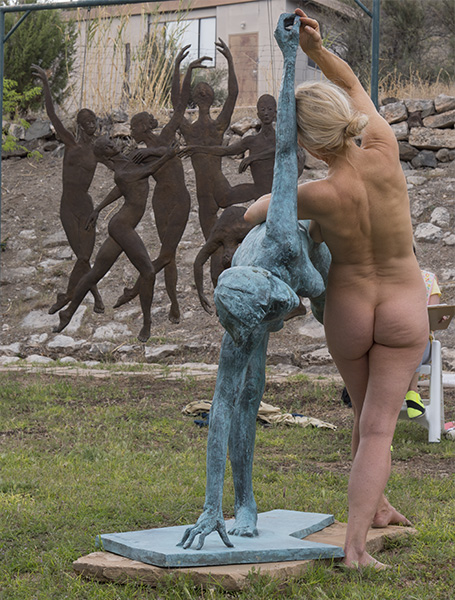
 Pash in a pose integrated with John Waddell’s bronze
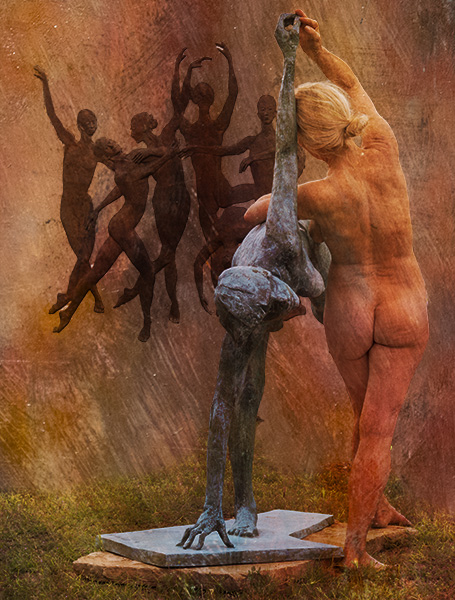
 Pash asking me to photograph and document her event had me make this image
 Which led to me isolating some areas in moving toward a new piece of art
 Working sketch experimenting with beginning textures
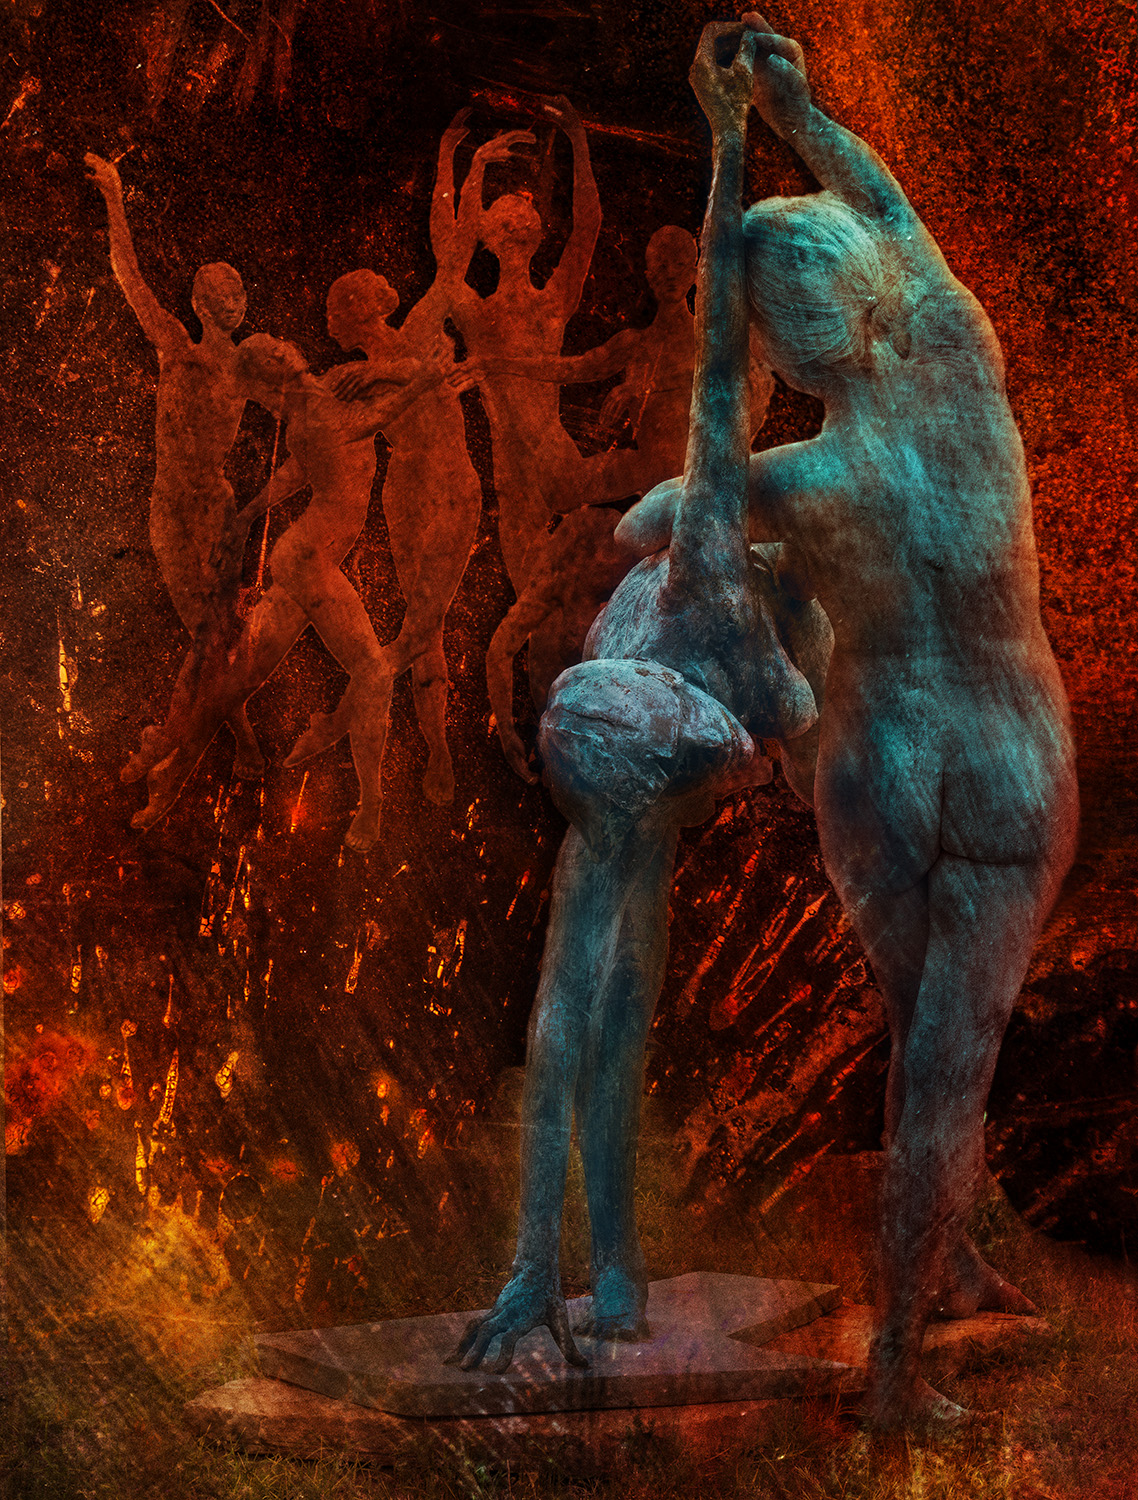
A picture I am currently calling ‘Merge’ (working title)
Images such as this are put together utilizing multiple photos of textures blended using Adobe Photoshop Layers, Color Modes, Blend Modes, and Masks. I sometimes will experiment with ten to twenty different versions before settling on a final image. This one is getting pretty close.
Images in this post were captured with the Lumix G9 and the Leica 12-60mm f2.8-4 lens.
Yours in Creative Photography, Bob

