Papago Park, Phoenix Arizona
Infrared Imagery
When the sun is high in the sky, and the contrast makes for images that would be too ‘eh’ for making regular color photos it’s time to break out the infrared camera. Infrared is soooo much more natural to capture with a digitally converted camera with Live View. The Live View allows you to see in real time how the image will look in black and white. This is a massive thing as even to try to focus when we were capturing Infrared photos in the film days your filter had to be so dark that you would need to remove it to focus. AND, there would be an adjustment that you had to apply because IR capture focused on a slightly different plane from your regular focusing.
Enough about the past hassles of IR capture here are a couple of images I made yesterday at Papago Park.
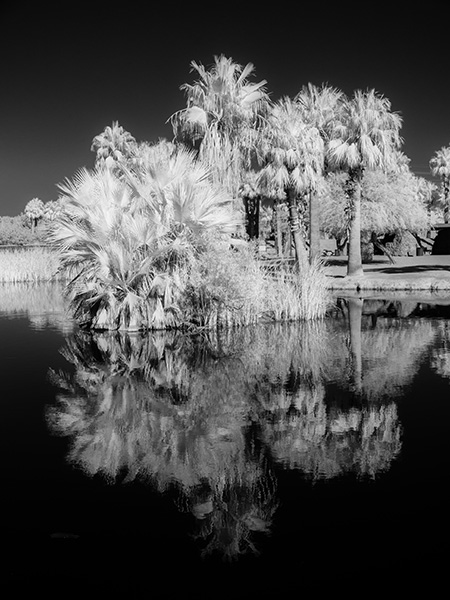
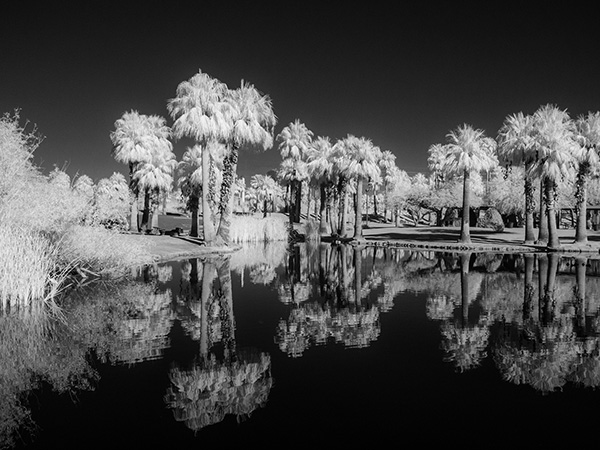 I quite enjoy the high contrast of the water and sky with the light palms
 The IR converted camera file initially comes out a magenta file, so it needs some massaging in Adobe Photoshop to be the BW we’ve come to know and love.
Some Notes on How I processed these images
There are lots of convoluted processing possibilities to getting the IR look. In this case, I’m coming up just a wee bit short on the full IR feeling, but I like the results. In Photoshop I remove the color by decreasing the saturation, adding Clarity, opening shadows or highlights. I also adjust the Temperature slider making the blue sky and the water reflecting the blue sky darker.
As a final touch, I use Luminar 2018 as a Plug-in and add an Orton Effect or possibly a Glow depending upon the image feel for which I am going.
Camera is the Lumix G6 (using an older camera collecting dust on your shelf for conversion is fine as long as it has Live View) Conversion done by LifePixel. There are varieties of IR filters you can choose to check out the info here. I have gone with the old standard.
If you have any questions, give me a shout.
Yours in Creative Photography, Bob

