Working a Scenic Landscape
The light was fantastic. Scenery amazing. Time? Very short!
I was on my way to a photo shoot in the evening and saw the moon just starting to peek above the horizon as the light from the fading sun had already dropped below in the west. I grabbed the Lumix GX85 and the 7-14mm f4 lens to see what I might capture in the few minutes I had available. I don’t usually like to rush when a situation like this appears, but duty and a deadline called.
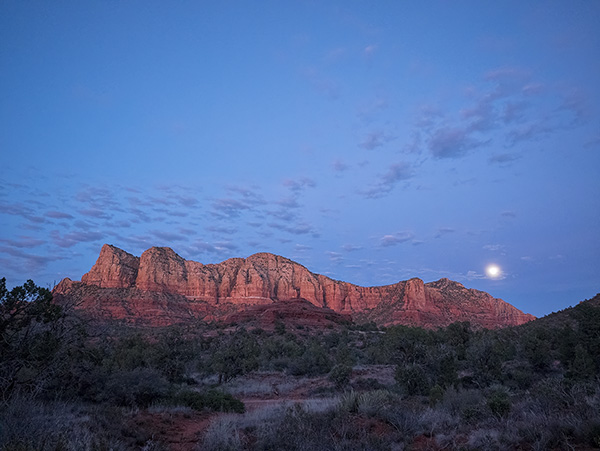
 This was the first quick image to make sure I had something in the can.
I first quickly grabbed an overall scene-setting image. Then I tried a couple quick grab shots. I ran down the parking lot to get a better overall view. Having the wide angle lens gave me a lot of the scene but I knew I would need more to be happy.
 Nine image panorama capture for further work in post. Note the images have already been adjusted a bit in Adobe Camera RAW
I set up and shot a nine image panorama with the camera in the vertical orientation to gather as much info as possible. Already the light was starting to fade and my job was calling.
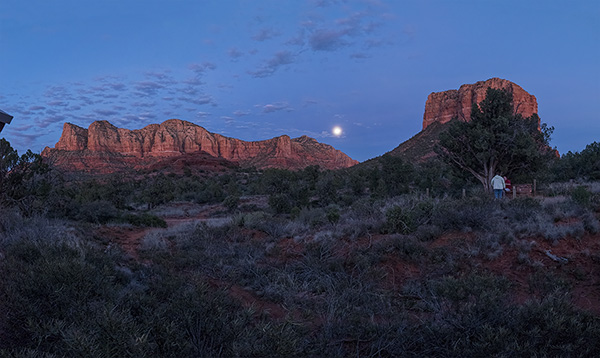
 Image output after using Photomerge in Photoshop.
I allowed the Adobe Photomerge tool to do a lot of the heavy lifting for me. I highlighted the images in Adobe Bridge selected Photomerge from the Tools drop-down menu Tools>Photoshop>Photomerge… Layout was set to Auto. The following text boxes were checked. Blend Images Together for obvious reasons. Vignette removal. This was checked because the lens had a bit of vignette and would have made for messy skies. A reason for not checking the vignette box would be if you had files that had no vignette because the files could process faster. Geometric Distortion Correction. You can try working without this but I have found in a scene like this the red rocks would have curved. Content Aware Fill Transparent Areas. When a handheld pano is made like this there is often areas that don’t completely fill the rectangle of the final image. Photoshop will look around and use it’s best guess to fill the areas. You can check on them quickly as it will also leave a selection around the areas it filled in case you need to make some adjustments. In this particular case, it did a great job. All setings are available for you to play with if you don’t get the exact results for which you are looking.
Post-production is a huge help in these instances to obtain quality images.
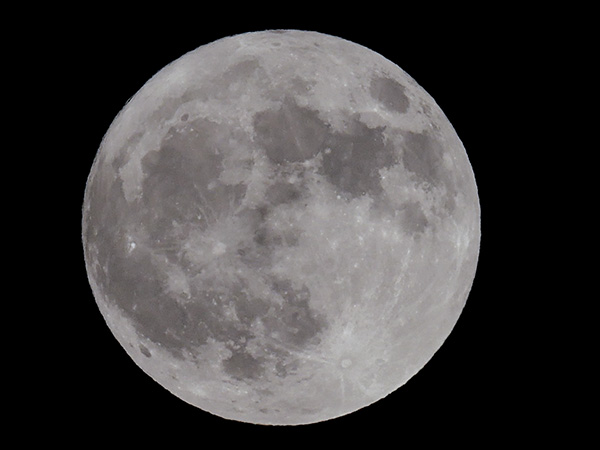
 I pulled a full moon from my files as the moon area was blown out. Another case of the eye being better than the camera. If I had more time I would have bracketed exposures to get the detail I needed.
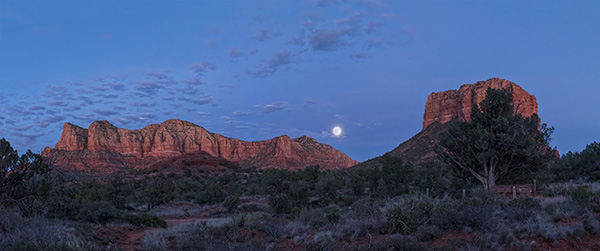
 Here’s the final. The moon has detail. The image was cropped to bring attention where I wanted it and
a little judicious Cloning was used to remove the couple under the tree.
If you have any questions or comments give me a shout!
Yours in Creative Photography, Bob


