I’ve probably mentioned this before, but using an infrared converted camera increases your chances of coming home with a solid image when shooting in the middle of the day. I upgraded my infrared camera from a Lumix G6 to a Lumix GH4. If you have a camera languishing on the shelf not being used I recommend sending it off to LifePixel Infrared for a conversion. I know I was glad I did!
Midday
Those hours between 10AM and 3PM can be brutal on your images due to the high contrast. Infrared images thrive in that environment. I quite enjoy extending my keeper rate by working with infrared imaging.
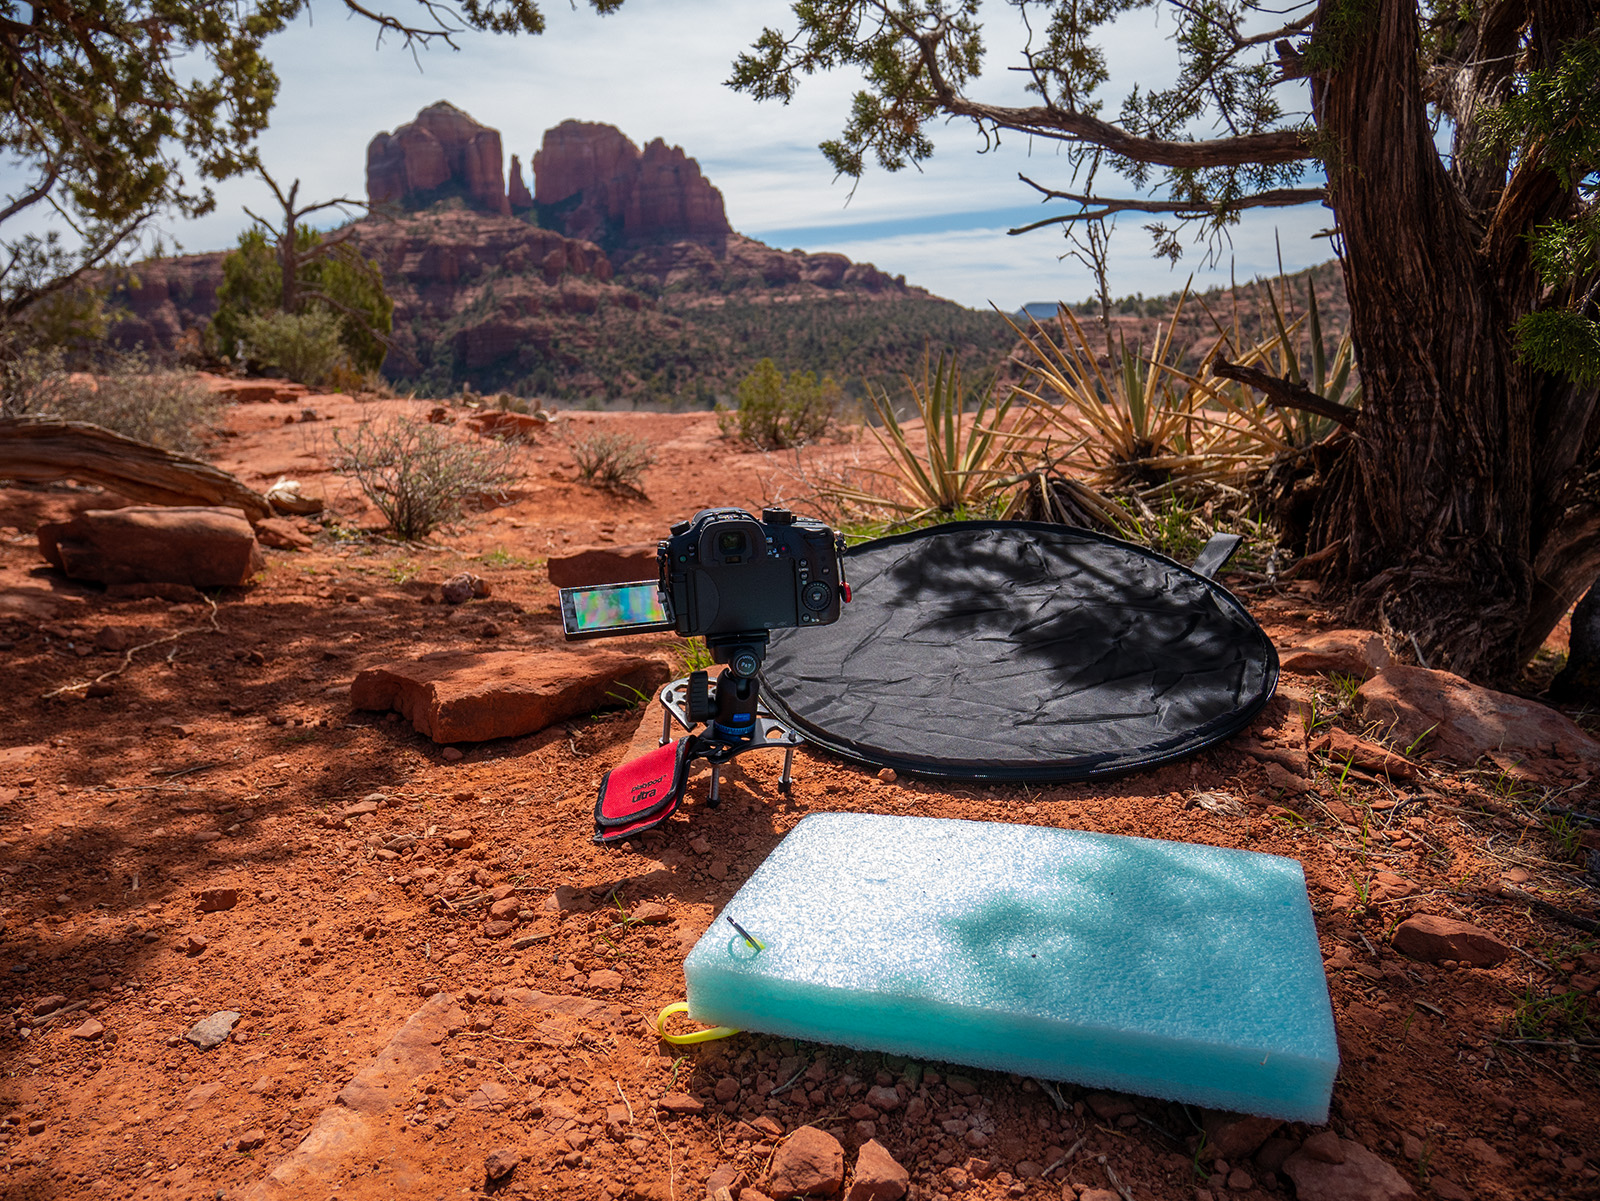
Platypod Ultra
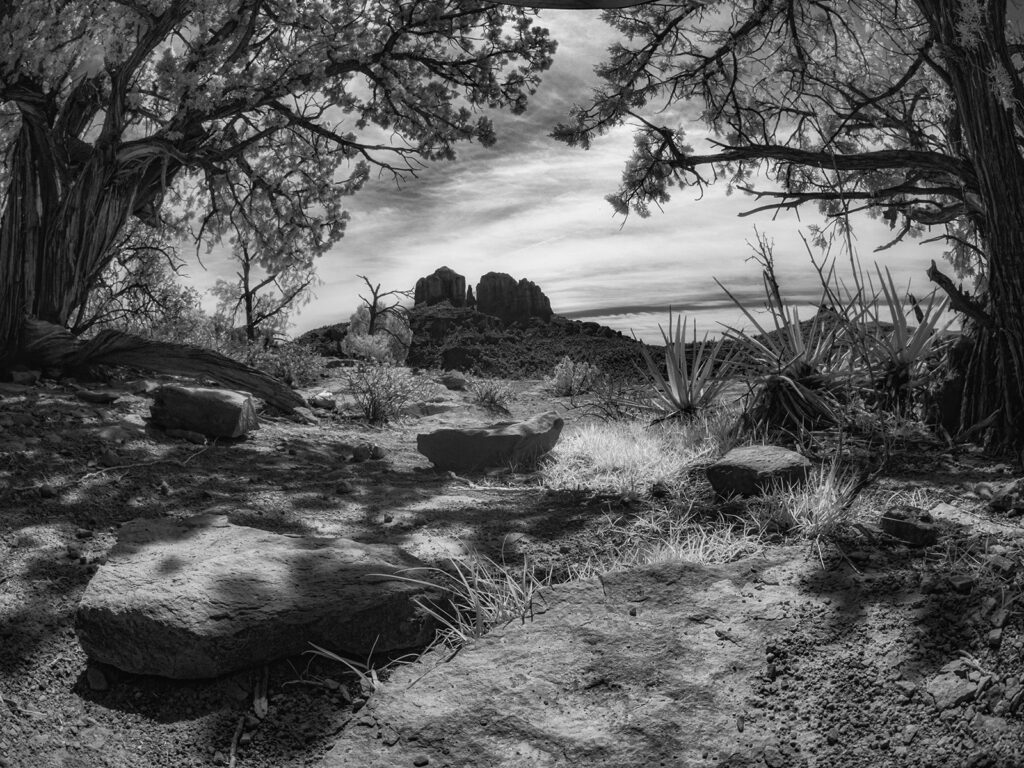
From Sedona, Arizona, Cathedral Rock during midday. Renders in an interesting way using an infrared converted camera.
Another tool I find helpful is being able to easily have my camera low-to-the-ground in the Platypod camera support. I can hang the Platypod from my camera bag and since it is very light I hardly notice it’s there until I see a need for it. The Platypod is extremely helpful, especially if you have a flip screen on your camera. The flip screen allows you to be able to frame and focus the scene without having to get down on your belly. Bonus!
Photofocus
Here are a couple articles I wrote for Photofocus dealing with and expanding the uses of an infrared converted camera. Enjoy! Toning infrared images for a different look Infrared and summertime.
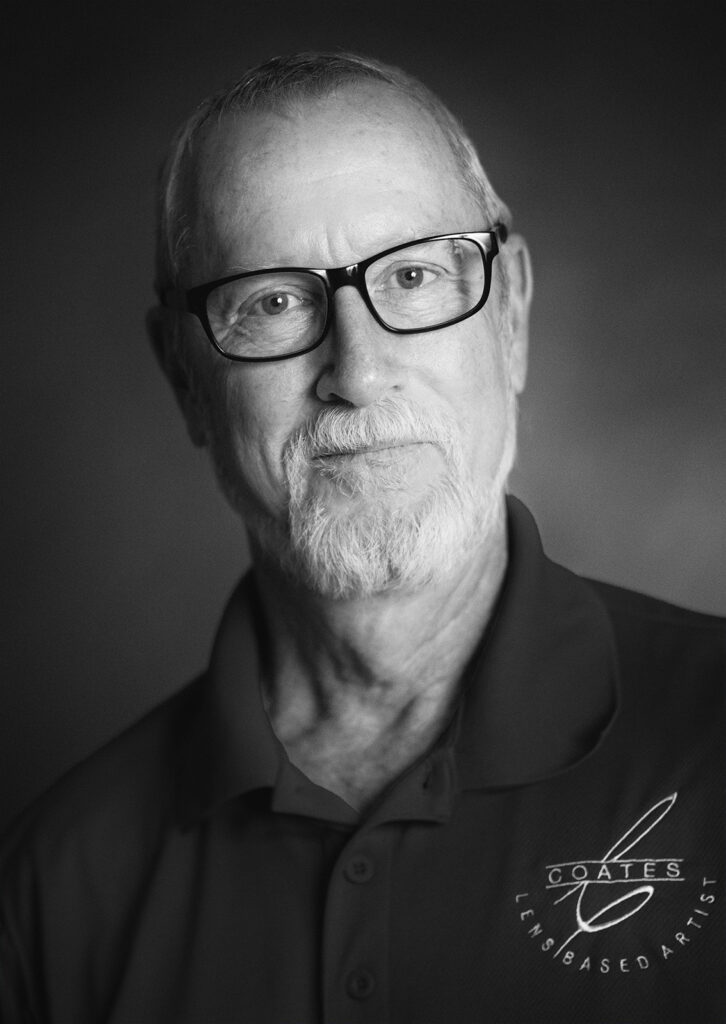
It was time to update my head shot. Don’t want to be like the cobbler that has no shoes.
The gear
I set my Lumix G9 with DG Nocticron 42.5mm f/1.2 lens on a tripod. I used the modeling lights of my Paul C Buff White Lightning 1200 flashes (no longer manufactured as I bought these lights when I first started around 25 years ago. Which is a testament to Buff lighting longevity!) Camera right had a 42 inch umbrella about 60 degrees off axis. Camera left another Buff light with no umbrella and a seven inch reflector for the background light.
Settings
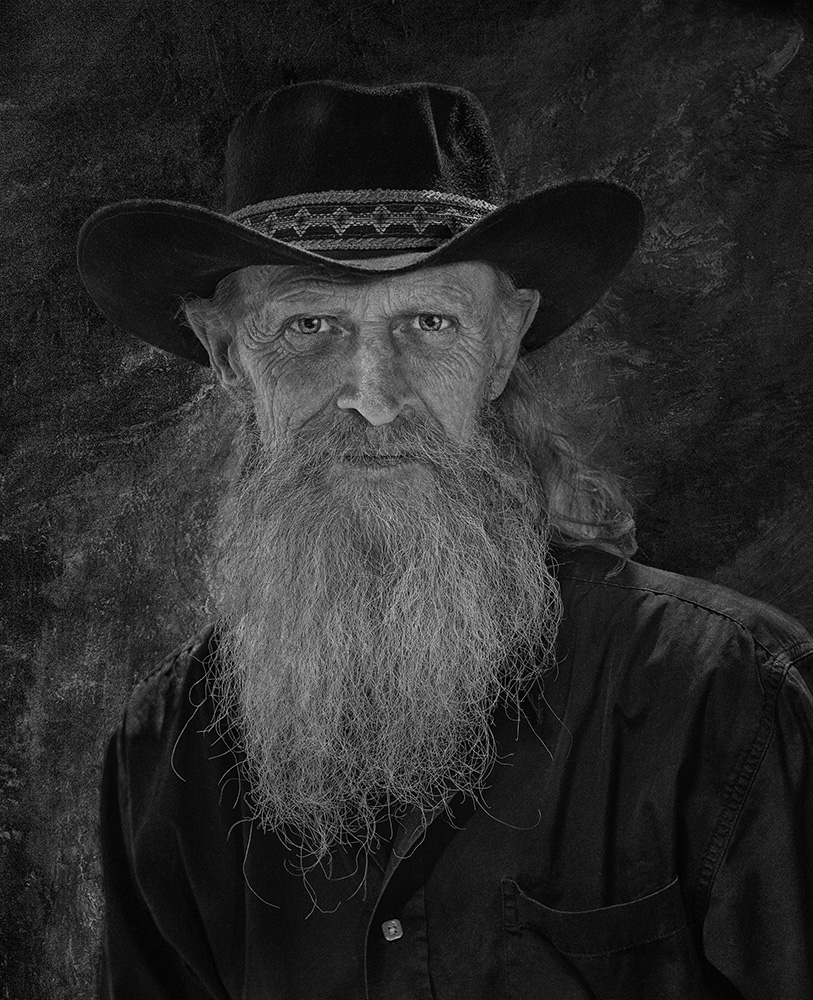
Studio head shot
1/80th second f/1.2 ISO 200. Camera was triggered by Panasonic’s Image App on my phone which allowed me to set focus and see what the camera sees. Great for making a self portrait.
Color or Black and White
Black and white processed with Nik Silver EFEX Pro
Using Adobe’s Photoshop the file was processed in color with very light retouching. Removed a couple stray hairs along with a wild eyebrow hair. Nik Silver EFEX Pro (part of the NIK collection) was used for conversion to black and white.
Which do you like better? Color or black and white?
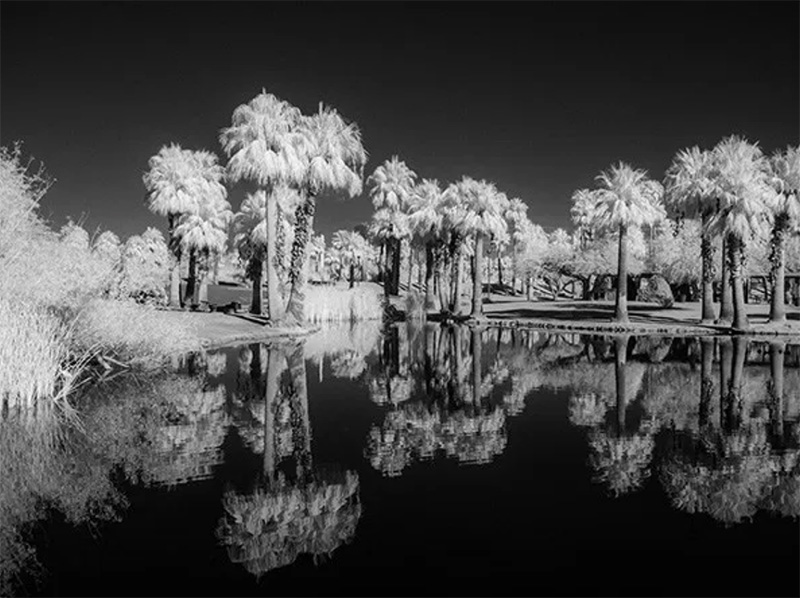
I enjoy infrared photography to extend my shooting day. Harsh light doesn’t do much for regular color imaging. I believe it is beauteous, when captured with a camera that has been converted to infrared.
My current camera was converted to infrared by LifePixel. It is a Lumix G6 (now out of production) I keep a Lumix G Vario 14-140mm lens attached. I stay with the standard 720nm (nanometer) filter. It replicates the original black and white ‘IR look’ I enjoy. I’ve written about IR for several publications.
Here are a few links to try out if you would like to learn more.
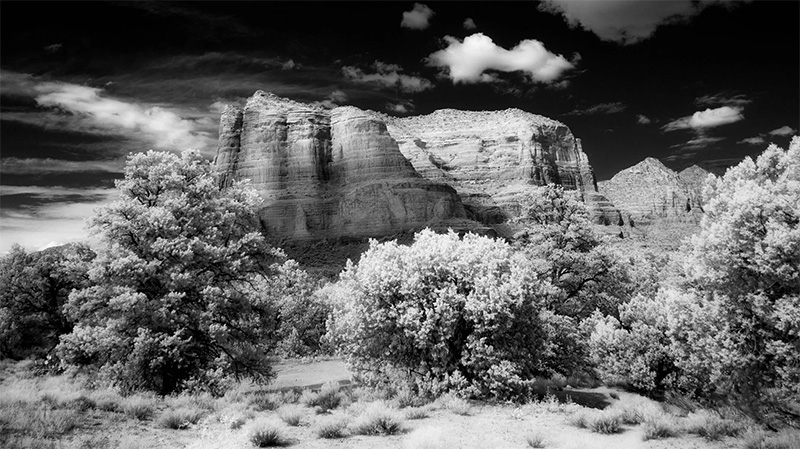
Courthouse Butte in Sedona, AZ created with camera converted to infrared
For those that compete (or want to compete) at the International Photographic Competition (IPC) through the Professional Photographers of America (PPA) an important part of the process is presenting your image properly. There are twelve elements on which the images are judged. One of them is image presentation.
Think of it like this. Have you ever had an image that you thought was quite good? Then framed it and it looked even better? That is what you should try to make your image do when putting together your submissions.
Here is a video to give you one way to put together a presentation for a black and white image. This example is showing a double keystroke. The final image could be done with a single keystroke as well. As an artist it is your choice for the color (or tone) of your keystroke as well as the width. Coming soon, I’ll share some ideas on working with color images.
If you have any questions on PPA image competition, don’t hesitate to ask. I wish you the best in your competition journey.
Yours in Creative Photography, Bob
PS – The subject is Craig Christopherson a wood and metal sculptor. See some of Craig’s work here on Instagram. Image was made with the Lumix G9 and 42.5mm f1.2 Leica lens. You can see how I went from the original capture to the final post processed image in my blog on post processing with Adobe Photoshop and Skylum Luminar 4 software.
Creating Good Animal Photos from a Captive Environment – Part Two
Last zoo post I was sharing some ideas on learning wildlife photography skills while photographing captive animals. See Part One here
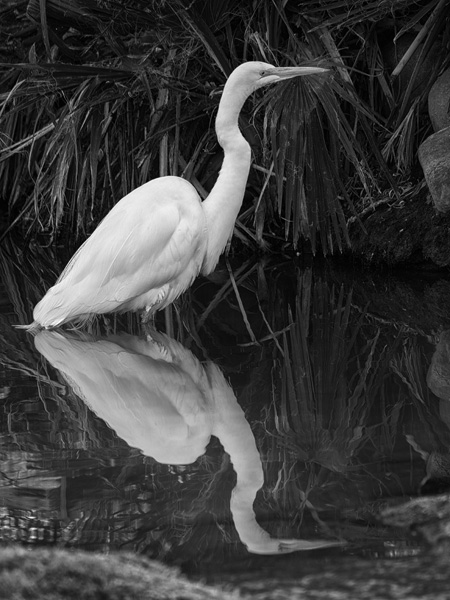
I followed this Great White Egret until the reflection was completed from beak to tail. The black and white treatment brings the bird to the highest contrast attention
One of the essential skills is to learn to queue on behavior. This means learning to see when the behavior will change. What will happen when you look at the feathers shaking in a certain way or excrement fall from a bird. These are indicators that signal flight or a change of wing position and either of those can lead to a more interesting photograph.
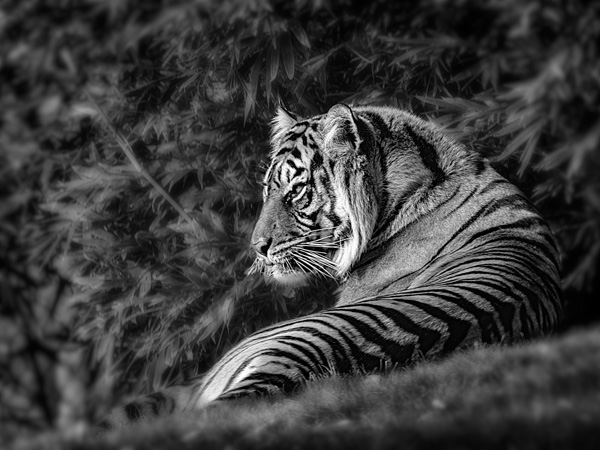
Processed this image to BW also. Slight sharpening of the tiger using Skylum software as an Adobe Photoshopplug-in. I also softened the foreground and background with a gaussian blur as well as a darkening Curves layer Significant help for me that increased my ‘keepers’ in photographing images of animals in zoos, parks and in the wild was a lens that has a long reach. The micro 4/3rds Panasonic Lumix system has been an enormous help. Being able to handhold an 800mm equivalent lens makes a huge difference because of the mobility and distance from the animals. The less you disturb your prey and having the ability to still fill the frame is golden.
Don’t lose sight of other opportunities when photographing wildlife. This split tree trunk was good for an abstract look of colors and tones.
My main camera these days is the Lumix G9. The stabilization system gives an extra six and one-half to seven stops of hand-holdability. This means that hand holding a lens of 800mm equivalent at 1/60th of a second is very possible with sharp results. My favorite lens is a zoom lens – Leica 100-400mm f4.0-6.3
Photographer Muse – Part Two (or Deux if you prefer)
I shared how much I enjoy working with Pash. I can’t give her enough credit for coming up with concepts she would like to pursue that lead me to new imagery. She knows how to move, and hold a pose, when necessary. Both are equally powerful skills. See my original post about my muse here.
Learn more about Pash and her work with modeling, mask making, performance and more here.
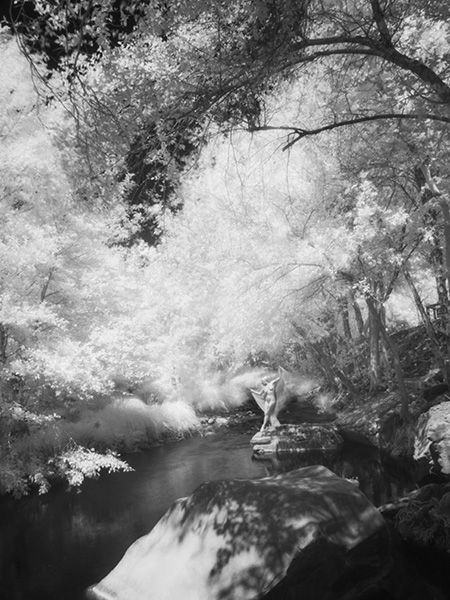
And now to the images.
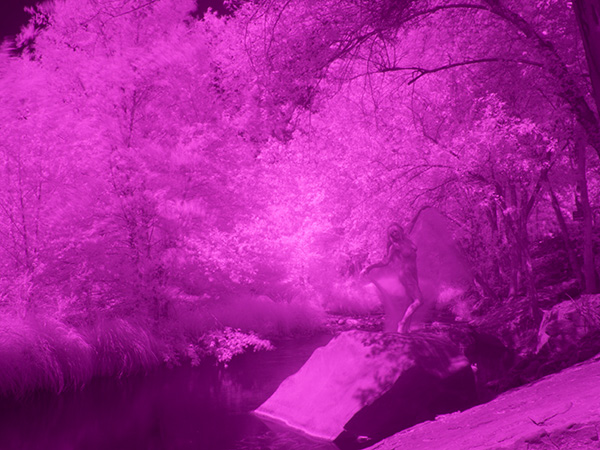
This image is pushed to high exposure.
Going very high key with the exposure of the image with the ND filters in place allow the wind to play a part giving an even more ethereal feel to the image as the leaves and cloth wrap blow gently.
ND filters are by Tiffen. It’s the Pro100 package which includes the holder, a 1.2, and a 1.2 graduated filter. For this shoot, I had a 3.0 and the graduated filters. You can buy much less expensive filters but in ND you get that for which you pay. These are very thick optically pure glass filters.
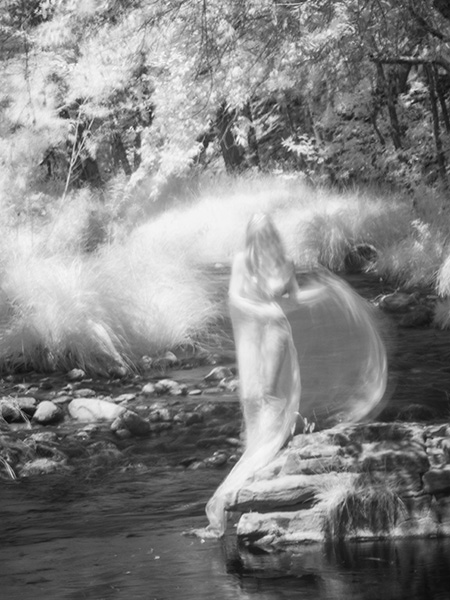
This one turned out a bit spooky!
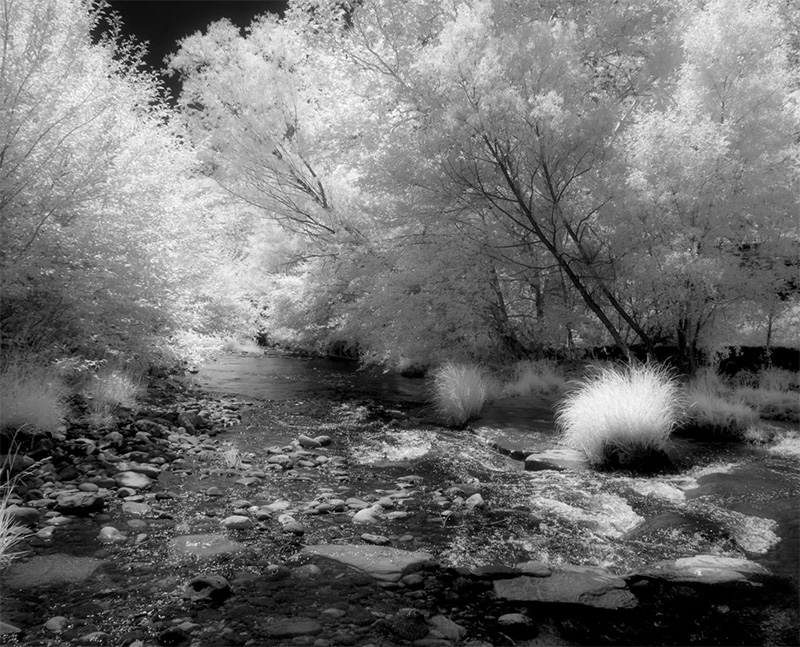
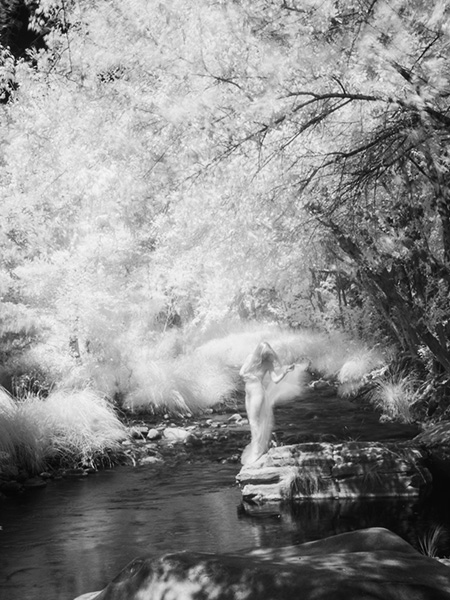
All the images were photographed in the same space, but all have a different feel.
A different view of the creek and the amount of space my model Pash takes up within the frame makes for a very different look for all the photos. Let me know which one is your favorite and why. It would be interesting to see the various responses.
All images were created in Infrared made with Lumix G6 converted by LifePixel.
A 14-140mm (28-280mm 35mm equivilent) lens was used. This allowed for the significant changes in framing without spending time swapping out lenses. Files were processed with Adobe Photoshop and Skylum’s Luminar 2018.** Some images were givin a little extra glow. I set up a preset in Luminar to get the image close to where I wanted then tweaked from there.
If you haven’t captured photos in infrared with a digital camera here is what a file looks like when downloaded in RAW to the computer.
SOOC Infrared RAW file.
The files captured in the IR spectrum need some work as you can see. The nice part of using the Panasonic camera with live view set to monochrome allows you to get a better idea of what the final image will look like. If you shoot RAW plus jpeg, you will end up with a magenta version as above and a black and white version. Can be very handy when you first start shooting IR.
Yours in creative Photography, Bob
PS – Save $10 on Luminar 2018 by using the Promo Code COATES
For infrared conversion of my cameras I use LifePixel. Infrared allows you to put an older camera to use and opens up a new time time of day for productive image creation.
Learn Photoshop in a fun environment. Aaron Nace applies the right amount of fun with easy to understand and follow tutorials. Actions and brushes are included with lessons!
Best embroidery ever. Give Queensboro a try, get a $20 instant credit to get started by clicking on the logo! They specialize in great quality custom logo apparel and promotional products with the best customer service.
Platypod has become a great resource for being creative in getting your camera gear easily into unusual places. As an Platypod Pro I get to work/play with the gear even before it comes out. Head over to Platypod, subscribe to the newsletter and you will get special discounts reserved only for subscribers.