First, let me start this post with the fact that I do not shoot sports on a regular basis. The best photography in any genre, especially fast-moving subjects, comes from practice. Knowing the game and anticipating where the peak action will occur makes a considerable difference in the quality of the images.
On with the post.
With that disclaimer out of the way, I felt that it would be an interesting exercise to photograph a football game under the lights. Karl Mullings (find Karl’s work here), a photographer friend from Flagstaff among others, had been asking me how the GH5 camera would do under the lights with fast-moving action. I only had experience with the camera in low light shooting wildlife so I couldn’t give him a qualified answer. He asked if I would bring the camera and photograph a football game with him.
Off to Flagstaff where there were a couple of surprises in store. Lighting was lower than I thought it would be Due to my inexperience there was a challenge in finding the action. During the first quarter, I found myself missing a lot of shots cutting off the players as they ran out of the frame. I started to get the hang of it a couple of quarters later and here are some results.
Image photographed at ISO 6400 Lumix GH5with Lumix G Leica DG Vario-Elmarit 100-400mm lens (200-800mm 35mm full-frame equivalent)
I was surprised by the reach and handhold-ability of the camera and lens combination. The five-axis in body stabilization, plus the lens stabilization was pretty amazing in allowing a reasonably slow shutter speed while almost stopping action with no camera blur.
Image photographed at ISO 6400 Lumix GH5with Lumix G Leica DG Vario-Elmarit 100-400mm lens
Image shot at ISO 6400 Lumix GH5with Lumix G Leica DG Vario-Elmarit 100-400mm lens
My buddy Karl, hard at work on the sidelines.
Tomorrow we’ll talk about freezing action even more using an ISO of 12,800 and post processing of images.
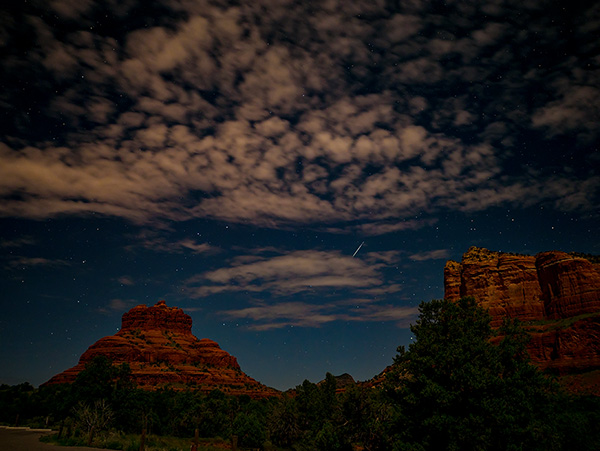
Out for the second night of trying to catch the Perseids Meteor Shower. The largest amount of visible streaks across the sky were scheduled for the early hours of Sunday morning.
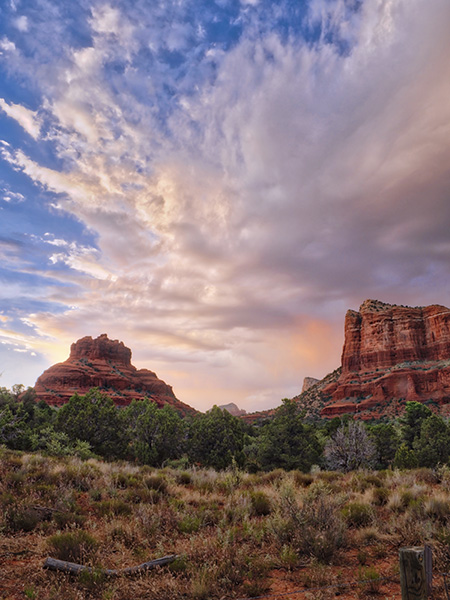
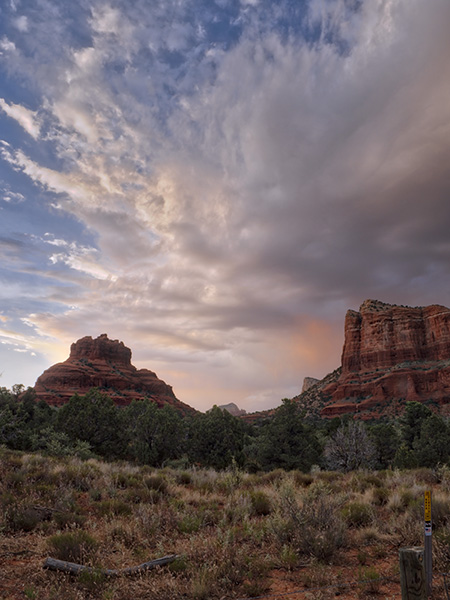
Set the alarm for 12:05 AM. Wake up 11:58 PM. Check cloud cover. Looks OK. Dress. Hop in the car. Head to the pre-scouted location at Bell Rock Vista one of my favorite rock venues for photos in Sedona. (partly because it’s five minutes from my house.)
About one minute of time lapse from three cameras.
Note clouds and lightning to the south. Thankful there’s an open to the sky ‘window’ to the north.
Set up cameras. Yes, cameras plural. When photographing images for time-lapse video one thing you end up with is time. Once a camera is set, and recording do not touch, bump or adjust unless you would like to restart the sequence.
Camera one – Lumix GH5 with Leica 12mm Summilux f1.4 lens. This camera and lens combination ended up giving me the cleanest, sharpest files. I set the camera for RAW capture. Note that RAW files can chew up some real estate on your card. Make sure you have a large capacity. **
Camera two – Lumix GX85 with the Leica 15mm Summilux f1.7 lens. This set-up is a great go-to set up for night skies.
Here’s a single still image from the shoot. Processed in Photoshop
Camera three – The Lumix FZ2500 with a built-in 25-480 Leica DC Vario-Elmarit F2.8-4.5 lens. This is best shot at the 25mm setting to keep the f2.8 aperture. As you’ll note in the video, this is the only camera lens that showed condensation toward the end of the sequence. It was a VERY moist and humid night. This camera must generate a little bit of heat as time goes on. In less humid situations I wouldn’t see this as a problem.
A great resource for deciding what exposure settings to use including various camera and lens combinations may be found here. I highly recommend checking out the rest of Ian Norman’s blog Lonely Speck. Lots of helpful info there to set you on the right path. Remember the guide gives you a starting point. You still must experiment to get the most from your experience.
Yours in Creative Photography, Bob
Working on my settings for better quality imagery. Any lack of quality is purely operator error!
** The GH5 has two cards slots and can be set to behave in a variety of ways including to continue recording on the next card when one fills up. Very handy for lots of captures. When not gathering images for time-lapse the cards can be set to be an automatic back-up by writing to the cards simultaneously, RAW files to one card, jpegs to the other, videos to one card and stills to the other, etc. But I digress.
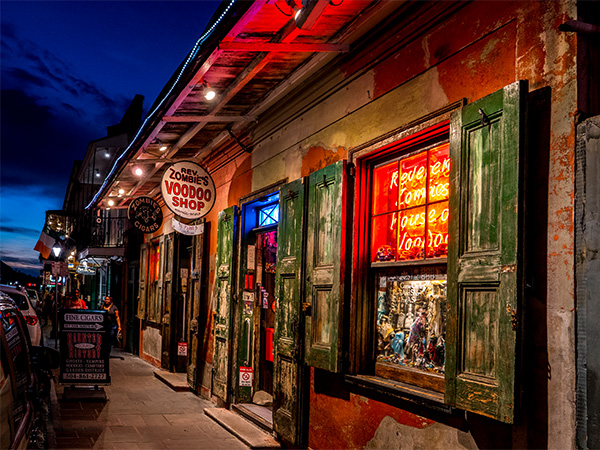
Mucking about in New Orleans while in town speaking at the Professional Photographers Association of Louisiana last week. I took my relatively new ** Lumix GH5 and the Leica 12-60mm f2.8-4.0 lens out for a solid workout, keeping my camera with me at all times recording lots of different situations. It was a real eye-opener seeing what the camera was capable of recording.
Here is a great example of what got me very excited. As I was prowling the French Quarter just about dark after the sun fell below the horizon I captured this image of the Rev Zombie’s Voodoo Shop.
Photo made from one image. No HDR involved. Detail in shadows and detail in the neon sign.
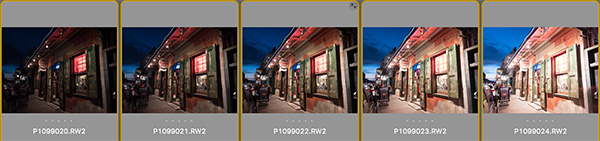
HDR sequence in the original capture. I used the middle exposure for the image processed above.
When out photographing random areas if I’m not certain that the camera can capture the entire dynamic range in a single image I’ll run a five stop bracket of the scene and then process the images in Aurora HDR software. I use Aurora because I’ve been able to achieve realistic results on a regular basis.
Just for fun I decided to forego the HDR software and see what I could pull from a single image just utilizing Adobe Camera RAW. There’s full detail in the brightest areas of the image and details in the shadows and the color is spot on for the scene.
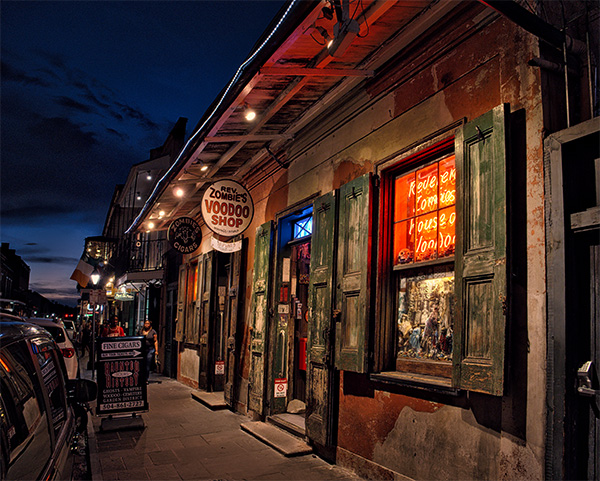
Could I have made an even better image using the HDR software? Let’s see.
I’ll leave the decision up to to you. I seem to have been able to pull some more shadow detail. Lots of options are available in making the image tell the story we want these days. An exciting time in photography indeed.
Yours in Creative Photography, Bob
** Smokin’ deal alert! Panasonic has bundled this camera lens combo for about $2600 saving 400 bucks from separate purchase.
A couple of days ago I shared some ideas on working a scene to yield more and/or better images from a landscape photography shoot. See that Post here. The post was getting a little long, so I decided to continue sharing a few images and some more ideas.
I talked about using technology to improve upon a capture along with changing the view of the scene and not getting locked into the first composition you feel works. I did lock down my Lumix GH5 on a tripod on what I felt was the best image with lots of depth and dimension to layer passages of time into the final process. That’s why I also carry an additional camera to capture other areas and things which grab my attention.
This image was processed in *Macphun’s Luminar Neptune used as a plug-in in Adobe Photoshop. Luminar can also be used as a stand-alone program to process your files. As shown below and I wasn’t able to pull the details and color the way I wished.
This was the original process using Aurora HDR 2017 and four of the five one-stop exposures I made of the scene. I wasn’t able to pull the details and color the way I wished. Then I moved to Luminar for the finishing. (see the top image in the post)
So a different angle and a different ‘feel’ give me more from the shoot.
Let’s keep going with a couple more examples.
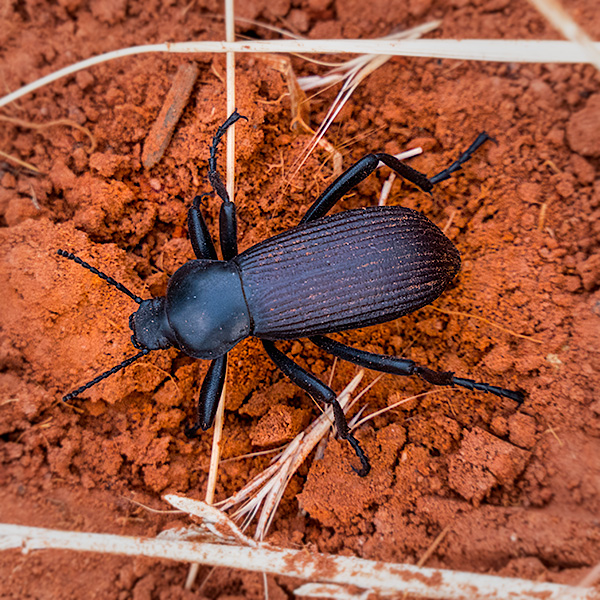
Zooming into the scene has a more intimate feel. The lighting shown here was a situation the appeared and disappeared quickly. Able to capture it with the FZ2500.
When I posted this little guy on Instagram, https://instagram.com/bob_coates I received a few EWWW’s, but I feel a bit of real nature’s beauty here. He’s kind of cool!
Yours in Creative Photography, Bob
PS – * Luminar is in Beta for Windows machines. Check it out here.
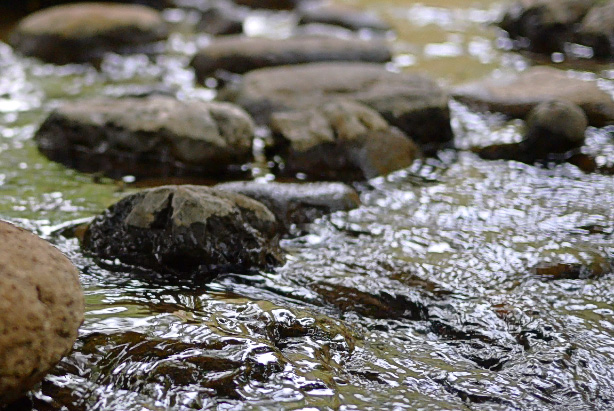
There’s something about water and the sound an motion of it that speaks to my soul. It calms. It relaxes. It stimulates deep and comfortable thoughts.
Still frame from the video at Beaver Creek. Look below for sound and motion.
I made a short video to share with you from a small little-known creek south of Sedona, Arizona. The place is called Beaver creek and while I often find it barren of people, it is also enjoyed by families, fellow creek water enthusiasts and my photographer friends enjoy an exploration along it’s banks.
Take less than a minute to enjoy the sound and some of the sights. Breath in. Breath out. Relax.
Getting good, solid lighting is the best thing you can do to highlight the features of products. Today’s post is how I set up to photograph some jewelry and a couple of my cameras. I will suggest you practice lighting techniques long before you need to use them. It allows you to refine the look rather than trying to tweak on set.
This set-up is relatively straightforward yet gives a compelling and professional look to your product photography.
Gear in use. Two Paul C Buff X3200 flash heads. One Paul C Buff Ultra Zap1600 flash head. Paul C Buff Octobox (35 inch) Snoot. Strobes are fired with Buff Trigger. A sheet of Non-glare glass. Scrims with diffusion material. Sekonic L478D light meter. Lumix GH5 camera with various lenses depending on the subject to be photographed. Light stands, one with Boom to suspend light over the set.
The power of the lights is not germane to lighting on set. If you work with lights at less power or varied, you will want to put the most powerful one above the set. It will be going through the snoot and the scrim both of which suck up some of your light. With this set, you have the ability to change the size of you lighting circle. If the light from the snoot is closer to the scrim, it will be tighter as shown in this view. If you move the snoot higher, you’ll see the light spread more and feather to a larger circle. The height of the scrim above the product will also have an effect on the light pattern.
The glass (make sure it is non-glare) is suspended above a sheet of black paper. Depending on how much light you pump into the scene and the direction of that light you can create a background for your product that can be gray or black.
You don’t necessarily need an Octobox as a modifier for your main light. I use it because it is quick to set up and break down and gives a solid direction of light. At the very least, you will need to have a softbox. If you use an umbrella, the light is harder to control on the set, and the bounce of light from the walls and ceiling can infect the set. Control is essential.
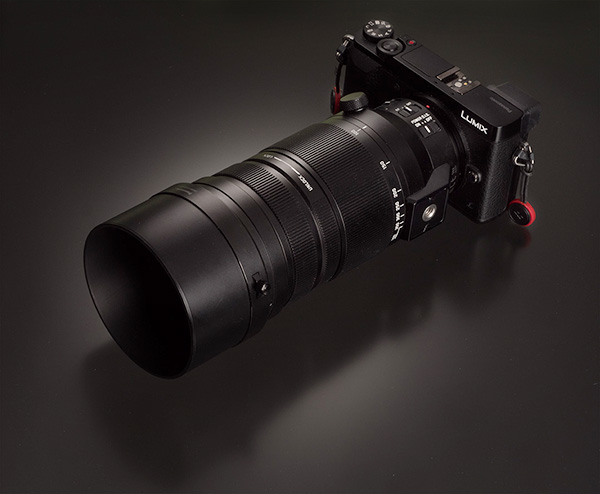
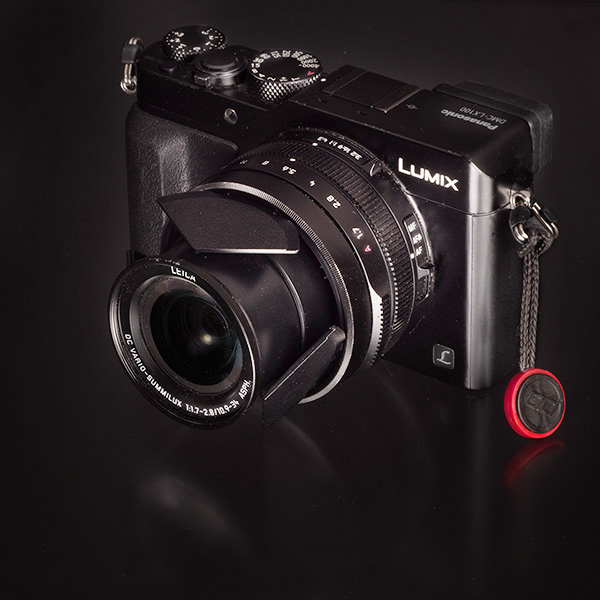
Let’s look at a couple of camera photos.Lumix LX100 camera. I call this the ‘professional’s point and shoot’. This is an example of going black with very little light from above. Solid but stark image. It will always depend on what look your client is trying to achieve.
Photo of Lumix GX85 with Leica DG Vario-Elmarit 100-400mm f4.0-6.3 lens made with the down light to give some more depth and dimension to the final image the gradient is made with the snoot and the scrim as shown above at the top of the page in the BTS shot but not as close to the scrim.
Let’s pause here until the next installment where the images will be of jewelry using the same set and adjusted accordingly. Part three of this will show before/afters and talk about post processing.
For infrared conversion of my cameras I use LifePixel. Infrared allows you to put an older camera to use and opens up a new time time of day for productive image creation.
Learn Photoshop in a fun environment. Aaron Nace applies the right amount of fun with easy to understand and follow tutorials. Actions and brushes are included with lessons!
Best embroidery ever. Give Queensboro a try, get a $20 instant credit to get started by clicking on the logo! They specialize in great quality custom logo apparel and promotional products with the best customer service.
Platypod has become a great resource for being creative in getting your camera gear easily into unusual places. As an Platypod Pro I get to work/play with the gear even before it comes out. Head over to Platypod, subscribe to the newsletter and you will get special discounts reserved only for subscribers.

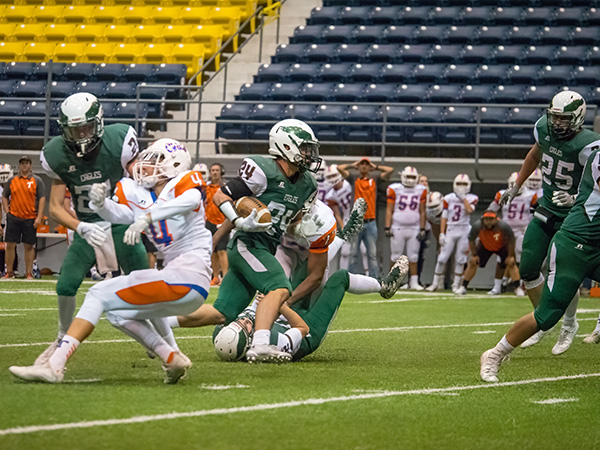 Image photographed at ISO 6400 Lumix GH5 with Lumix G Leica DG Vario-Elmarit 100-400mm lens (200-800mm 35mm full-frame equivalent)
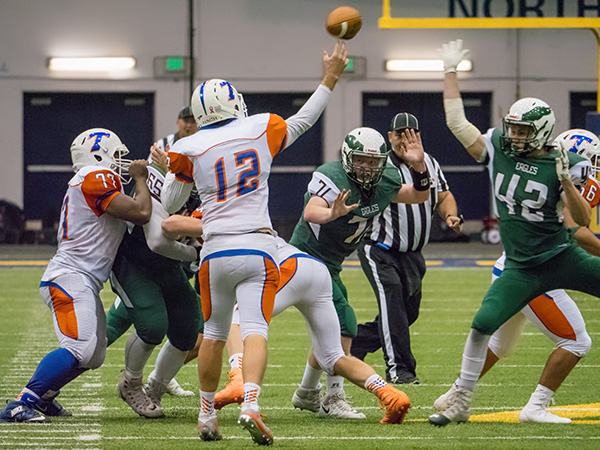 Image photographed at ISO 6400 Lumix GH5 with Lumix G Leica DG Vario-Elmarit 100-400mm lens
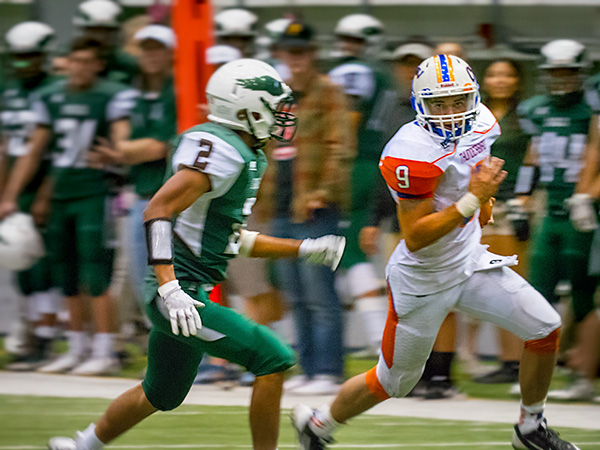 Image shot at ISO 6400 Lumix GH5 with Lumix G Leica DG Vario-Elmarit 100-400mm lens
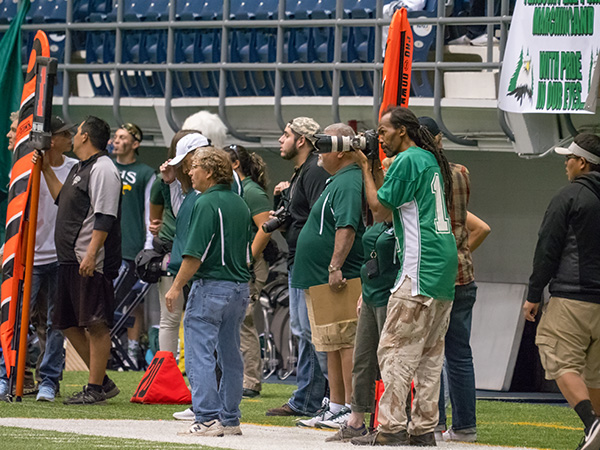 My buddy Karl, hard at work on the sidelines.