night sky photography capture
Photographing the Night Sky – Capture Techniques
Night sky photography has its own little set of things to think about and prepare. I’ll try to share a few sources I came across in my research in trying to get night sky photos. (some issues covered here)
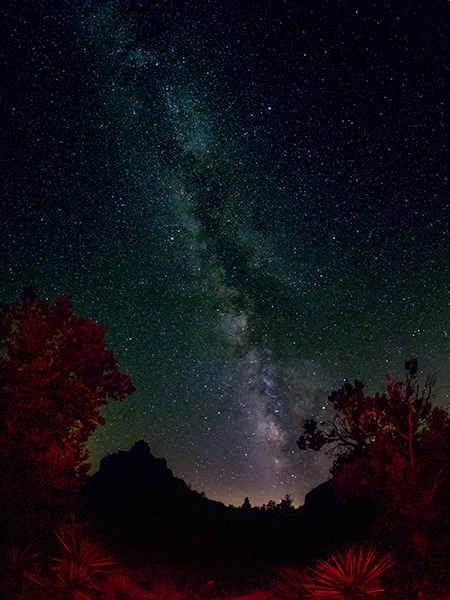
 Landscape with stars over the Village of Oak Creek, Sedona Lumix GX85 with Leica DG Summilux15mm f1.7 lens
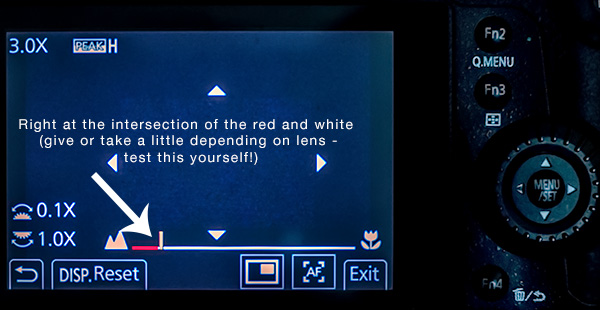
Lens choice is crucial. Faster glass means better images as they will allow more light to reach the sensor. Wider angle lenses can give you more time to let some of that light through. Look into the rule of 500. It will help you keep your stars as pinpoints as opposed to starting to streak.
According to the rule, the longest shutter speed you can use before your photo gets blurry is equal to 500 divided by your lens’ focal length. This formula has variables, but it is a good starting point. In my searches, I found this calculator on the Lonely Spec web site. There’s excellent info contained in the calendar that has been a great help to me! The calculator takes all variables into account. Sensor size, focal length, ISO, and aperture. If you are looking for more in-depth info, Ian Norman is rocking it over on his site.
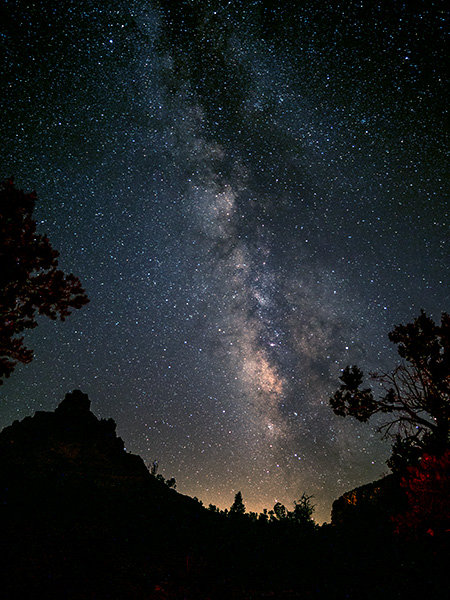
 Great resource for night sky photography
Another important site is timeanddate.com. You can look up the sun or moon cycles, rise and set times along with the direction of appearance on the horizon on the charts. This is handy if you want to find out where the moon will be rising if you are trying to catch rock formations or building with the full moon. (next full moon should be a good one in October AKA Harvest moon)
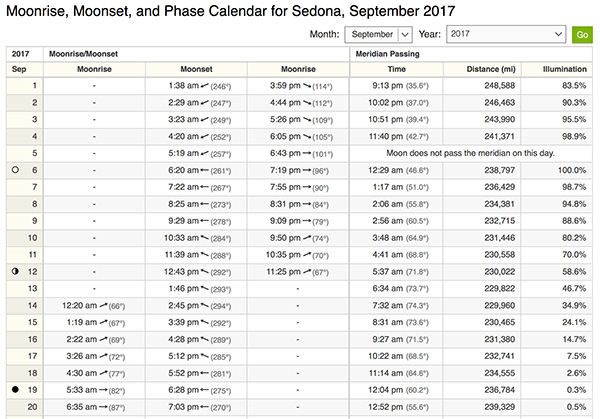 Above is a moon chart for Sedona, AZ. Go to the site and plug in your town/city name. Use the compass in your phone to see where the moon will come up. Note that if there are mountains and hills between you and the horizon the moon will be moving across the sky a bit and you’ll need to make adjustments.
Stardate is a great site. The more you know about your subject, the better your results will be. For example, if you are trying to photograph stars the darkest skies will be of help and know where, and when, the moon will be in the sky is important. Stardate can also keep you up-to-date with happenings in the heavens.
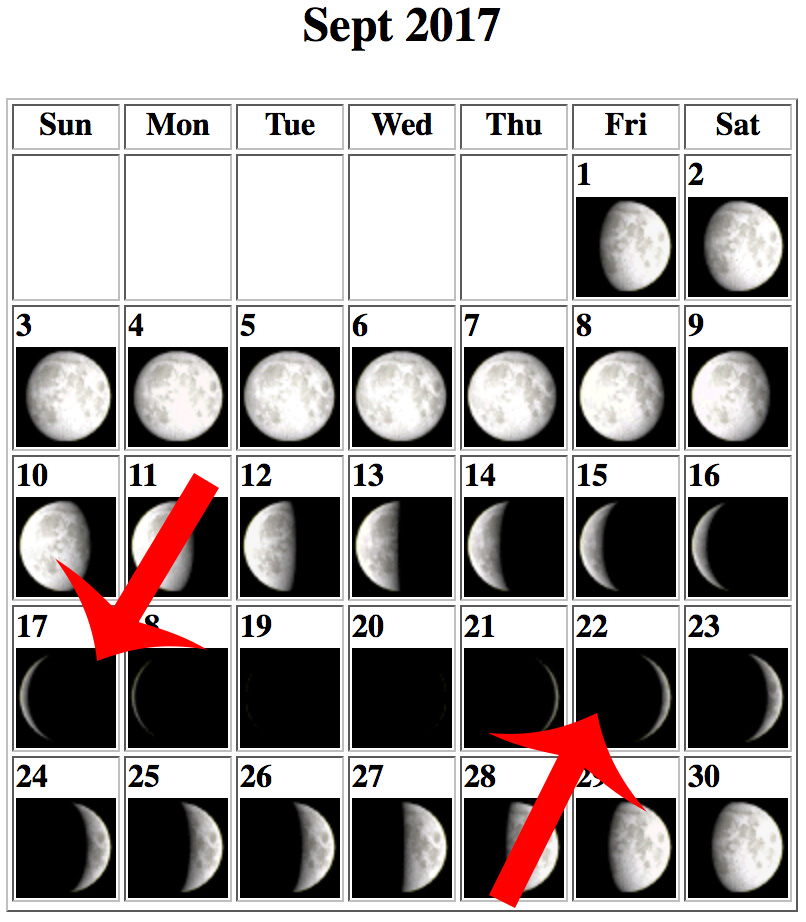 Moon chart with dates. Days around the New Moon are the best for dark skies and better rendition of your stars
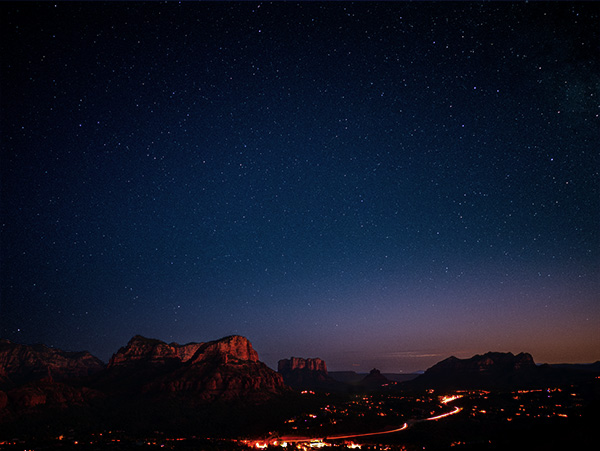
The new moon is not the only time for photographing the night skies. A little bit of moon can help render the landscape visible for a different night photography look. Full moon and waxing and waning gibbous moons I tend to shoot for the landscape itself as the extra light tends to make the stars less visible.
Next post, I’ll look at processing the files once you are back at the computer.
Yours in Creative Photography, Bob