by successfulbob | Lumix GX7, Lumix Lounge, photography
Created a moving photography self portrait in the middle of Oak Creek in Sedona, Arizona. This area is known as Red Rock Crossing at Crescent Moon State Park. I set up my Lumix GX7 camera on a tripod. Asked a passerby to hold down the shutter for a burst of images and uploaded the images to Google Plus to use Auto Awesome to create an animated Gif file to show the motion of the creek but leave most of the rest of the image alone. Then I downloaded the Motion Gif to my computer downsized the image and used the Adobe Photoshop Save for Web feature for the image you see below.
Fun stuff and easier to do than ever…
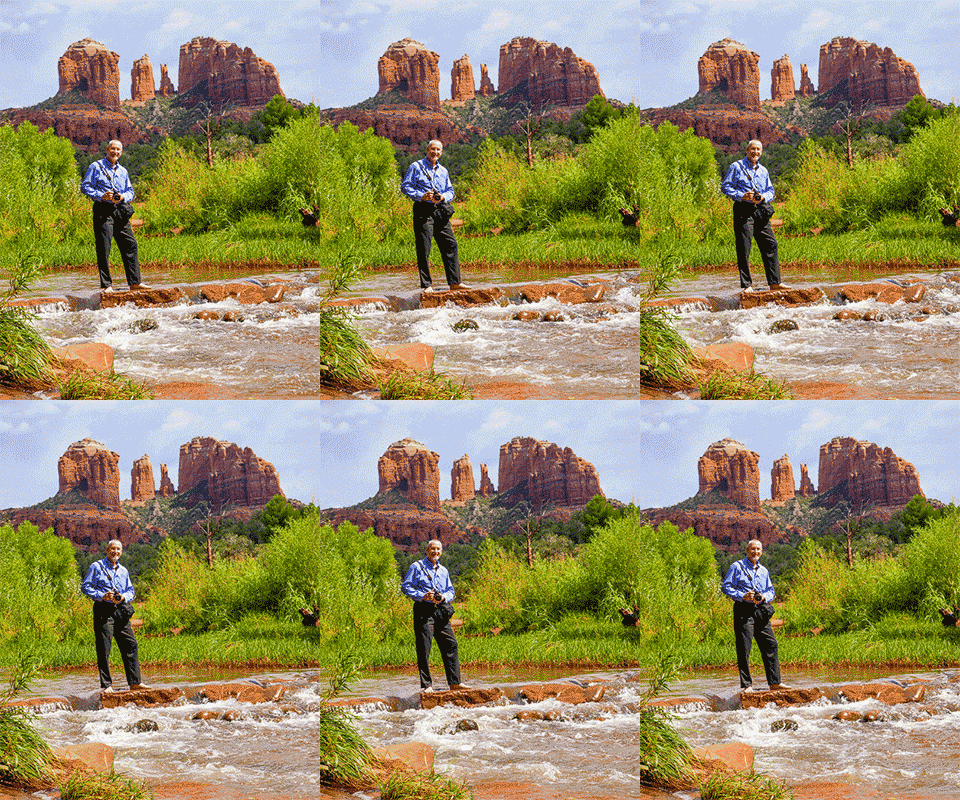 Self portrait by Bob in Oak Creek – Sedona, Arizona.
by successfulbob | landscape photography, Lumix GX7, Lumix Lounge, panorama, photography
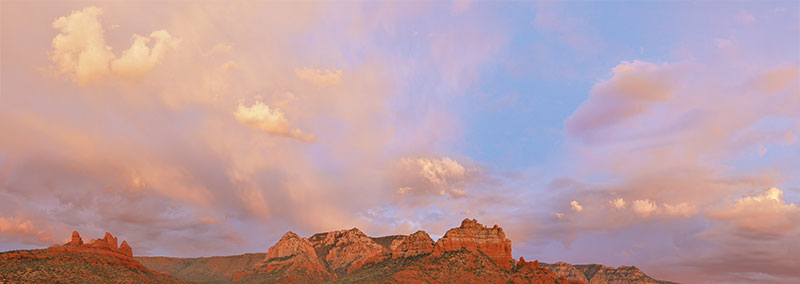 Monsoon sunset in Sedona, Arizona from Sound Bites Grill. Red rock landscape image with cloud formations.
Great time of year for landscape capture in the southwest. Sedona, Arizona has great red rocks all year long but add in the cloud formations of the monsoon season at sunset and things really start to rock!
This landscape image was assembled from 2 in camera panoramas made with the Lumix GX7 with a 25mm 1.4 Leica Summilux lens. Then the 2 images were stitched together using Adobe Photoshop to get more of the clouds in with the red rocks.
FYI, I wasn’t thinking about making images when this started to occur. I was out to dinner with my wife Holly and things started to happen on the horizon and luckily before we left the house I had grabbed the GX7 “just in case”. I’m finding that because of its small size I am keeping the camera with me more and more often. And, consequently I’m finding more and more photo opportunities unveiling themselves before me. I tried to do this with my former go-to camera but often found it too cumbersome so often left it behind and lamented not getting the shot when it jumped up in front of me.
Click here to see other sedona canvas prints
by successfulbob | commercial photography, photography
Having a professional image to use to promote yourself throughout the community is important. We tend to dislike having a portrait made because of several reasons. Number one may be because you’ve never had a professional portrait made. What’s the difference between getting a picture taken and having a portrait crafted? Plenty!
 I’m a fan of the square crop but zoomed in to have more impact because these images are usually displayed small.
When people look at photos taken of themselves usually it was taken when they weren’t ready, were in poor light and due to past viewings of photos they always say, “I don’t look good in pictures!”. So tension rises leading to an even more uncomfortable looking photo. Add to that idea we see ourselves in the mirror which means seeing our face reversed from the photo so this compounds the problem of our self image. Lets add one more thing… We tend to freeze our self image in our brains to a time when we looked younger and supposedly better.
Many things go into deciding how the shoot should be accomplished. What is the message the person is trying to share? Powerful, friendly, approachable, knowledgeable or some combination of all attributes? Who is the audience for the photo? In what media will this be used? Knowing this information will determine the position the camera, wardrobe selection, lens choice, background choice and ultimately the success of the session. Remember that shooting into the shadow side of a person’s face adds depth and interest even if it is a subtle lighted area. This was a formal head shot of Walt who is in business development and a global IT services company with a focus on Energy and Utility companies. Let me know if you think we got it right….
 Official formal business portrait. note the highlights on the short lit side of Walt’s face.
 Square crop for social media site like LinkedIn and Facebook.
by successfulbob | landscape photography, Lumix GX7, Lumix Lounge, panorama, photography, photography education
Gotta tell you the more I use the Lumix GX7 the more I like it!
At a friends house for dinner last night and the light started to get pretty nice on the red rocks. Had the GX7 with me because it’s so portable (read small). Tried the in-camera panorama stitching and pretty darn amazed at the result. The camera tells you if you are moving too fast or too slow during the stitch panorama shooting. If it doesn’t think it’s got a good capture it doesn’t waste card space – it just tells you to start over. This is handheld and swept from left to right with what sounded like 12 exposures.
The good and the bad and the good again… Good – This looked beautiful on the back of the camera even when I zoomed to take a fairly close look. Bad – When I opened the file there were a couple areas in the sky where there were some light bands when I got to view it on the studio monitor. Good again – The bands were easy to remove using the patch too in Adobe Photoshop CS6. I have a feeling as I get more accustomed to shooting with the panoramic setting that banding will become less of a problem.
In addition to cleaning up the two bands in the sky I took out a little bit of encroaching roofs from the bottom and added a tone curve to bring down the sky a little. Had I been thinking I could have added the tone curve in the camera as the panorama was being captured. Yes you can add curves and other special settings in camera! There was no adjustment to the image for a warping which happens many times when processing out files into panoramic software.
Let me know what you think!
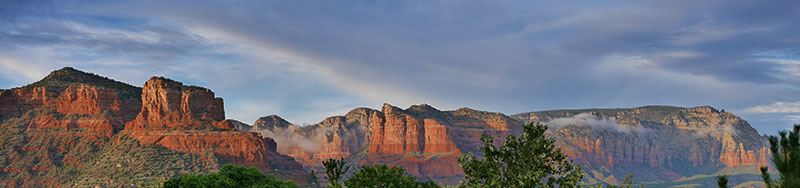 Panorama photo in the Village of Oak Creek, Sedona, Arizona
by successfulbob | fine art portrait, photography, photography education
One of my fine art photography clients came to me with a photo of a recently deceased restaurant owner from his favorite restaurant in Prescott, Arizona. He wants to create a gift of a framed art portrait printed on canvas to hang in a place of honor to remind patrons of the vibrant, fun host he was.
Here’s the challenge. The photo was a snapshot taken with on camera flash with a busy background. Take this image and turn it into a 40 inch canvas. Challenge accepted! I used my ‘Photo-Synthesis’ technique to create this art piece. First I isolated the subject from the background using various selection tools and placed him on his own layer. Then using the stamp tool I moved the catch lights in his eyes to set the direction of light. Painted some shadows using the soft light layer mode using a soft black brush to add some shadows to his face to add some depth and dimension. Because it’s an Italian restaurant I selected several textures captured from walls in Europe and blended them together using Adobe Photoshop in various blend modes. Added some painting techniques I’ve been studying and toned the image to a warm reddish golden color. The art portrait has not been through final tweaks and possible color changes that my art patron can ask for if he desires, but I thought it was far enough along for me to share with you.
Here’s the before and after… You decide. Success??
 Art Portrait created by Bob Coates Photography from snapshot.
To see more art images from Bob Coates Photography check out this web site. If you would like to talk about a me coming to speak to your photography group about these techniqes or other photography education programs give me a shout. If you have enough members my expenses may be picked up by Panasonic as I am a Lumix Luminary.