by successfulbob | inspiration, photo walkabout, wildlife photography
Creating Good Animal Photos from a Captive Environment
I practice my wildlife photography by spending time at the zoo. There are a few reasons for this, and I’ll share them here to hopefully help you in your image creation and get feedback from you on my thoughts. You can always reach me through my email bob@bcphotography.com
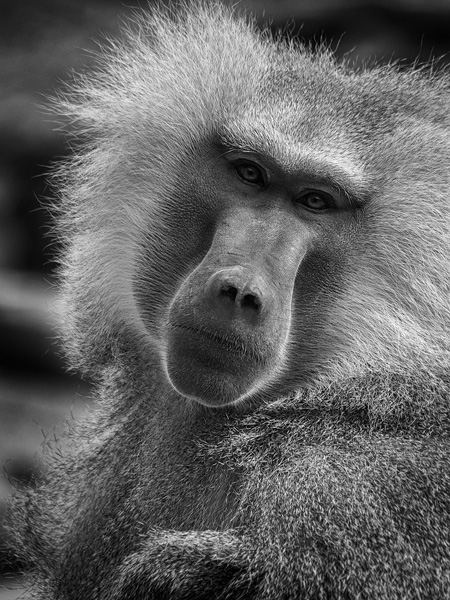 A baboon named One at the Phoenix Zoo. I spent a bit over an hour waiting to get this portrait with eye contact in decent light. Black and white allow for concentration on his expression.
One benefit of photographing in a structured environment is that you can find animals. I know that it sounds simple at its most basic but you need the practice to become a good wildlife photographer. Exercise may be had at the zoo. Part of the training is to learn to focus quickly and in the right place. You may think this can be easy, but until you have tried it, I think you’ll be surprised how difficult it can be to acquire arresting and exciting photos.
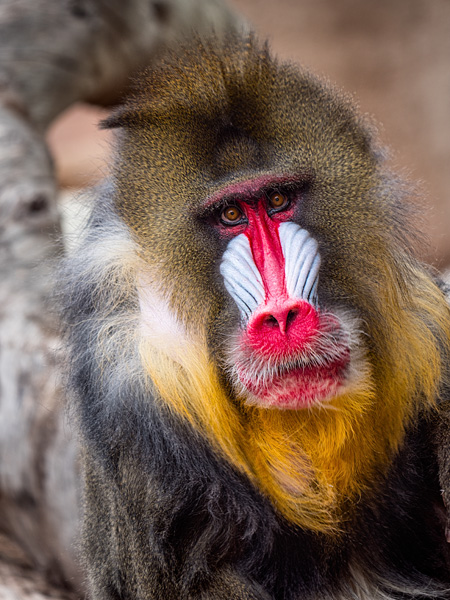
 This Mandrill was sleeping for quite a while, but I hung around until he started foraging around in his enclosure. Expression and eye contact are paramount in making this a success. (the color of his features don’t hurt either!)
Just because the animals are captive does not mean that they will pose for you. Things such as eye contact and behavior can make or break an image. One of the items on which you are practicing is to see how an animal moves. How to stop that movement (or accentuate it for something more artistic).
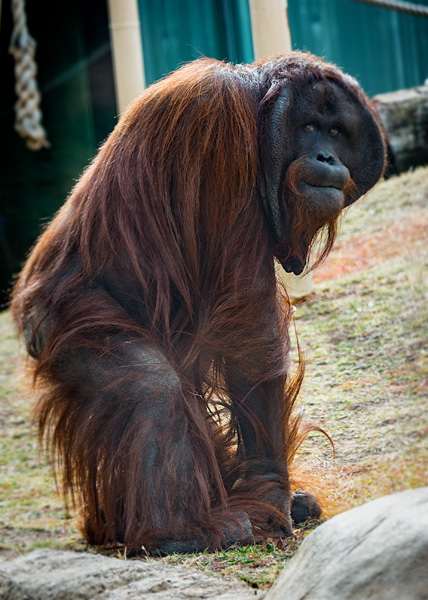 This Orangutan was walking away, and I mentally willed her to look at me over her shoulder. I will often ask mentally for my wildlife to change position and it’s pretty cool how often it works.
If I can suggest one thing that you will learn that you can take with you into nature is patience. Even though you are in a target rich area, you still need to spend time, and lots of it, to get images with eye contact. If you run from enclosure to enclosure thinking you will get more varied photos you will be correct. But I suggest that the pictures will be less than stellar than if you spend more time with fewer animals.
More from the Phoenix Zoo in the next couple of days. Including the gear I use for making my images.
Yours in Creative Photography, Bob
by successfulbob | bird photography, Lumix G9, travel photography, wildlife photography
Festival of the Cranes
Bosque del Apache National Wildlife Refuge – Part Three
I enjoy spending time with wildlife.
Watching. Waiting. Learning.
To get the best wildlife images it is important to study the behavior patterns of your prey. Especially in avian photography. Learning when a bird is about to make a move leads to obtaining more than a portrait. Portraits are cool, but my favorite images are highlighting behavior. A mating dance. A flight. A landing. Feeding or grooming all lend more to the captured image in my opinion.
These images are from the Festival of the Cranes in Socorro, New Mexico just a bit south of Albuquerque. I shared pictures from the event, but the previous ones were of Snow Geese. These are the stars of the show, Sandhill Cranes.
Let me know what you think!
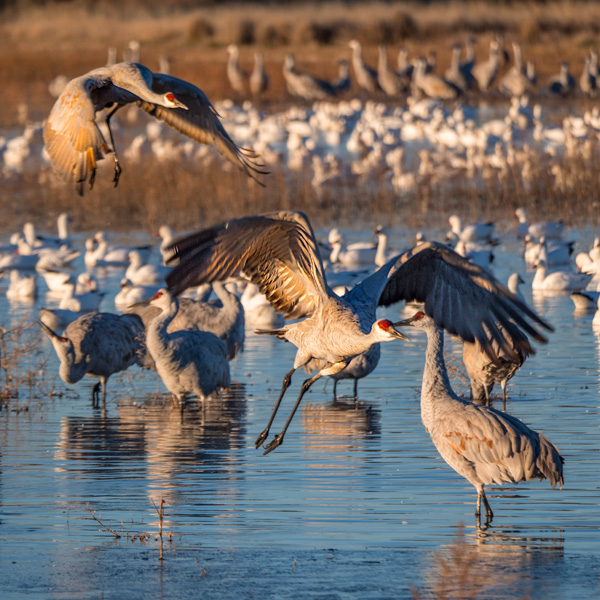
 In for a landing during first light at the first pond – Bosque del Apache NWR
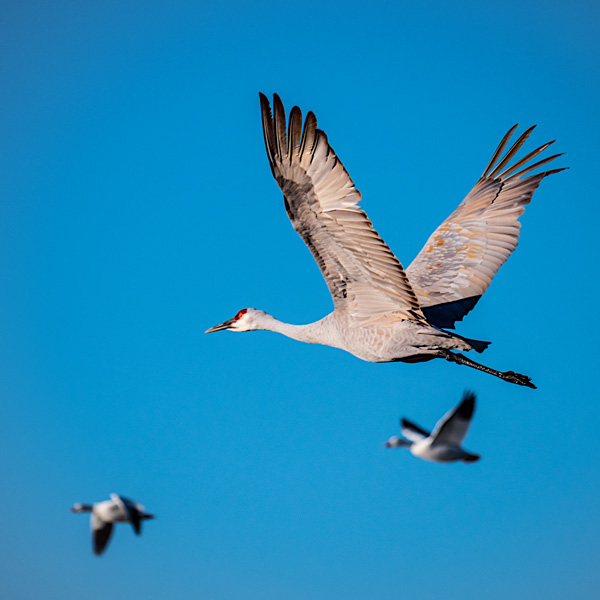 Sandhill Crane in flight (with a couple of snow geese interlopers in the background)
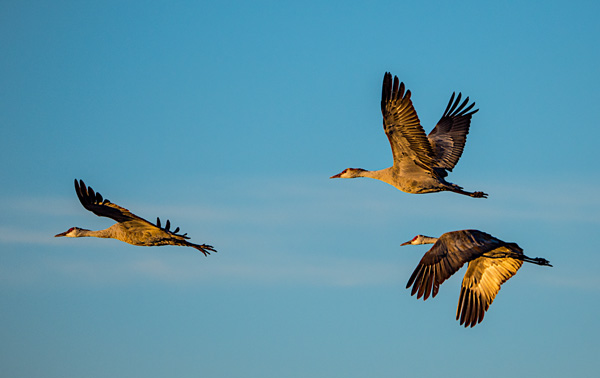 In the warm glow of sunrise here’s the classic capture of three Sandhills with the three wing positions
More Sandhills in the next day or so. For more from the Bosque NWR see these posts with the Snow Geese.
Bosque Part One
Bosque Part Two
The previous posts have the information on the camera gear and links to find it.
Yours in Creative Photography, Bob
by successfulbob | bird photography, Lumix G9, LumixGH5, photography, photography gear, travel photography, wildlife photography
Bosque Del Apache National Wildlife Refuge
Snow Geese Part Two
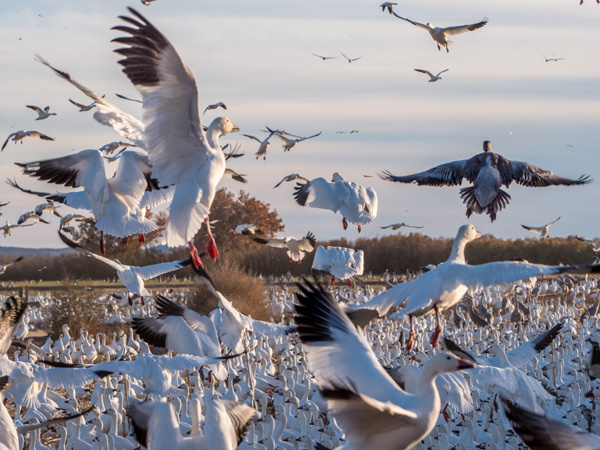
With twenty-thousand plus snow geese winging their way around the Bosque Del Apache National Wildlife Refuge it was a fantastic couple of days of sights and sounds. Sometimes it was quite overwhelming. On several occasions I had to put the cameras down to just experience nature in its pure form.
I’ve found there is a layer of distance that appears much larger than the six to eight physical inches when I put my face behind a camera — a certain detachment. This distance enables other photographers and me to do things like cover disasters, wars or record infant demises through organizations such as **Now I Lay Me Down To Sleep. This is an important feature, but it can occasionally interfere with the enjoyment of the moment that is unfolding in front of us.
More Snow Geese photos to share…
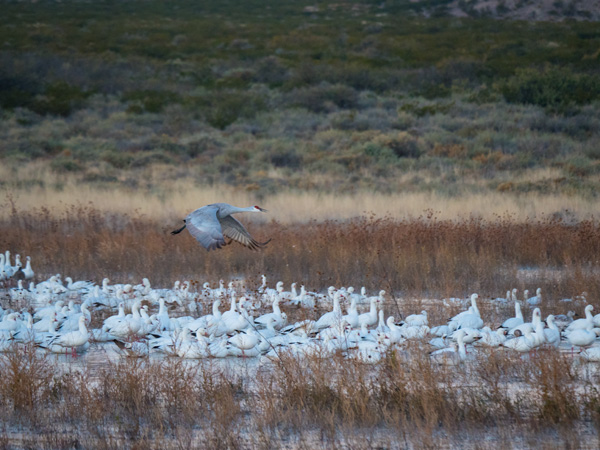 A solitary Sandhill Crane glides in over a pond of snow geese
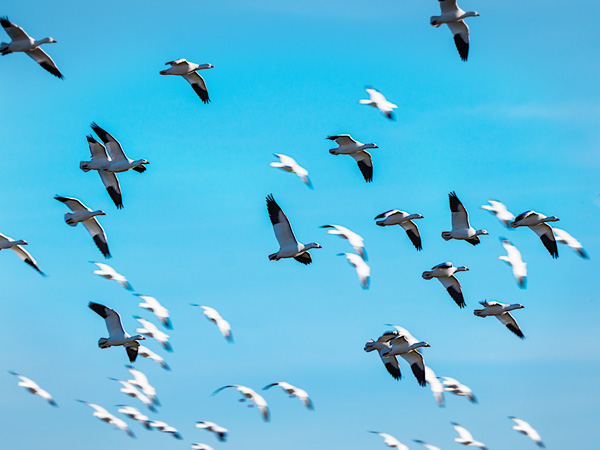 Snow geese in flight
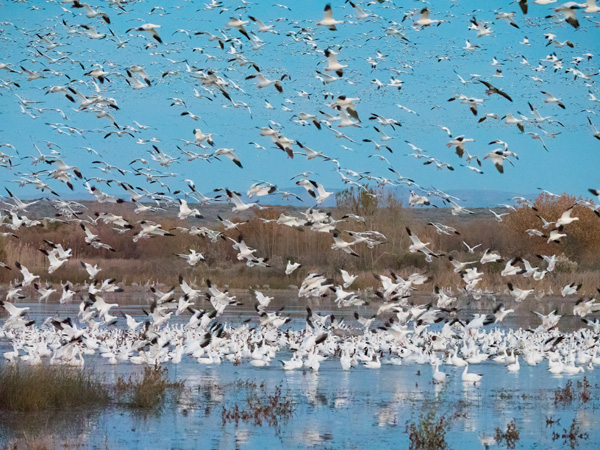 Take off!
 Kinda reminds me of that famous movie from Alfred Hitchcock!
To make successful wildlife photographs, I would suggest that you spend a fair amount of time studying their behavior long before you pick up your camera to try and capture images. I’m a big fan of bird behavior vs. a straight portrait, although portraits have their place. Being able to predict when a bird will fly, open its wings or display for another will make your photographs come to life. Having a lens with a long reach works to help you fill the frame without disturbing the natural behavior. See my gear below which gives me an 800mm equivalent which is handholdable for capture.
Images were made with Panasonic cameras. Most often the LUMIX G Leica DG Vario-Elmar Professional Lens, 100-400MM, F4.0-6.3 ASPH mounted on the Lumix G9 and the Lumix GH5 for a second body. I had the chance to try out the Leica DG Vario-Elamarit 50-200mm 2.8-40 lens I am working toward getting this lens.
Next up the Sandhill Cranes!!
Yours in Creative Photography, Bob
** If you want to give back to your community think about photographing for NILMDTS. It is a very rewarding, if difficult mission.
by successfulbob | photography software
It’s Deal Time with Luminar Software
If you haven’t given Skylum’s Luminar a chance as yet it might be time. It sells for $69 (or if you use coupon code COATES $59) It works as a stand-alone program or as a plug-in on MAC and PCs. This software can be a great time-saver and/or artistic tool. Lot of goods stuff including… Ah, I don’t need to ‘splain it to you. Check out the link it’s all there and worth a look!
 Click here or the image above
Happy Thanksgiving!
Yours in Creative Photography, Bob
PS – This Black Friday deal comes with other goodies too!
by successfulbob | bird photography, Lumix G9, LumixGH5, photography, photography gear, travel photography, wildlife photography
Festival of the Cranes
Bosque Del Apache National Wildlife Refuge
White Snow Geese must have gotten the invitation too.
I was in Socorro, New Mexico at the Festival of the Cranes hanging with the massive flocks of birds and a mass of photographers. Gotta tell you I felt like the Snow Goose whisperer during my workshop. The 10,000-plus Snow geese seemed to be following me around the refuge. Seeing them move as a group and fly mass ascensions from place to place was magical! Here are a few photos to help visually tell the story.
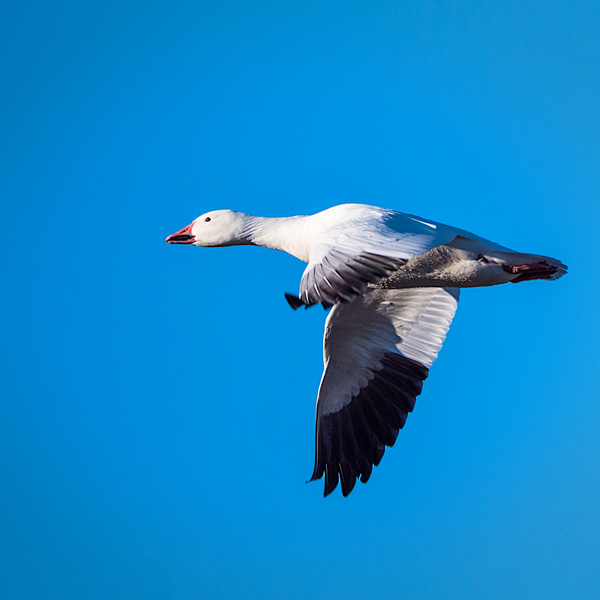
 If you look closely, you can see the water droplets on the goose’s body
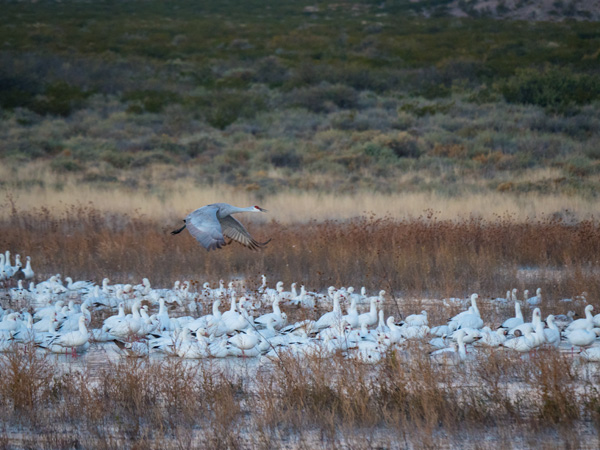 A sandhill crane works to land over a pile of snow geese. The guides at the Festival of the Cranes consider the geese interlopers. (And there were about 20,000 plus!)
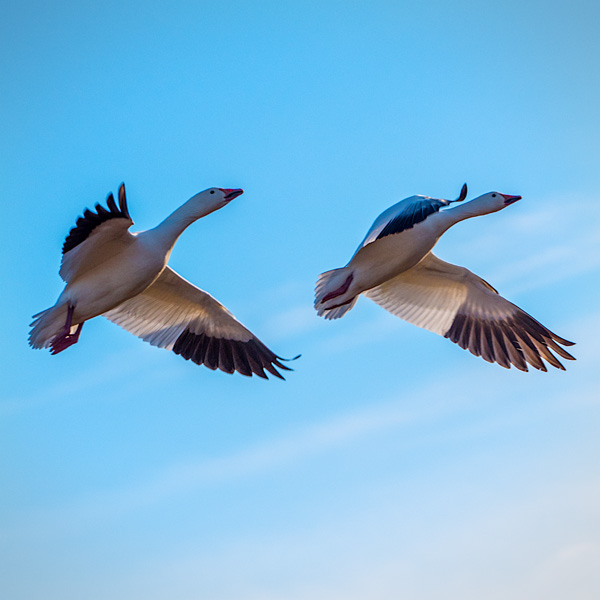
 A pair of snow geese in flight
This trip is my second time at the Bosque Del Apache National Wildlife Preserve, and I certainly hope it won’t be my last. It is a well-managed area with wildlife throughout the year. Each year the cranes and geese return on their annual migration just before Thanksgiving. It is a sight to behold when 20,000 geese take to the air. I’ll share some photos of that spectacle in a day or so. To tell the truth, I stopped making images for a while to experience the display of so many birds in flight, or as my friend, Skip Cohen says, “Take ‘Neurochromes’ and burn the images into your brain.”
Images were made with Panasonic cameras. Most often the LUMIX G Leica DG Vario-Elmar Professional Lens, 100-400MM, F4.0-6.3 ASPH mounted on the Lumix G9 and the Lumix GH5 for a second body. I had the chance to try out the Leica DG Vario-Elamarit 50-200mm 2.8-40 lens I am now lusting after this… A sweet piece of glass!
Have a happy Thanksgiving!
Yours in Creative Photography, Bob
by successfulbob | infrared photography, landscape photography, Lumix G6
Papago Park, Phoenix Arizona
Infrared Imagery
When the sun is high in the sky, and the contrast makes for images that would be too ‘eh’ for making regular color photos it’s time to break out the infrared camera. Infrared is soooo much more natural to capture with a digitally converted camera with Live View. The Live View allows you to see in real time how the image will look in black and white. This is a massive thing as even to try to focus when we were capturing Infrared photos in the film days your filter had to be so dark that you would need to remove it to focus. AND, there would be an adjustment that you had to apply because IR capture focused on a slightly different plane from your regular focusing.
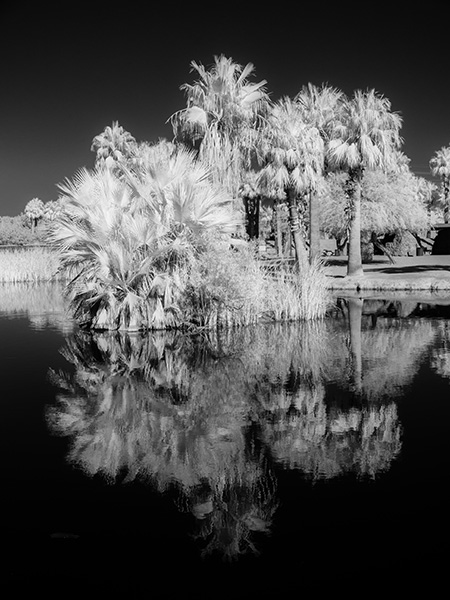
Enough about the past hassles of IR capture here are a couple of images I made yesterday at Papago Park.
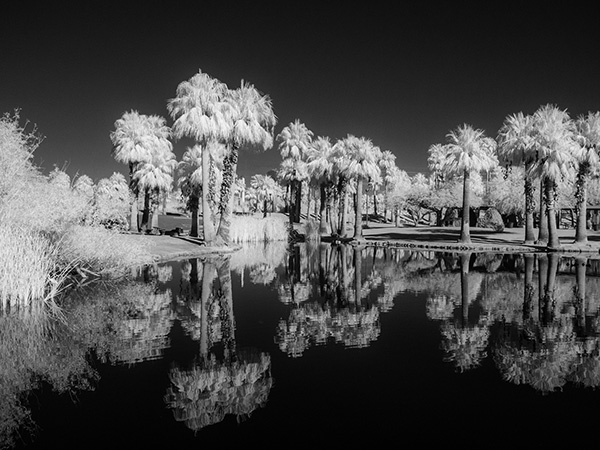 I quite enjoy the high contrast of the water and sky with the light palms
 The IR converted camera file initially comes out a magenta file, so it needs some massaging in Adobe Photoshop to be the BW we’ve come to know and love.
Some Notes on How I processed these images
There are lots of convoluted processing possibilities to getting the IR look. In this case, I’m coming up just a wee bit short on the full IR feeling, but I like the results. In Photoshop I remove the color by decreasing the saturation, adding Clarity, opening shadows or highlights. I also adjust the Temperature slider making the blue sky and the water reflecting the blue sky darker.
As a final touch, I use Luminar 2018 as a Plug-in and add an Orton Effect or possibly a Glow depending upon the image feel for which I am going.
Camera is the Lumix G6 (using an older camera collecting dust on your shelf for conversion is fine as long as it has Live View) Conversion done by LifePixel. There are varieties of IR filters you can choose to check out the info here. I have gone with the old standard.
If you have any questions, give me a shout.
Yours in Creative Photography, Bob

 A baboon named One at the Phoenix Zoo. I spent a bit over an hour waiting to get this portrait with eye contact in decent light. Black and white allow for concentration on his expression.
 This Mandrill was sleeping for quite a while, but I hung around until he started foraging around in his enclosure. Expression and eye contact are paramount in making this a success. (the color of his features don’t hurt either!)
 This Orangutan was walking away, and I mentally willed her to look at me over her shoulder. I will often ask mentally for my wildlife to change position and it’s pretty cool how often it works.


