
light entry point for better panorama stitching
The light entry point (LEP), AKA nodal point, is an important part in getting high quality panorama photos. If you set your camera to be over the rotation of your camera your software will have a much easier time giving you a quality result. Here is a way to ensure you have found the LEP for your lens. Note that should you be working with a zoom lens you will want to find the LEP for a couple different spots on your lens. The LEP changes when you zoom in or out.
Light entry point
Light entry point, or entrance pupil, and where it is in relation to where the camera pivots, is the key to better panorama stitching. Panoramas can show your world in a creative way. Many times a pano tells the best story of your scene. Better results can be found using a couple things I’ll share in this article.
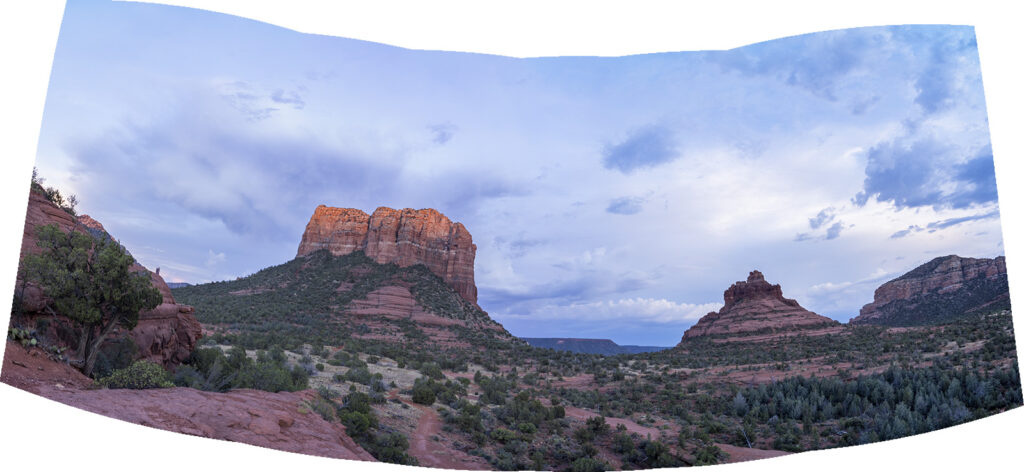
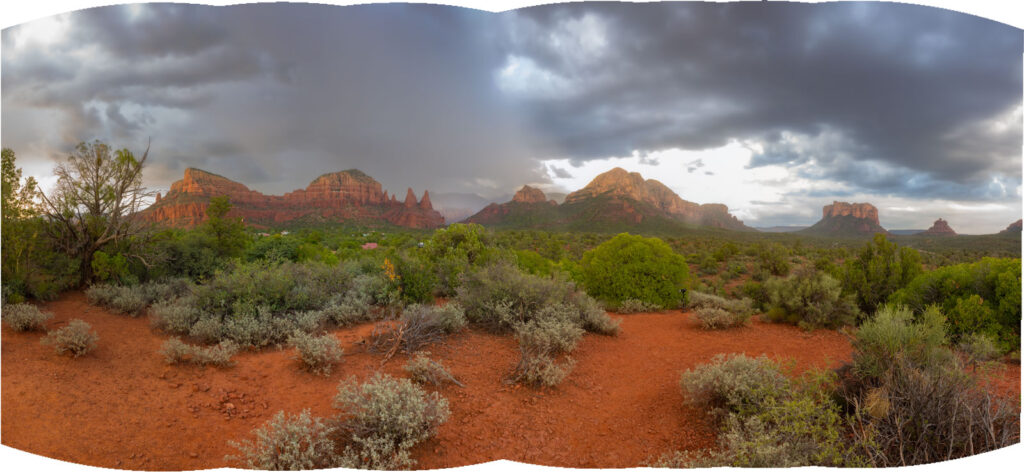
Let’s talk about why your panorama software might not render your stitching of images properly. Hold your thumb out in front of your face with your arm extended. Close one eye. Then close the other eye and your thumb appears to jump from one position to another even though you know it hasn’t moved. What’s happening is the angle of view from one eye to the other changes the background that is visible giving the the appearance of movement.
When your camera does this blending images together becomes very difficult and weird things happen in stitching. This anomaly is more apparent when you have something that is relatively close to the camera. When the pivot point is not over the light entry point. If the panorama subject is further away and you have nothing in the foreground your software has less of a problem with the stitching which is why you can get away with it sometimes and not others.
Panorama head kits
There are specific panorama heads for getting your camera. You can spend from just under a hundred bucks to well over $700. Ask yourself, “How much am I going to produce this type of work?” If it’s a LOT and you need super accuracy then you’ll want to spend the higher dollar amount and buy the higher quality materials. If you are willing to work a little harder and McGyver your way to a result then you’ve come to the correct blog post.
Frugal person’s panorama kit
If you are working with a wide angle lens you can get away with a few bits and pieces. A 120mm quick release plate, $10.99. https://amzn.to/3HgutFS If you want to work with longer lenses a 150mm or longer plate will be useful $15.59. https://amzn.to/3QSL59Y Arca Swiss clamp $24.95. Arca Swiss ‘L’ bracket, $19.95. https://amzn.to/3XFkZJN I use Peak Design camera straps so that I can quickly remove or replace the strap when working on a tripod. Not necessary, but I find it much easier than trying to wrap the strap. https://amzn.to/3XKjjOX. If you would like to do multi row panoramas you will need to tilt the camera while staying over the LEP.
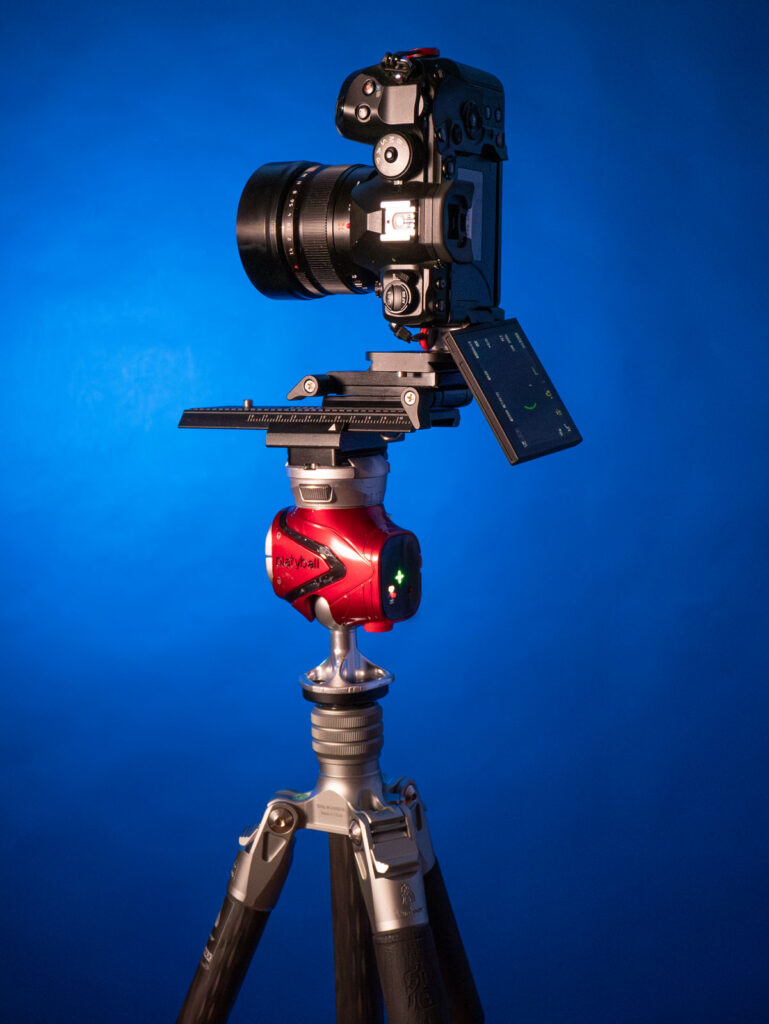
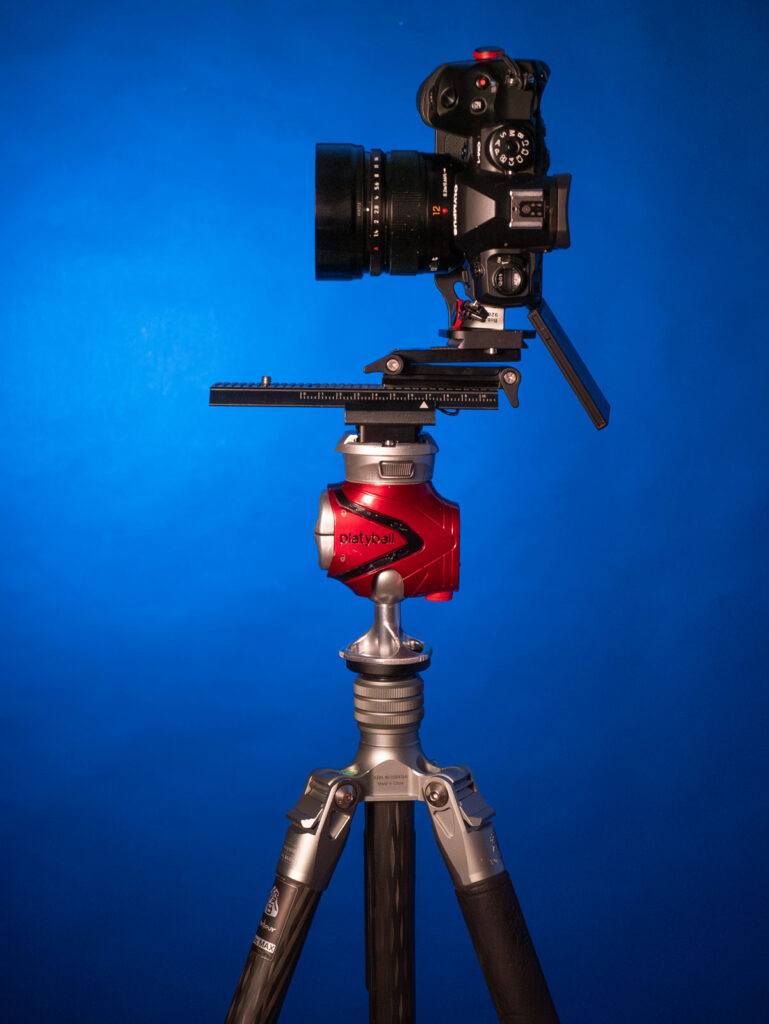
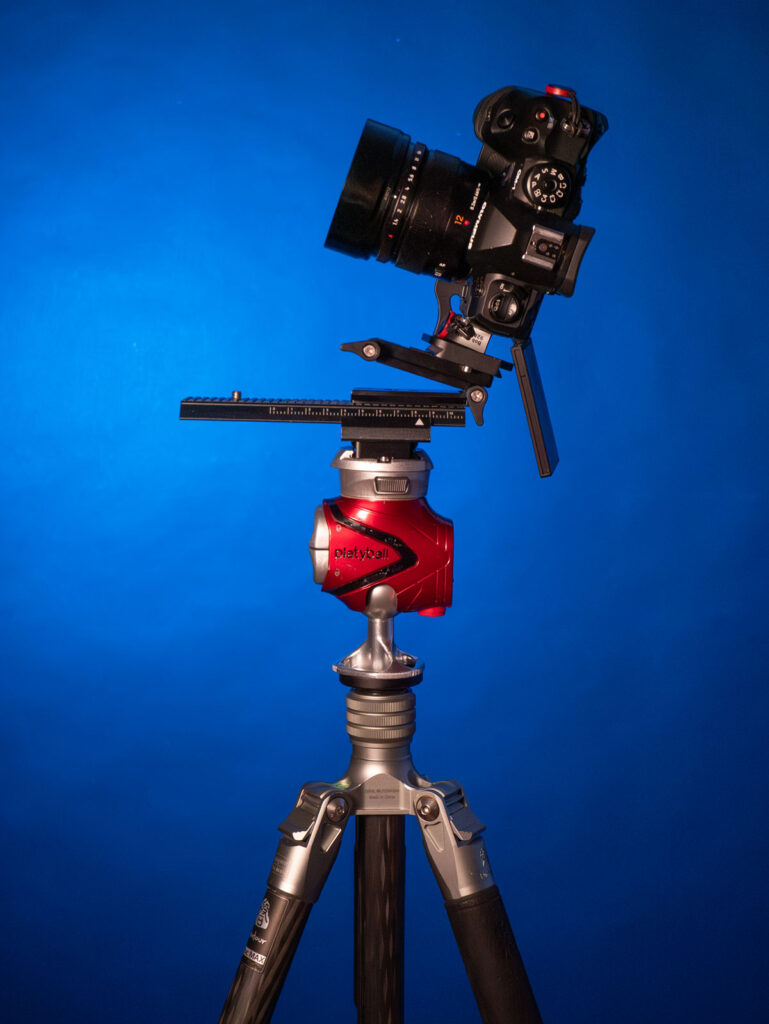
If you want to get a little more advanced with the poor man’s panorama set up shown above check out these items. Six inch sliding macro rail, https://amzn.to/3xYMtmh. Universal Flex Tilt Head Z Mount Bracket, https://amzn.to/4eTg6WQ.
finding the light entry point
Here is one way to find the light entry point. Make it so your camera can move forward and backward on your tripod. You can either add a macro focus rail or buy a long Arca Swiss plate. (see above) In order to really understand the changes happening due to the lens position I recommend you perform these tests for yourself.
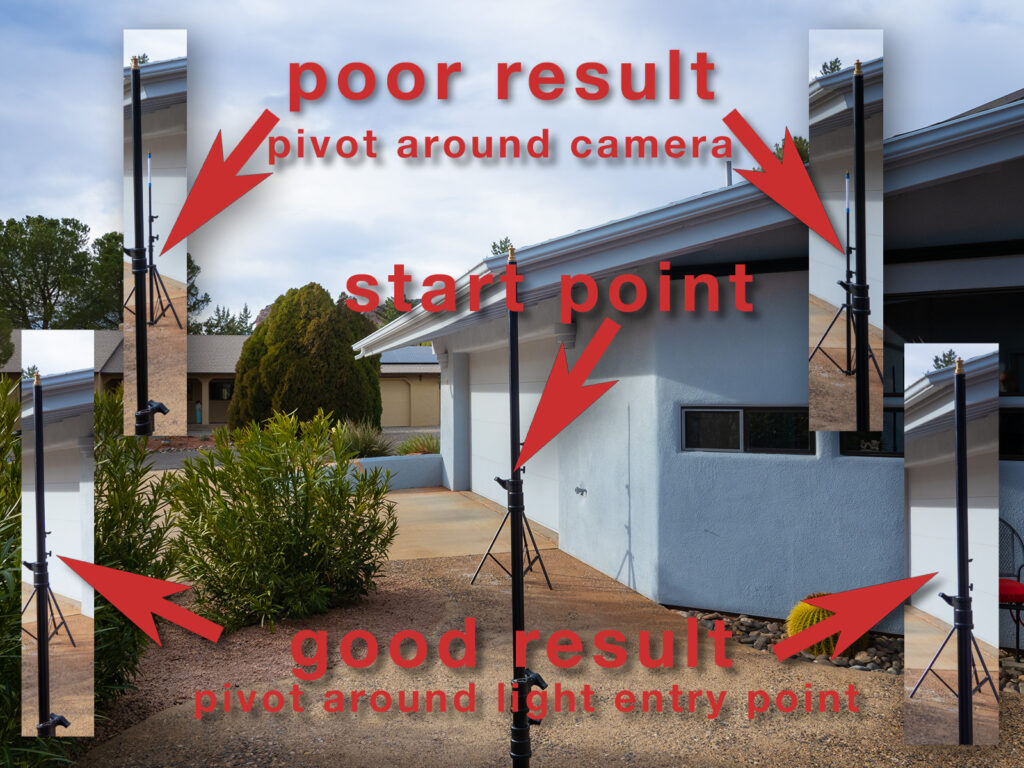
Set up a couple light stands. One about six feet in front of your camera. The other at least 15-20 feet away. If you have a small space you can use the corner of the room for your second vertical or move outside like I did so you couldn’t see my messy studio. In order to better see the results I wrapped and taped a piece of paper on the further light stand.
Place the camera over the tripod pivot point, where it would normally sit without the longer plate. Line up the two verticals in the center of your frame. Make an image. Pivot the camera so the foreground light stand is on the right side of the frame. Grab a frame. Move the camera to the left side of the frame. Repeat photographing on each side.
Next, slide the camera backward so the front of the lens is closer over the pivot point. Make the same exposures. Note the difference. You may have to repeat several times moving the camera forward and back until you get it just so.
Repeat the process until the further light stand or vertical reference is always covered by the front light stand. Note or mark the lens where the pivot point is for future reference.
Yours In Creative Photography, Bob


