Pre-visualization Part 2.
And, the anatomy of post production of an image to meet the pre-visualization. That’s what we’re continuing talking about today. I saw this final image in my head before I even made the photo. (if I could only get there in time) Here’s the story…
Esteban is an extremely talented artist with the guitar. I have been fortunate to photograph him on numerous occasions. Last time out (see post here) I made images of him for marketing and promotion and I was gifted with seeing a lighting situation during a live performance that I knew would be wonderful in color. And, then especially in black and white. If only I could get to the right position, with the right lens, before the dynamics of the situation changed.
Moved quickly across the room while changing lenses. Dropped to the floor and fired off about 8 frames before he came out of the position and the lighting changed.
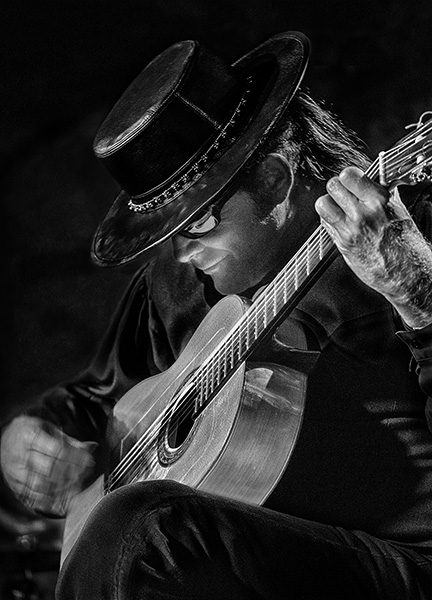
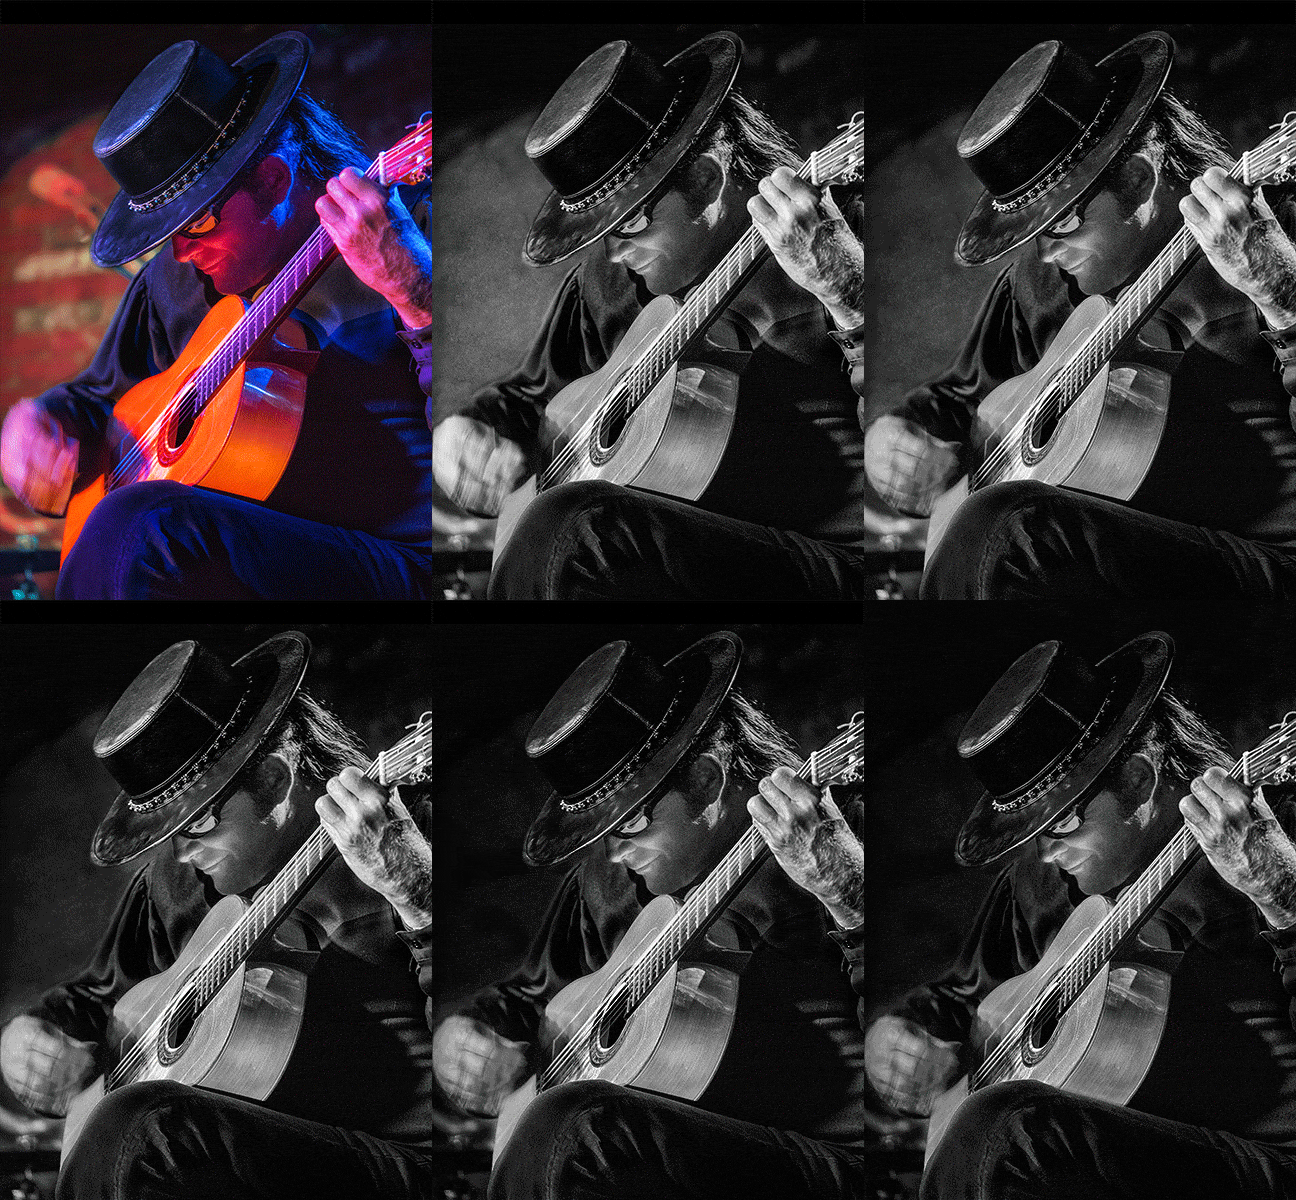
Here’s the Black and White version building upon the color version from yesterday followed by an Animated Gif showing the steps of post production…
Esteban image after building on the color version.
Color processed file. NIK Silver FX Pro 2 for BW conversion. Clean up background distraction. Add detail to hand from another capture. Tone down Background w/ Curves Layer. Duplicate Curves Layer. Add Soft Light Layer Painting with grey to burn down image. Copy of previous Layer. Remove distracting shadow from leg near guitar. Final Soft Light Layer for final burning adjustments.
Was there more in post? You betcha! Some things are very subtle like selective sharpening of certain places in the image to further guide the viewer around. They would be too subtle to show the differences in this Animated Gif.
Yours in Creative Photography, Bob
PS – Original image was captured with the Lumix GH4 with the 35-100mm f2.8 Vario Lens under stage lighting conditions during a live performance.
PPS – So which image do you like better? Color or Black and White??


