Photoshop Extraction Tutorial – Ray
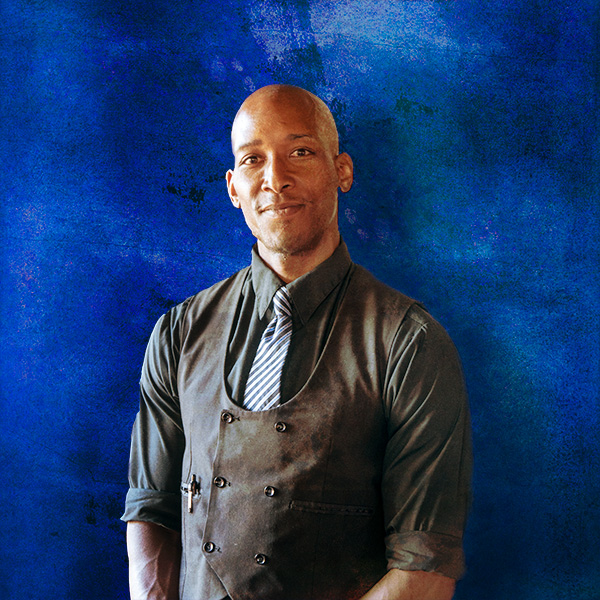
While out to dinner with my wife I was studying, as I always seem to do, the light as it played across the room. I also watch the shadows on faces as people step into different light situations. Ray, the waiter, was standing with the large light source of the front doors shaping his face. I was taken by the way the light split his face. I asked if he would mind stopping for just a moment so I could get a quick capture. He agreed.
While the light and shadow were looking good on him The area in which he was standing left a little something to be desired. In the quest for the best of both worlds I exracted Ray for the scene, he was in and using textures, layers, blend modes and more shadows I created a bit more artistic space for him. As part of this exercise I also placed Ray into a scene I captured near St. Marks Square in Venice, Italy. See the tutorial for more info.
This video was requested by someone who saw the finished product and wanted to know how to accomplish this in post-production.
The image was captured with a Panasonic Lumix LX100 which I call the professional photographer’s point and shoot. Adobe Photoshop was the obvious choice for the completion of the personal project. I am always assigning myself personal projects to experiment, expand my skillset and keep in practice. If you don’t practice your photography and post-production skills on a regular basis, it always seems to be a strain rather than a pleasure to do post-production. Remember that to keep in top form you need to practice regularly, or the rust starts to form quickly. Think about professional golfers coming in from a hard day out on the course and heading straight the putting green or practice range as soon as their round is finished.
For another tutorial on extraction using some different tools check out this tutorial
Yours in Creative Photography, Bob
PS – See the original post here


