Prickly Pear Cactus Time Lapse Bloom
I enjoy the ability to create time-lapse video in the Lumix line of cameras. Built into the cameras are settings that many cameras need an add-on to complete the captures. One of these is an intervalometer which makes it possible to set the number of images to record and the timing in between each capture that is made. Even better is the in-camera processing to see your videos almost immediately without having to download images to a computer for processing.
In today’s post, I’m going to look at three versions of in-camera processing and then another version where the jpeg files were downloaded, processed through Adobe Camera RAW and then run through Time-Lapse Assembler for a different look. Time-Lapse Assembler is a free download.
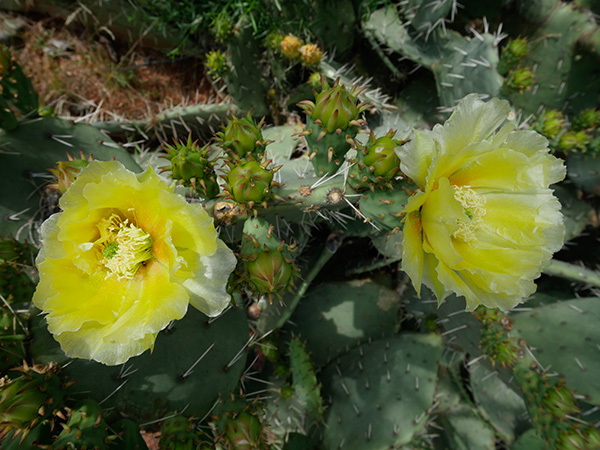
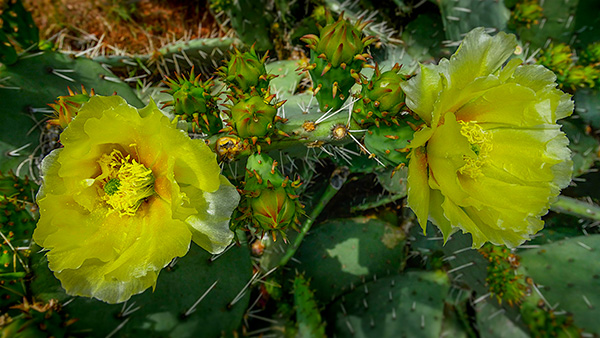
First, let’s take one of the original jpegs that I processed through Adobe Camera RAW and added a little zip and pizazz with the MacPhun Plugin from their Creative Suite called Focus CK.
 Original SOOC (straight out of camera) capture
 Cropped to 16×9 aspect ratio and added some clarity and saturation in Adobe Camera RAW. Then finished off with MacPhun’s Focus CK plugin to add a bit more snap and intensity.
Here are the three versions processed straight out of the Lumix GX8 camera sized to 4K. You can choose any number of settings for size along with the number of frames per second. I used 6 fps, 12 fps, and 24 fps. Because I made these in 4K I am able to add additional movement to the videos without loosing quality.
Images were resized to 16×9 aspect ratio and saturation along with clarity was added. They were then saved out to jpegs. The files were processed into a six-image fps and twenty-four image fps videos. These were not able to have panning and additional movement as they were processed to HD size.
Yours in Creative Photography, Bob


