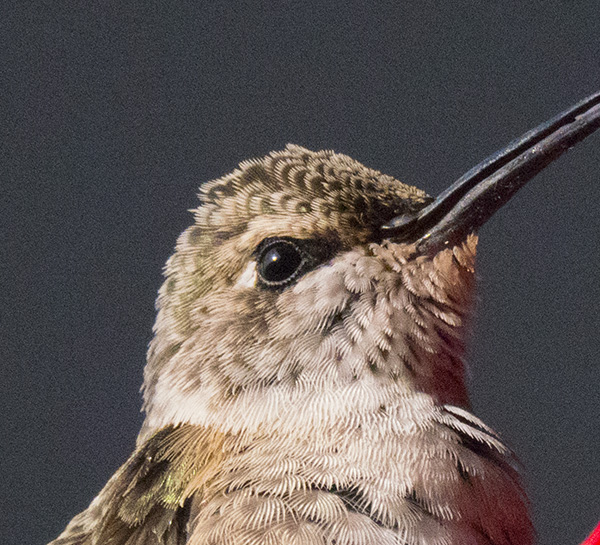
Hummingbird Photo – Lumix GX8
Hanging out this morning and thought I’d do some camera testing with my Lumix GX8 and the 100-300mm G Vario f4-5.6 (200-600mm equivalent) lens. I made these images handheld with stabilization turned on. Settings for these were f14 1/2000th sec at ISO 6400. I’ll share some hummingbirds in motion images at different settings a little later. I became enamored of this little critter because he had so much peppy personality. Looks like he just arrived from a long migration. He’s not one of our local birds and seems a little worse for wear.
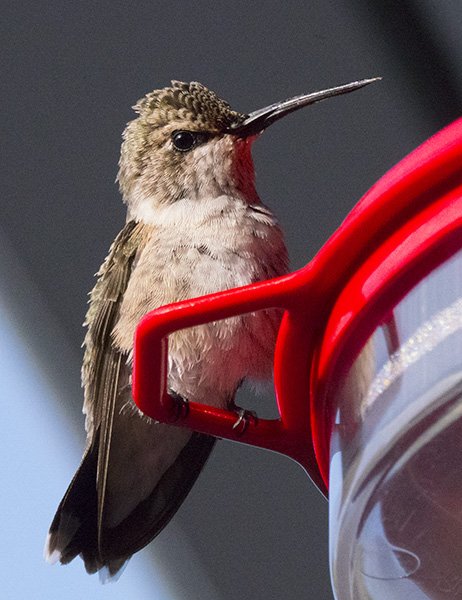 Hummingbird Straight out of the camera. He’s checking me out.
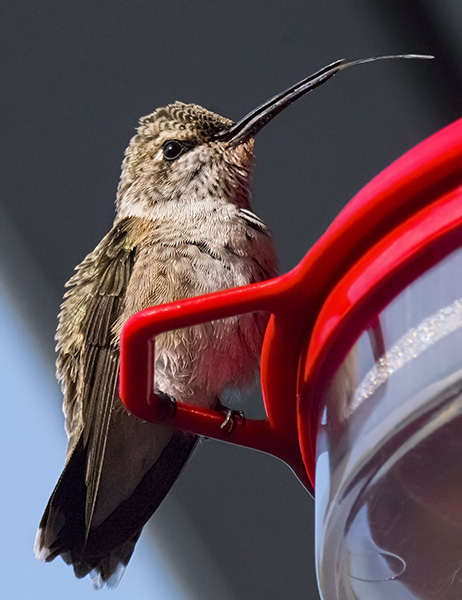 After seeing me, he stuck out his tongue! Not sure if that was social commentary or not. Here’s the little guy after processing with MacPhun Noiseless and MacPhun Tonality (for sharpening the feathers just a bit more. Explanation below)
So these images turned into a processing exercise. Some photographers mention that they are concerned with noise in images from smaller chip cameras like the micro 4/3rds. Personally, I feel that we get a little too hung up on that as the newer algorithms that are used in processing give a very natural feel to the noise that replicates the grain structure we had back in film days. (can you hear my creaky bones as I talk???)
To see if there was an elegant solution for those who have a concern when you push the camera to higher ISO’s thought I’d see how software might be of help. Oh man, it does if you are on a MAC. I’m using MacPhun Noiseless, and it worked a charm. MacPhun is only for MAC OS systems. I’m sure there are similar products for those on PCs. One of the problems I had in the past with noise reduction programs is the removal of detail that I wanted/needed in some parts of the image. I’ll let you decide, but I don’t think that’s a problem anymore!
On to the processing!
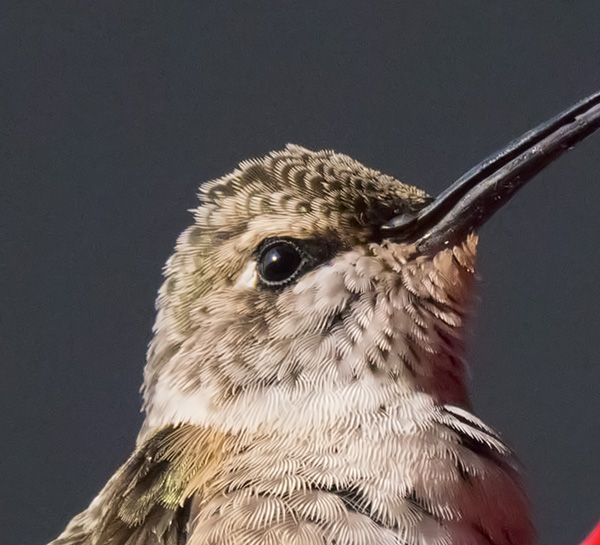 Here’s the image after running MacPhun’s Noiseless software. There are lots of settings and possibilities. This was a fairly aggressive treatment. It smoothed out the noise in the background nicely without losing detail in the feathers.
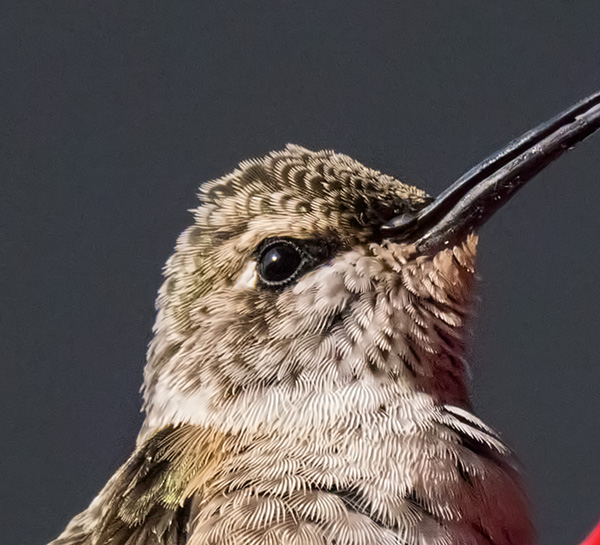 This is the final. I used the Tonality software from MacPhun to sharpen the feathers a bit more. “Wait a minute Bob! isn’t tonality made for making an image black and white?” You bet. But, I liked the controls that allowed me to sharpen small details and micro control the contrast in different areas of the image. The secret is to do this on a separate layer and change the Layer Mode to Luminosity in Photoshop. Then only the information that is Luminous is applied to the image. Using a Layer Mask, I applied the sharpening to only the feathers.
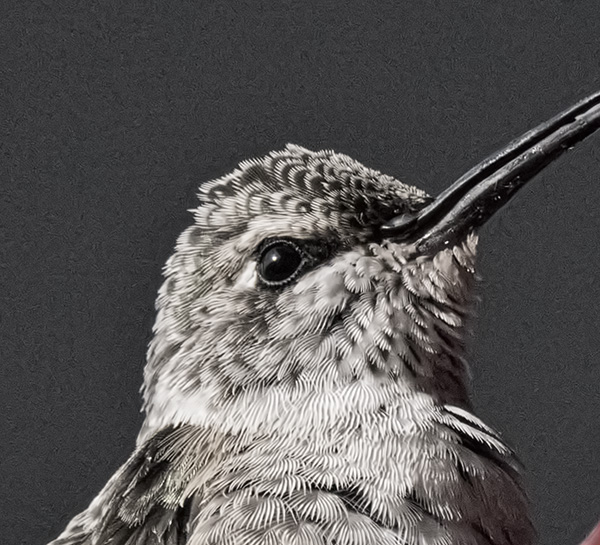 Here is the Tonality layer without a mask. You can see where it sharpened the background as well hence the use of the Mask in Photoshop in addition to changing to the Luminosity Mode.
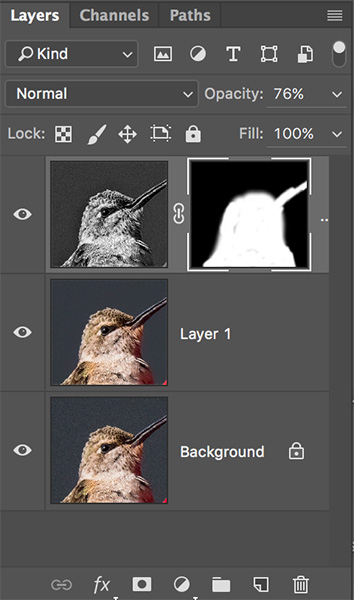 Here’s the Layers Palette. Background Layer is original capture. Layer 1 is with noise removal. Top Layer is Tonality with a mask.
Yours in Creative Photography, Bob


