Infrared Photography – Some Members
of Infamous Mopar AZ Chapter Car Club in Sedona
You never know who you might run into when you are out photographing clouds. While I was catching some infrared photos at Bell Rock Vista in the Village of Oak Creek in Sedona, three pretty cool cars started backing into spaces right behind me. When I realized they were lining up to take photos of their cars I moved out of their frame.
We started to chat, and it turns out we have a lot in common. They are members of the Infamous AZ Chapter Mopar Car Club, and I once had a cat I named Mopar because of the way she purred. OK, I have a weird sense of humor, but you get used to it I think. I believe all people are connected in one way or another.
Since the cars were lined up, I captured some photos with my infrared set-up. (see this post on processing infrared files from this session)
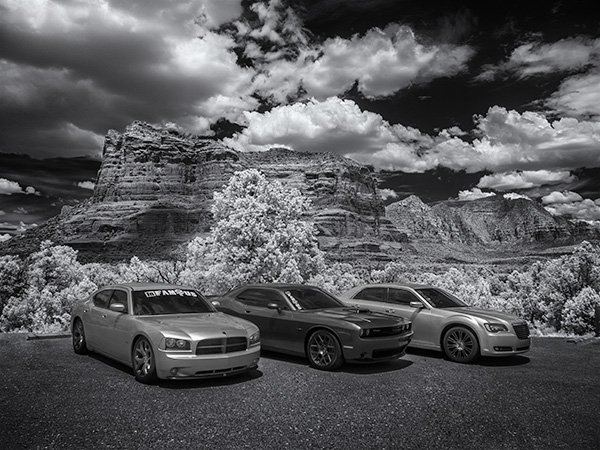
Here are a couple of captures.
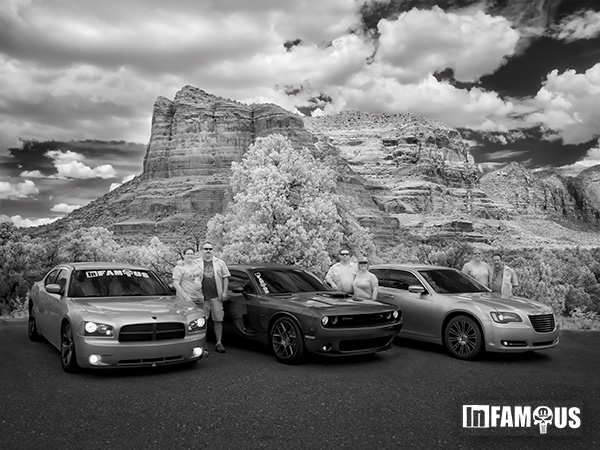 Three couples from the INfamous Mopar AZ Chapter
The three couples I met while photographing with my infrared Lumix G6 camera at Bell Rock Vista. This image was processed in the same way as was described in the other post.
 Cars from the Infamous Mopar Car Club AZ Chapter in front of Courthouse Butte in the VOC, Sedona
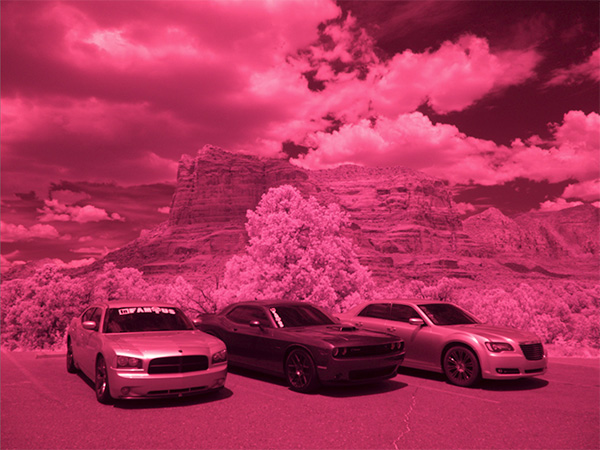
This image was processed in a different manner from the on above. I started with the RAW file. In infrared converted cameras, the RAW image will have a severe magenta cast.
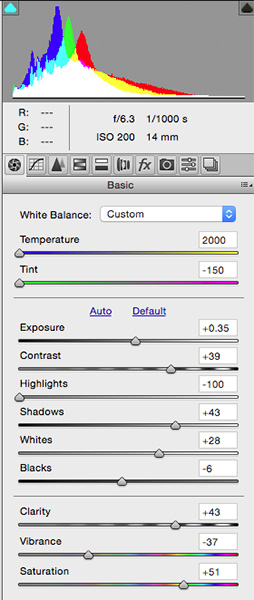
First stop was into Adobe Camera RAW for initial processing. Settings were to move the Temperature Slider all the way to Blue. The Tint Slider all the way to Green. Exposure boosted 1/3 stop. Contrast increased. Highlights were lowered, and Shadows raised. Whites bumped up a bit, and Blacks brought down. A small amount of Clarity was added, and Vibrance was lowered. 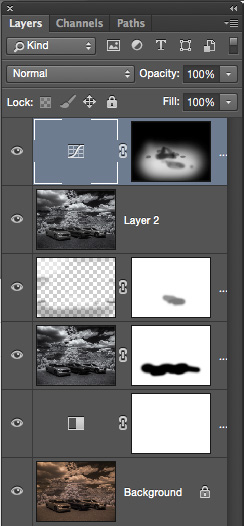
Adobe Photoshop Layers Palette
The Background Layer shows how the image comes out of Adobe Camera RAW with the processing shown. It is quite a Sepia tone which cold be OK but not the look for which I was going Above that is a Black & White Adjustment Layer. Next up, is the Layer generated by a trip to NIK Silver FX Pro 2. (available free of charge from Google) It created the full black & white conversion. I added some structure, grain, and controlled the intensity of the black and white. There’s a Layer Mask to allow some of the original image to show through without the processing from NIK. Above that is a Layer in Soft Light Mode for dodging and burning. The top Layer is a Curves Layer to allow some selective lightening of the image to bring some extra attention to the cars.
I think these infrared images would look great printed on metal.
Yours in Creative Photography, Bob

