Infrared Photography on the Oak Creek
My job is tough!
Yesterday I took on the task of going hiking in Oak Creek Canyon in Sedona, Arizona to capture infrared photos. OK, maybe tough isn’t the correct word for this assignment. I love almost all aspects of working in photography. Getting out into nature and exploring is high on the list of the good parts.
I’m up in Oak Creek Canyon between Sedona & Flagstaff. The picnic area is called ‘Halfway.’ So named because it’s halfway between the hugely popular (& crowded) swimming hole known as Slide Rock and an excellent trail called West Fork. Halfway is a little less traveled spot as you have to scramble down a fairly steep embankment while climbing over rocks. Once down to the creek there’s a bit of rock hopping to navigate your way around.
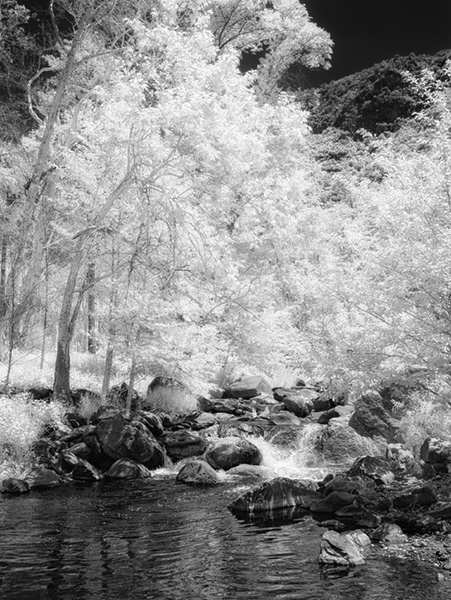
 LUMIX G6 20MM LENS F1.7 LENS @F9 ISO 160 1/200TH SEC
But I digress.
On to today’s thoughts on working the with a camera converted to infrared. I had my Lumix G6 converted by LifePixel with a standard IR filter ad it is working out pretty much as I had hoped it would. I find myself using the 20mm Lumix f1.7 lens quite often. It’s sharp, fast, light and has a very low profile. I guess at a 40mm full frame equivalent it pretty closely matches a standard field of view which I feel lends itself to most of my infrared captures.
As I make my IR captures I have been bracketing exposures. When I first started I was bracketing by five stops as I was learning how the camera ‘sees’ with the IR filter installed. I’ve now moved to a three-stop exposure bracket but I also set an exposure compensation adjustment depending on the dynamic range of the scene in front of me. I am capturing the images in RAW plus jpeg with the camera set to black and white. White balance is set to daylight.
The image above is two jpegs blended together to achieve the tonal contrast for which I was looking. After getting the tones blended in Photoshop using a mask, the Layers were merged and a trip to NIK Silver FX Pro 2 for some sharpening. I used the Structure and Fine Structure settings si tweak the sharpness and change the resulting layer blend mode to Luminosity. Only the luminous information is then transferred to the image. Then NIK Color FX Pro 4 was added utilizing the Glamour Glow to add some IR life to the highlights. The shadows were protected from the glow.
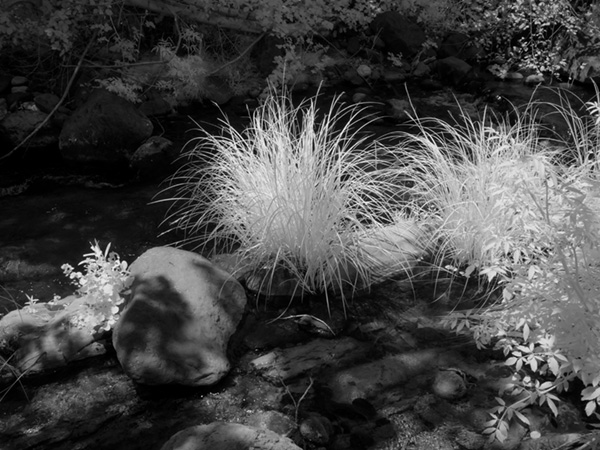 LUMIX G6 20MM LENS F1.7 LENS @F14 ISO 400 1/200TH SEC
This image was processed from a single jpeg which was opened in Adobe Camera RAW. Jpegs can be opened in the RAW editor to use the controls available but it does not have all the information of a RAW file. I was just trying to control contrast with this treatment so I didn’t feel the need to start with the RAW file. Exposure was adjusted as well as the highlight and shadow detail. A soft light layer was added for some dodging and burning. A vignette completes the treatment. I enjoy all the textures and tones of this scene.
Infrared photography can take midday, which is usually a tough time of day for making photographs and turn it into a blast.
That was my play yesterday. I created a few more scenes I’ll share with you tomorrow.
Yours in Creative Photography, Bob