Tip – Target Mode Macintosh Computer
Today’s post is brought to you by the letter “T.” The first three people who get in touch with me with the number of “T’s” that appear in this post get a 1/2 hour coaching session on the subject of your choosing.
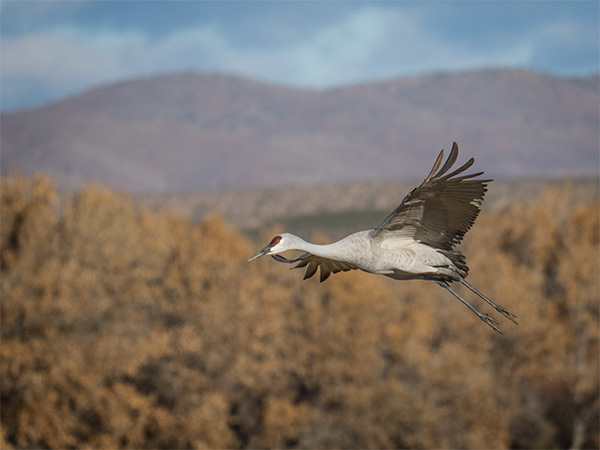
When on the road I download images to my laptop computer to check on photos especially when experimentation with new techniques is involved. Such was the case this past week when I photographed sandhill cranes at Bosque Del Apache Wildlife Preserve in New Mexico.
 When photographing wildlife, especially when tracking birds in flight, you can be capturing lots of frames from testing shutter speeds, focus, and experimentation for special effects.
Upon return from a shoot like this, rather than download all the images from the camera cards all over again I start the computer up in Target Disk Mode. When in this mode the laptop is recognized as a hard drive when connected via a Firewire, USB, Thunderbolt, and transferring the files can be done pretty quickly. Saves extra time too as I’ve already been culling the duds and misfires and lightly processing some of the images.
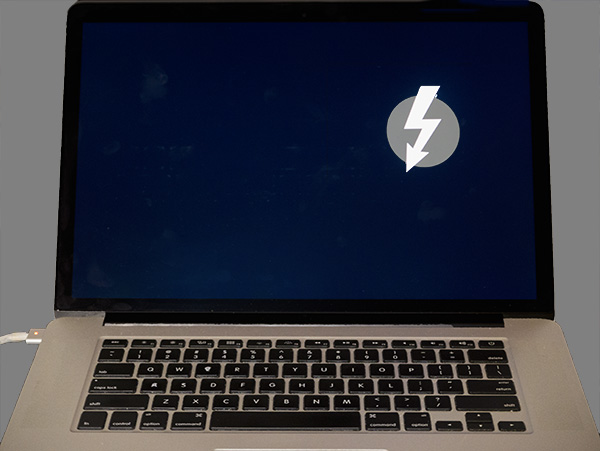
 Here’s what your screen looks like when it is Target Mode. That little icon rides around on your screen.
Target Disk Mode is easy to do. Click the “Startup Disk” icon and click the Target Disk Mode button to restart your Mac in Target Disk Mode. You can also enter Target Disk Mode by rebooting your Mac and holding down the T key as it boots. Connect your Mac via a Firewire or Thunderbolt cable.
Yours in Creative Photography, Bob