infrared imaging
It’s a bit of a different world when you move into infrared imaging.
This is photography with a totally different look.
It used to be very difficult to capture infrared as the filters used to allow the non-visible light spectrum through were extremely dark making it difficult to see and frame your subject. The film was extremely sensitive and was quite susceptible to fogging ruining exposures before you even got them into the developer. In addition there was the need for focus adjustment as visible light focused on a different plane than the invisible spectrum which would often lead to out of focus images. And finally there was lots of grain in many of the captures.
Fast forward to today… I just received my Lumix G6 back from LifePixel after a conversion to allow the camera to capture infrared. It’s still not quite a piece of cake to create an infrared image but the capture sure got easy!
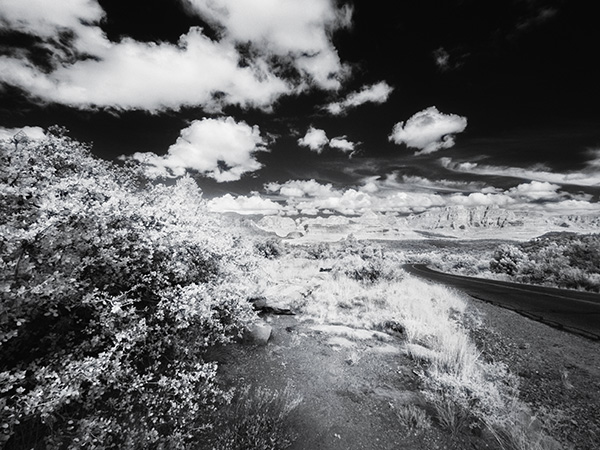
First infrared image from newly converted Lumix G6.
In this image the foreground area was in shadow so it wasn’t receiving the full infrared effect but the clouds, sky and rocks in the distance showed well. To combat this the image was triple processed. Once for the top half, and twice for the bottom to carry the infrared look through the image. Black and White conversion was made with NIK Silver FX Pro 2. Masks were applied to make the changes
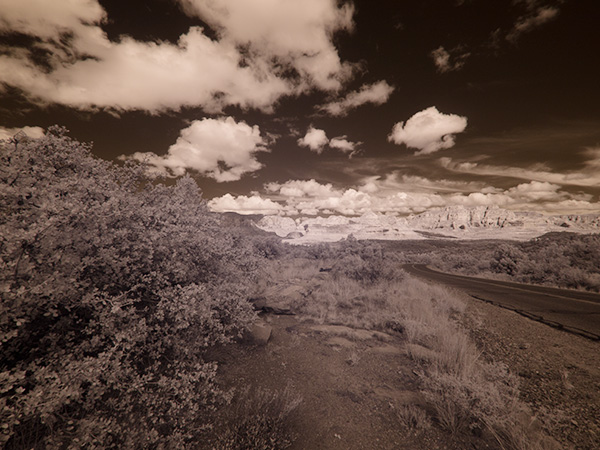
With the filter switched to a straight infrared filter you end up with a reddish sepia-tone image straight out of camera.
In order to have a better idea of what I was capturing as far as a final image of Black & White infrared I shot with a camera setting for Black & White. I then set the camera to capture RAW + Jpeg so I would have all the information presented to the camera but also have a quick BW in the jpeg.
There is another way to process the images (well probably as many ways as there are photographers) which I’ll share in another post using Photoshop Channels.
Yours in Creative Photography, Bob
Here are some links to my follow-up IR posts
https://chd.lzi.mybluehost.me/infrared-imaging-part-2/
https://chd.lzi.mybluehost.me/infrared-photography-part-three/
https://chd.lzi.mybluehost.me/gila-wilderness-infrared-photos/


