by successfulbob | cloud photography, Lumix Lounge, Lumix LX100, photography, photography books, photography creativity, photography gear
Love looking out from the window seat at 33,000 feet. The views and cloud formations can change at a moments notice! I am inspired now that I am flying quite a bit to capture images. Main inspiration comes from Julianne Kost and her book Window Seat – The Art of Digital Photography and Creative Thinking
On this quick trip to Professional Photographers of America headquarters in Atlanta for a committee meeting I was able to grab some pretty interesting images. Some can stand alone but I have a feeling that most will enter my files as textures and forms and vistas for my art creations.
Here’s a few of the captures…

Sun rays over clouds

Jet wing over clouds
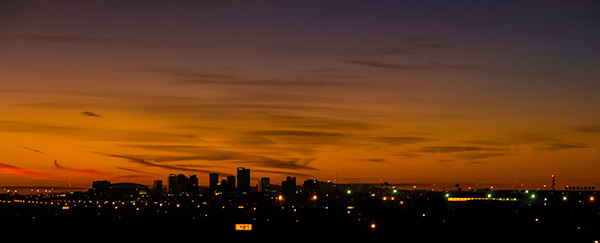
Phoenix skyline from airport at sunset
I used the Lumix LX100 which I have dubbed the “Professionals Point & Shoot” camera. It has fast glass opening to f1.7-2.8. 25-75mm Leica DC Lens. Full video capability including 4K Photo capture. I really enjoy that all camera controls are ‘Old School’ in addition to the menu capabilities. All settings are available via dials on the exterior of the camera including aspect ratio, exposure compensation, focus settings, aperture and more. It’s a rugged little camera that is almost pocket size.
The LX100 was the only camera I brought with me on the trip and I wasn’t disappointed with what I was able to capture. It’s a sweet little machine.
Yours in Creative Photography, Bob
by successfulbob | commercial photography, fine art musician portrait, Lumix GX8, Lumix Lounge, musician photography, people photography, photography, photography creativity, photography education, photography gear
I always enjoy the challenge of photographing musicians live on stage and the additional challenge of turning the images into art for the ‘Wall of Fame’ at Sound Bites Grill. Last Saturday night it was Jeordie and the Mixology Project. Mix together a sweet voice with some fun, and moving, original music, fine musicians and you end up with a great evening’s entertainment.
Heeere’s Jeordie and the band.
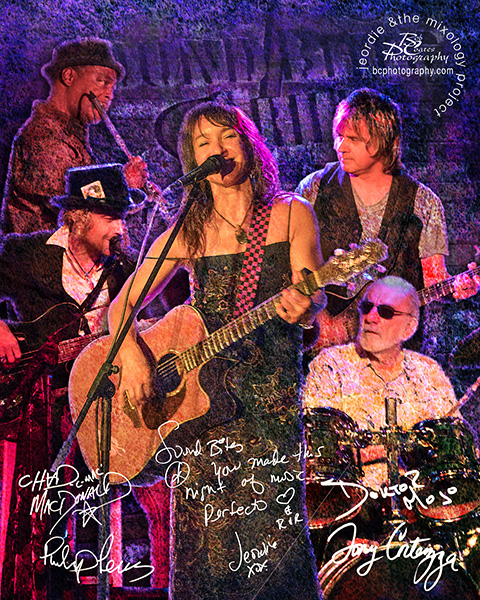
Jeordie right there front and center. Doktor Mo on drums. Chad on lead guitar. Philip on flute. Tony on bass.
Each musician was selected from their photo and placed in the frame. Adobe Photoshop was used for the extractions. Drop Shadows, Inner Glow, Textures and Layer Bend Modes were incorporated in creating the art look for the WOF image. Autographs and the message were signed the night of the performance with black marker on white paper. These were scanned then imported and sized. The signature layers were inverted then the Blend Mode of those Layers was changes to Screen to allow the black to disappear and allow just the ‘white ink’ be left for the viewer.
All images were captured with the Lumix GX8 and the 35-100mm f2.8 Lumix Vario lens. (That’s the 70-200 35mm Full Frame equivalent)
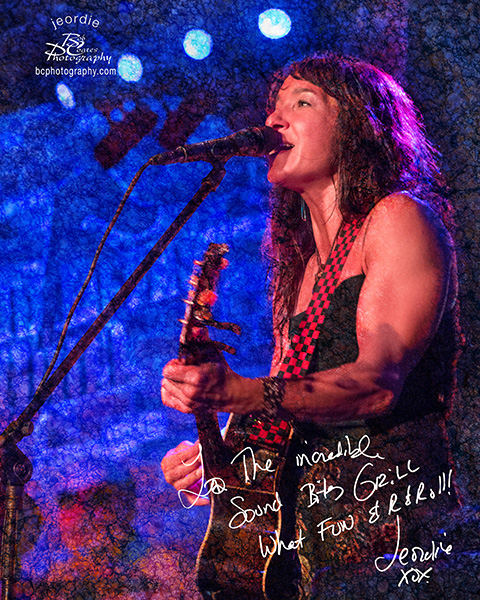
A similar treatment in Photoshop of Jeordie by herself.
I also produce ‘straight’ images of the artists for marketing to the press in color with no artwork. I make the conversions to Black and White so there will be good solid contrast and definition. I’ll show you a couple of those tomorrow.
Yours in Creative Photography, Bob
by successfulbob | Lumix GH4, Lumix GX8, Lumix Lounge, musician photography, people photography, photography education, photography gear
Here are the ‘Wall of fame’ images for Sound Bites Grill from last Saturday night.
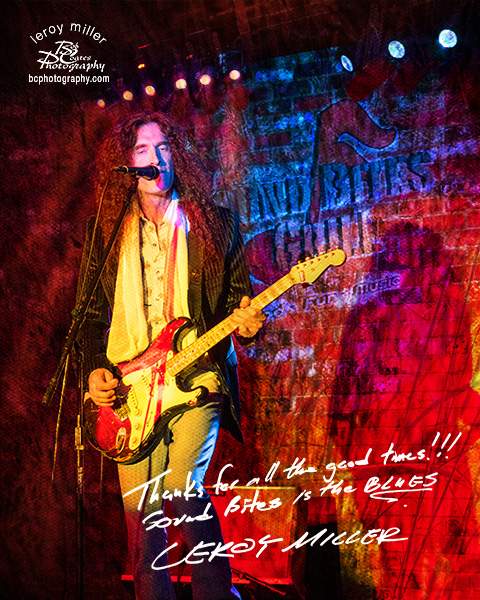
Leroy Miller Blues rocker
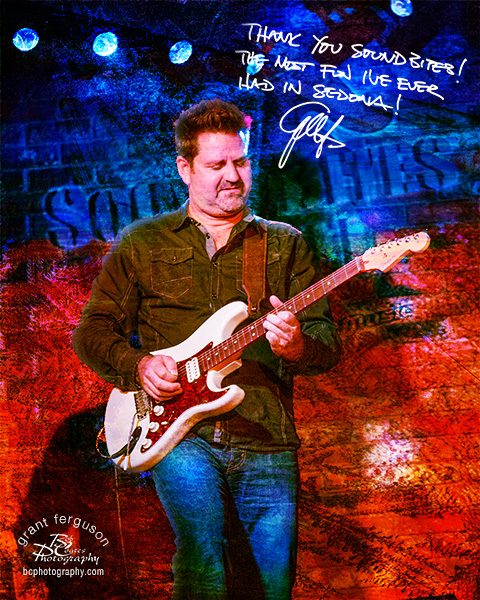
Grant Ferguson Blues guitar.
All files were captured with approximately the same settings on two different cameras with the Lumix 35-100mm f2.8 lens. Even though I worked with the Lumix GH4 for most of the captures I had brought the new Lumix GX8 to test in these lighting conditions and both of these were captured with the GX8… HMMMM food for thought.
Camera settings. 1/80th to 1/100th sec. f2.8 ISO 3200 Aperture Priority – 2/3 stop Exposure Compensation. Files then opened in Adobe Camera RAW and shadows opened a bit and highlights pulled down just a bit. The art effect was created using multiple texture images, Blend Modes and Layer Masks in Photoshop a process I call Photo-Synthesis.
Yours in Creative Photography, Bob
by successfulbob | Lumix GX8, Lumix Lounge, musician photography, people photography, photography, photography gear, photography software
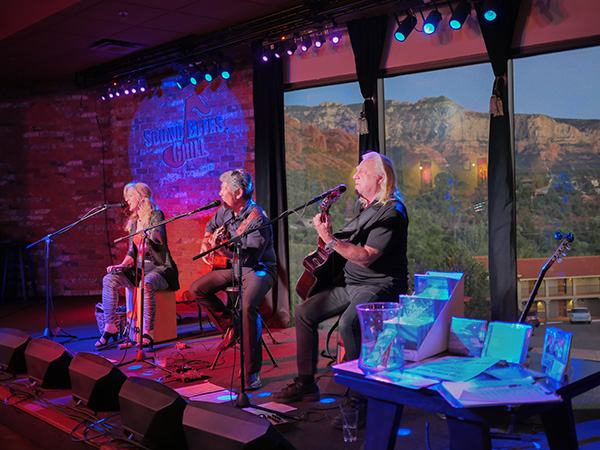
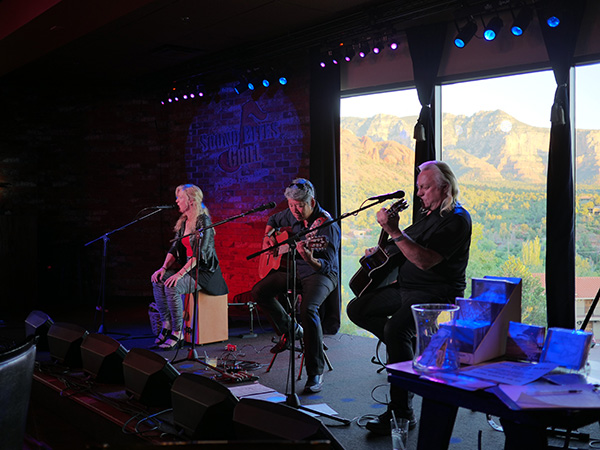
Went to Sound Bites Grill, my favorite restaurant, to see some of my favorite musicians play and was not disappointed on either case. Food was great and the entertainment of Miller, Martin and Ki was stellar as usual.
And also as usual, even though I wasn’t working I brought my Lumix GX8 with the 20mm f1.7 lens to the party to try to push some features. The table I was at had a very tough view of the stage as far as the camera goes. Deep shadows in the corner and Sunlit rocks out the window behind. I thought I’d try the HDR setting to see how it would do. There are menu choices of bracketing by one, two or three stops but there’s also an automatic setting. Now there’s an additional part of this challenge we have moving people. I made a number of exposures with a few distorting features until I realized I needed to bump up the ISO to get faster shutter times and watch for moments ‘between the movements’ of the performers.
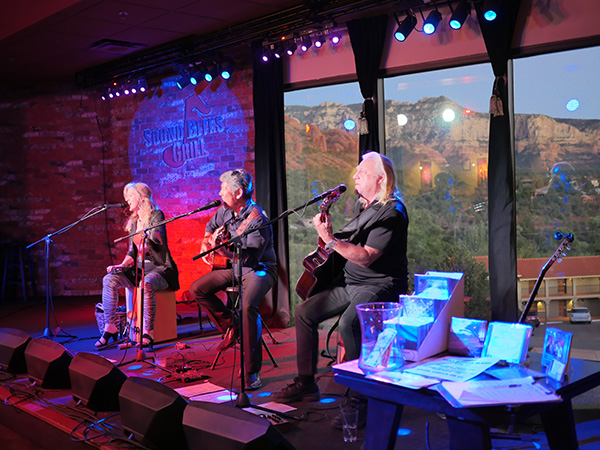
Finished image. But, what I’d like you to do is compare the two images below to see the difference.
Straight out of Camera – 20mm @1.7 ISO 1600 Aperture Priority with auto setting for HDR capture
SOOC – 20mm @ f1.8 400 ISO Aperture Priority
Call for some more experimentation but I think the camera HDR setting handled a very difficult scene extremely well. A little additional processing in Adobe Camera Raw and Photoshop could tweak the HDR image to be somewhat better in taming the saturation and working tones a bit but I’m happy.
“Wait a minute Bob I thought the HDR feature saves images as jpegs. How are you going to process the file in ACR??”
If you have the image highlighted in Adobe Bridge using CMD R (mac) or Ctrl R (pc) will open the jpeg image in Adobe Camera Raw allowing you to use those controls. Very handy!
I also captured some 4K video that I haven’t had time to process. That will have to wait for another post…
Yours in Creative Photography, Bob
by successfulbob | cloud photography, landscape photography, Lumix GX8, Lumix Lounge, panorama, photography education, photography gear
Playing some more with the in-camera panorama stitching on the Lumix GX8 again… This time in the Village of Oak Creek with Bell Rock and Courthouse Butte as the stars of the show. I used the 20mm f1.7. This combo worked very well when keeping the lens pointed straight ahead. If you tilt the camera up there will be a bit of bending of the horizon.
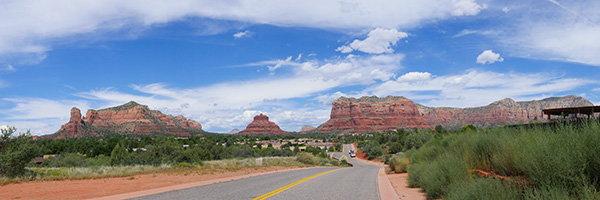
Here’s the original capture SOOC with a minus 2/3rds of a stop exposure adjustment to bring down the sky to a deeper blue. One of the benefits of being able to see what you camera is capturing I could tell that it was going to be a bit overexposed before shooting.
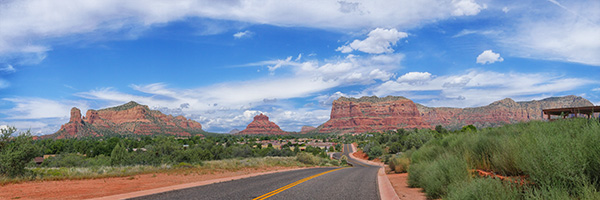
Here’s the finished image with a bit of post production. Darkened the road. Removed a couple vehicles. Increased saturation a little. Added some contrast with Google’s NIK Detail Enhancer. The only place I ran into a stitching evidence was after applying the Detail Enhancer the blue portions of the sky showed the beginnings of unwanted lines. Using a Layer Mask took care of that problem.
This image could easily print to 14 X 42 inches and probably larger if I wanted to work at it a bit and depending on what material I was printing on.
Yours in Creative Photography, Bob
