by successfulbob | infrared photography, Lumix G6, Lumix Lounge, people photography, photography, photography creativity, photography gear
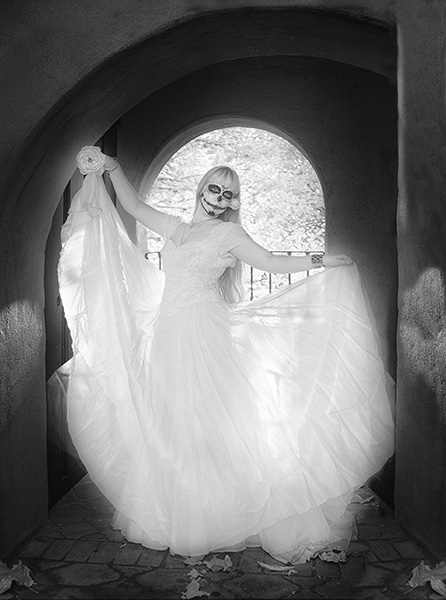
Obviously infrared imaging is not for people photography. Dead eyes. Super high contrast. Blown out highlights. Definitely not for people… Unless you are doing something artsy with the scene being most important and people are a relatively small element in the overall image OR you are at a Dia de Muertos (Day of the Dead) Celebration.
And, I just happened to attend one at Tlaquepaque in Sedona on Saturday and found a few people in costume and face paint to pose for me.

Had a lovely ‘Day of the Dead’ model join me for a quick photo session in a back lit alcove.

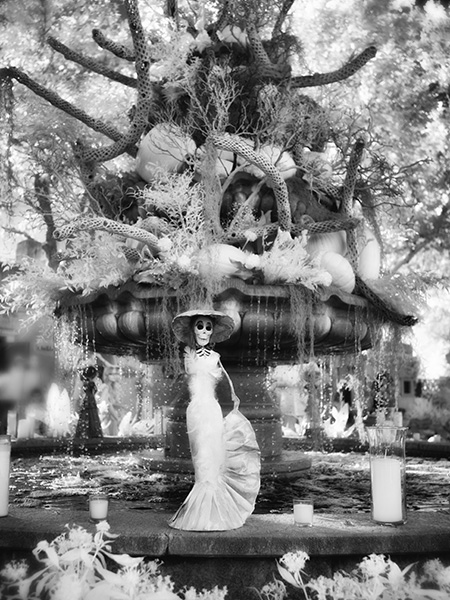
Paper mache Caterina on the fountain. Seems like it was a day for brides as I worked…
If you are unfamiliar with the Day of the Dead celebration it is a Mexican Holiday when families get together and morn and celebrate the passing of loved ones. The celebration is to help those who have passed to move on in their journey beyond.
Images captured with the Lumix G6 and 20mm f1.7 pancake lens. Converted to IR by Life Pixel. I had the
Proper tool for the job. I think infrared works for this situation. How about you??
Yours in Creative Photography, Bob
PS – More tomorrow…
by successfulbob | infrared photography, landscape photography, Lumix G6, Lumix Lounge, photography, photography creativity, photography education, photography gear
While on the mountain trip we rode off through the wilderness. Can you say “Curvy Roads!” boys and girls?
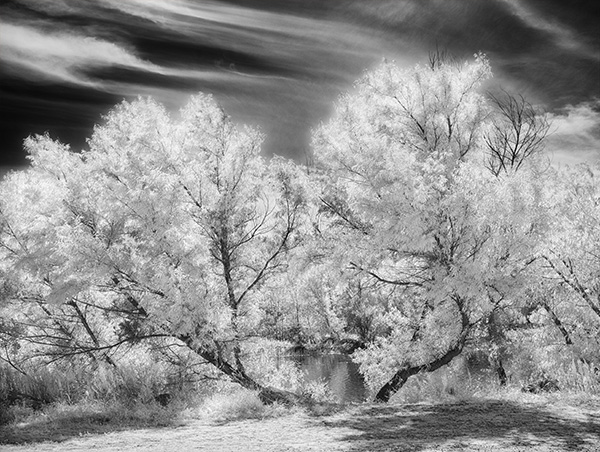
Lots of winding roads through the area but it led to some beautiful places. I had the Lumix G6 that has been converted to Infrared capture by LifePixel. It gives the image a pinkish cast straight out of the camera. I’m starting to find my groove in processing for the final Infrared photo look I am going for…

I enjoy how these trees framed a little window into the water beyond.

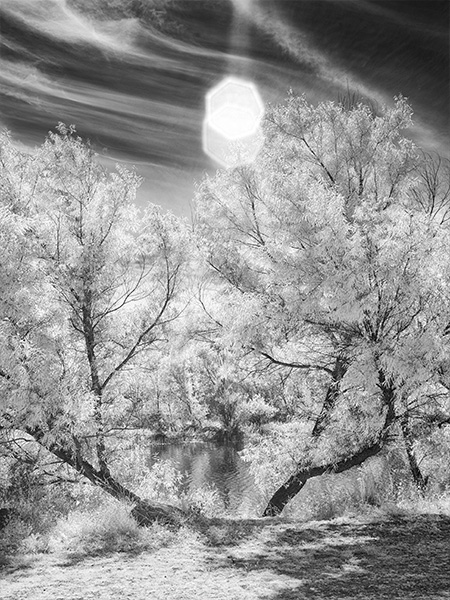
Same trees different composition with a witness to how careful you need to be in shielding your lens from a direct sun hit. Although in this case I think it’s a happy accident and enjoy the flare that found its way into the frame.
Here’s my workflow at the moment as I learn more how the camera ‘sees’ IR light. I capture the scene in RAW plus jpeg with the camera set to capture a black and white image. This give me a pretty good preview of what the IR image will look once it is processed. But since I am capturing the RAW images at the same time I also get all the information that was presented to and captured by the camera for tweaking in post processing. Having all the color information in different channels allows for some very specific processing that would not be available if only the Luminous information was saved.
In addition to the RAW plus jpeg I also bracket exposures. At the moment I am bracketing by seven stops to learn how far to over and/or under expose any particular scene.
Then I choose two of the separate RAW captures with one giving me the tones for the foliage and one for the sky. I process these in Adobe Camera RAW. Then using Masks I blend the two images together feathering the areas using the Brush Tool. I Save the file and merge all into a Layer on top preserving the Masked Layers just in case.
Then I take the file into NIK Silver FX Pro2 to process for Black and White because I still have the color information in the file I have more options for tweaking individual tones. Then I will process the color Layer one more time to vary specific areas even more. Then with the tow BW processed Layers I blend those together using Masks for the final tone blend. Then depending on the look I am going for I may process this Layer in NIK Color FX Pro4 using Glamour Glow and Mask those changes where necessary.
More IR images tomorrow.
Yours in Creative Photography, Bob
by successfulbob | landscape photography, Lumix GX8, panorama, photography education, photography gear
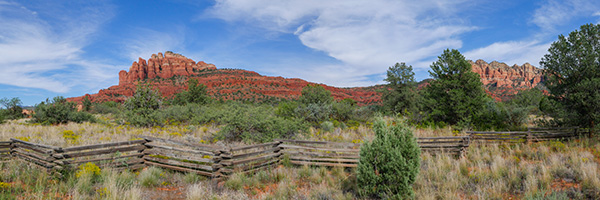
I really enjoy the field of view you can achieve with a panoramic photo. The Lumix GX8 is pretty solid with the in-camera stitching when you need a quick capture of the scene for sharing… And with this version going to print. There are still some occasional stitching errors in areas with lots of confusing crossing details or areas with hardly any detail but I had to look really, really hard to find a small error in one of the tree clumps… Sweet!

This is the view on the way to Cathedral Rock in Sedona, Arizona. Heading down Verde Valley School Road in the Village of Oak Creek (view of the right side of Cathedral Rock)
Here’s a tip that some people don’t think of when creating Panos. Turn the camera to the vertical position as you make your capture. This will give you some more vertical room. You can also capture a next ‘row’ of image and stitch them together in Photoshop or your favorite Pano program.
One more thought to help get smoother stitching… Point your feet toward or slightly past where you would like the pano to end. Then pivot your stomach muscles to the beginning of the captures and use your stomach muscles to move the camera with your elbows tucked in and the camera touching your forehead.
Yours in Creative Photography, Bob
by successfulbob | cloud photography, Lumix Lounge, Lumix LX100, photography, photography education, photography gear
Yesterday I shared a few images from the window seat and today here are a few more. As a Panasonic Lumix Luminary (check out the Lumix Lounge) I get to work with a lot of different pro and advanced amateur camera gear. On this trip it was going to be very quick run to Atlanta, and back to Sedona, through Phoenix within 72 hours so I wanted to travel light. Camera-wise I couldn’t get much more compact than the camera I’ve dubbed the ‘Pro’s Point & Shoot’ the Lumix LX100. Lot’s of powerful features in a solid, easy to use piece of machinery. All images were captured with the LX100.

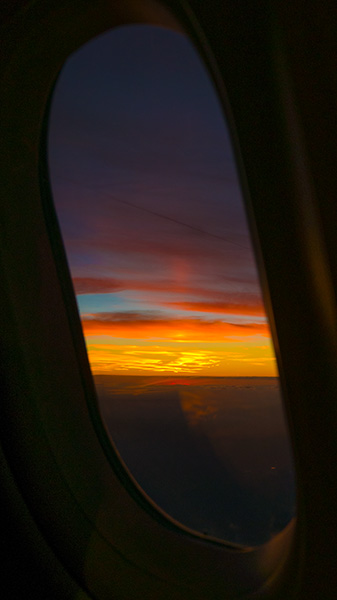
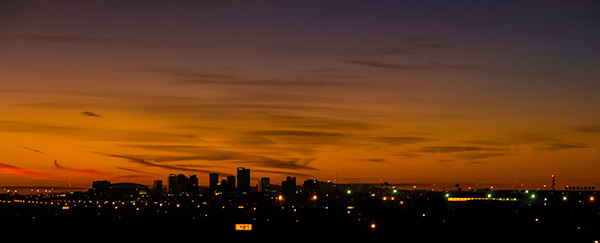
You need to change the exposure compensation quite a bit to make this sunset image work. Easy to do as the Exposure compensation is on a metal knurled dial right by your thumb. Up to three stops under or over.

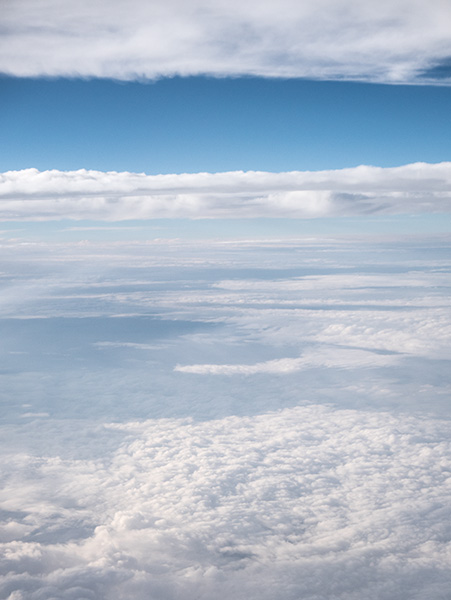
I like this view of clouds from above. The layers feel like it might be some kind of lunar landscape. And who knows? It just might turn into one in an art piece…

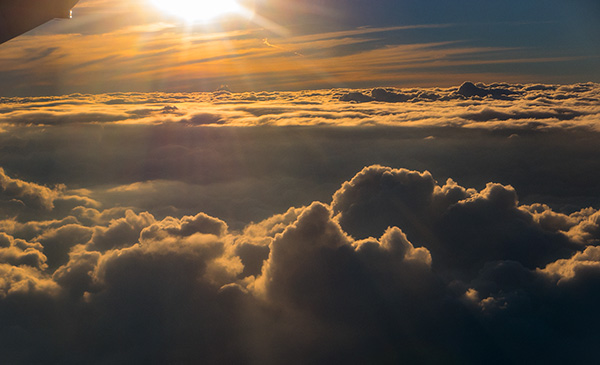
Working the wing to silhouette over a cloud back with flare from the sun.
Sometimes you just need to push yourself by limiting yourself to find the capabilities of a camera. I hadn’t spent any quality time with this camera before this trip cause I had some other favorites always at hand. Because of this if you have any questions about which Lumix camera might be the best for your needs get in touch and I can share some ideas. bob@bcphotography.com
Yours in Creative Photography, Bob
by successfulbob | cloud photography, Lumix Lounge, Lumix LX100, photography, photography books, photography creativity, photography gear
Love looking out from the window seat at 33,000 feet. The views and cloud formations can change at a moments notice! I am inspired now that I am flying quite a bit to capture images. Main inspiration comes from Julianne Kost and her book Window Seat – The Art of Digital Photography and Creative Thinking
On this quick trip to Professional Photographers of America headquarters in Atlanta for a committee meeting I was able to grab some pretty interesting images. Some can stand alone but I have a feeling that most will enter my files as textures and forms and vistas for my art creations.
Here’s a few of the captures…

Sun rays over clouds

Jet wing over clouds

Phoenix skyline from airport at sunset
I used the Lumix LX100 which I have dubbed the “Professionals Point & Shoot” camera. It has fast glass opening to f1.7-2.8. 25-75mm Leica DC Lens. Full video capability including 4K Photo capture. I really enjoy that all camera controls are ‘Old School’ in addition to the menu capabilities. All settings are available via dials on the exterior of the camera including aspect ratio, exposure compensation, focus settings, aperture and more. It’s a rugged little camera that is almost pocket size.
The LX100 was the only camera I brought with me on the trip and I wasn’t disappointed with what I was able to capture. It’s a sweet little machine.
Yours in Creative Photography, Bob
by successfulbob | commercial photography, fine art musician portrait, Lumix GX8, Lumix Lounge, musician photography, people photography, photography, photography creativity, photography education, photography gear
I always enjoy the challenge of photographing musicians live on stage and the additional challenge of turning the images into art for the ‘Wall of Fame’ at Sound Bites Grill. Last Saturday night it was Jeordie and the Mixology Project. Mix together a sweet voice with some fun, and moving, original music, fine musicians and you end up with a great evening’s entertainment.
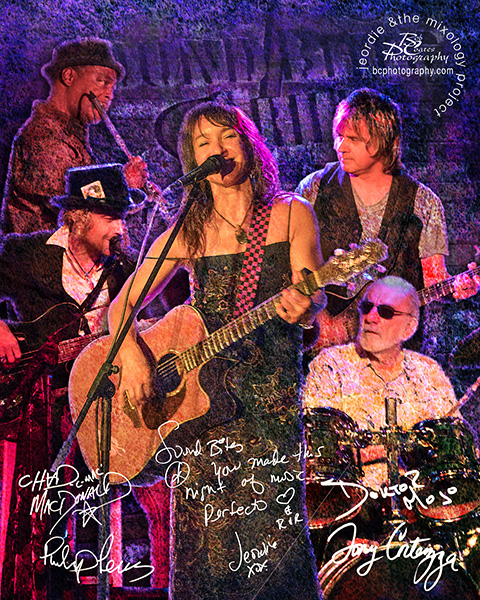
Heeere’s Jeordie and the band.

Jeordie right there front and center. Doktor Mo on drums. Chad on lead guitar. Philip on flute. Tony on bass.
Each musician was selected from their photo and placed in the frame. Adobe Photoshop was used for the extractions. Drop Shadows, Inner Glow, Textures and Layer Bend Modes were incorporated in creating the art look for the WOF image. Autographs and the message were signed the night of the performance with black marker on white paper. These were scanned then imported and sized. The signature layers were inverted then the Blend Mode of those Layers was changes to Screen to allow the black to disappear and allow just the ‘white ink’ be left for the viewer.
All images were captured with the Lumix GX8 and the 35-100mm f2.8 Lumix Vario lens. (That’s the 70-200 35mm Full Frame equivalent)

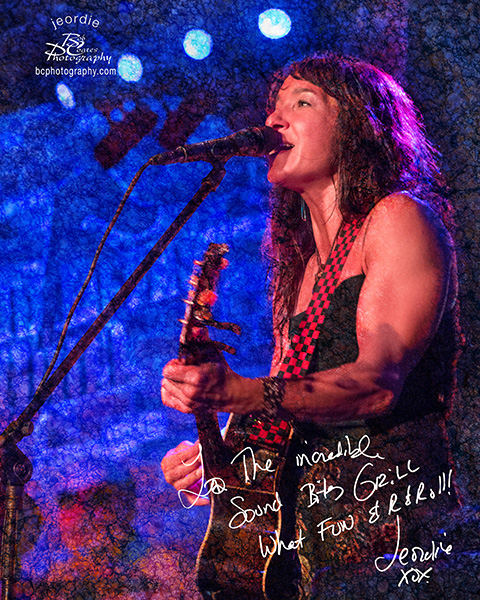
A similar treatment in Photoshop of Jeordie by herself.
I also produce ‘straight’ images of the artists for marketing to the press in color with no artwork. I make the conversions to Black and White so there will be good solid contrast and definition. I’ll show you a couple of those tomorrow.
Yours in Creative Photography, Bob

