by successfulbob | Lumix GH4, Lumix Lounge, musician photography, photography, photography education, photography gear
Country music soundin’ GOOD!
Moot Davis Band had them on the dance floor at Sound Bites Grill in Sedona, Arizona last Wednesday night. Holly and I were there for dinner and the music and were not disappointed on either count…
Sometimes, in my mind, country music can get a little maudlin… I’m not one for crying in my beer so when they say a country music band is coming to town I’m not usually too thrilled. Well that thought jumped out of my head within the first couple songs once the band started to play. This is a really talented group of musicians. Moot has a great voice and the band has wonderful instrumentation occasionally leaning a little toward rock with Bill giving some great guitar licks.
We ended up staying until the last note faded away and had a great time.
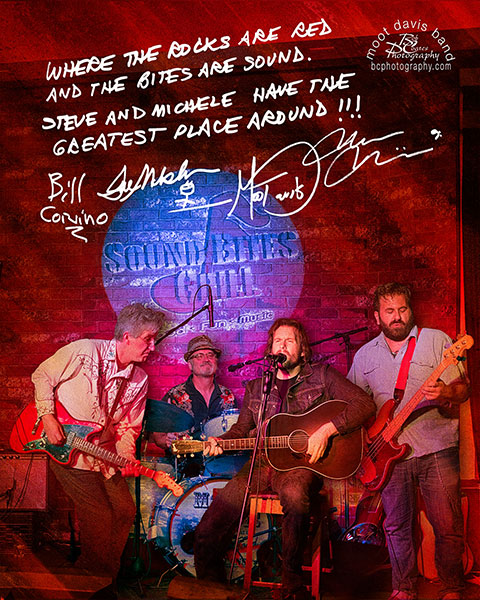
Moot Davis Band photo created for the Sound Bites Grill ‘Wall of Fame’.
The individual images were captured with the Lumix GH4 and the 35-100mm f2.8 Vario Lens. I’m finding the stage photography is much easier with the GH4 especially with the LED stage lighting. The camera reaches into the shadows and keeps the highlights from blowing out when you use the shadow highlights curves setting to boost the shadows and hold down the highlights.
Each musician was layered into the image and multiple textures were added using blend modes to create the painterly feel…
Yours in Creative Photography, Bob
by successfulbob | fine art photography, Lumix GH4, Lumix Lounge, photography, photography gear, photography lighting resources
Had the opportunity to test out the Fiilex LED light kit model FLX302 which includes three P360EX lights, stands and barn doors in a watertight rolling case. I used this kit on a real estate shoot a couple weeks ago You can see some of those results here.
I thought I’d give these bad boys a workout in the studio with a still life project. Again the ability to see the lighting exactly as it will appear in camera allows me to get a bunch of different looks in a very short period of time. Having the ability to change brightness and the white balance of the lights from the golden tungsten color temp of xxx to the brighter blue of xxxx adds to the creativity.
Here’s a quick animated GIF to show many different looks using just the three lights, a shoot through umbrella and a piece white of foam core as a reflector.
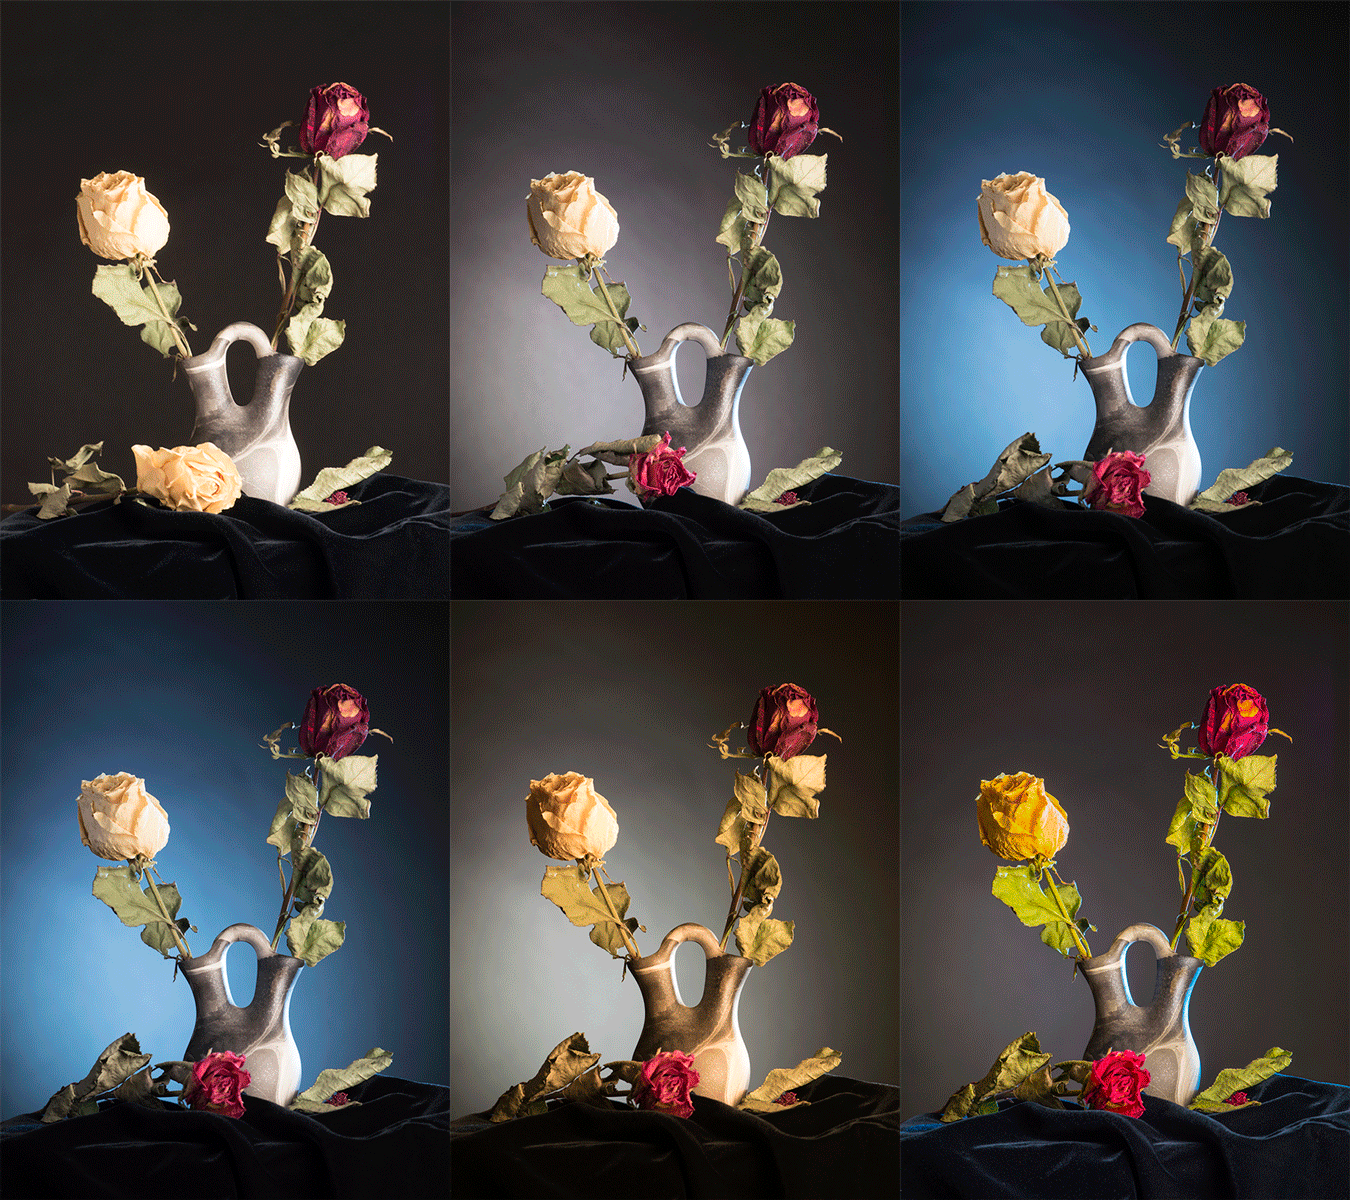
Many different lighting versions using the Fiilex LED’s
Once I have the initial image captured in studio it’s time to put Photoshop to work. Using multiple images of tectures, layer masks and blend modes I take the image to my artistic place. Here are a few versions…
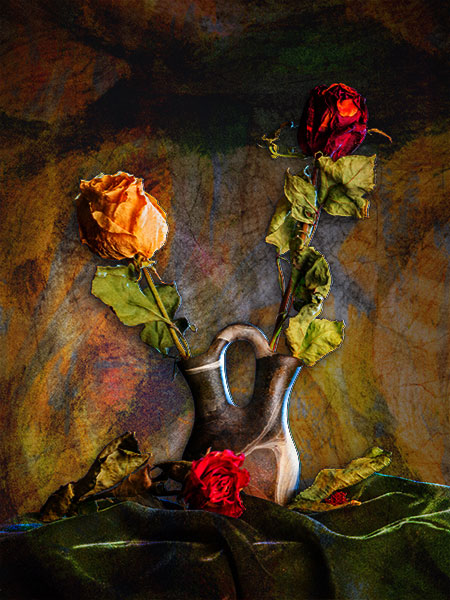
From the initial image captures above it’s time to experiment with various textures and color palettes.
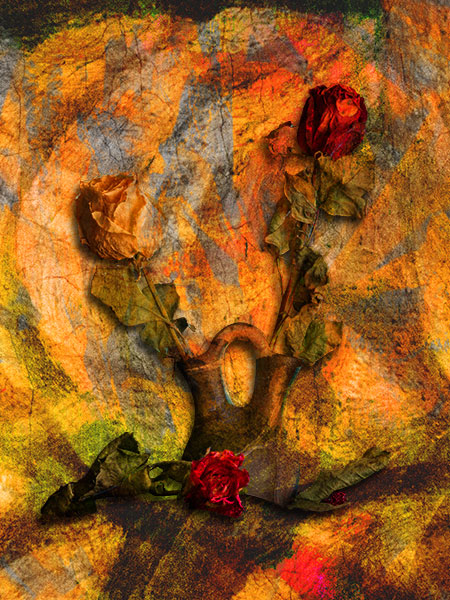
I’ve found many people like warm golden tones.
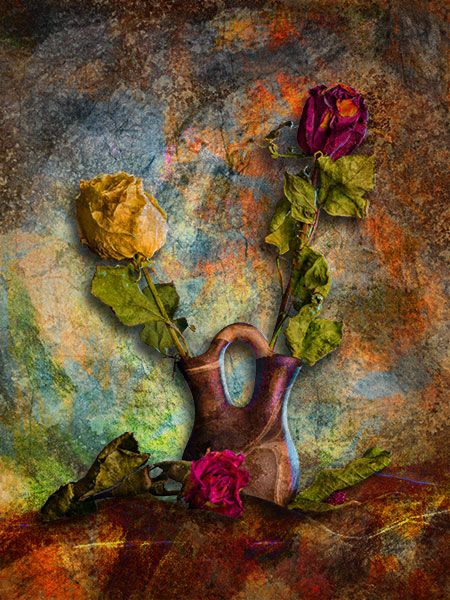
As they say variety is the spice of life. So more colors! More texture. Play! Experiment!
Images were photographed with the Lumix GH4 and the 35-100 f2.8 Lumix Vario Lens ISO 200 1/6 sec @ f4.5
Yours in Creative Photography, Bob
PS – Making purchases at Amazon through the links on this site help support the information. Like what you read? Click a link! Thanks!
by successfulbob | Lumix GH4, Lumix Lounge, macro, photography, photography education, photography gear
What a difference a lens (and some extension tubes) can make!
I went back out to the trial chasing some wildflowers in Sedona, Arizona. But this time I came a bit more prepared for the subject with some extension tubes and a long lens to isolate and magnify the beauty something a wide lens just can’t do. (see images from the day before)
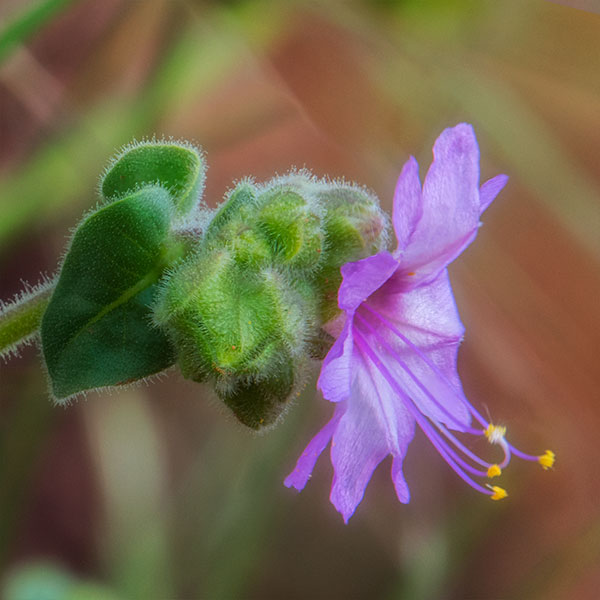
Having trouble finding the correct names for my desert flowers. This might be a Four O’Clock something or other. Any help from you botanical types??
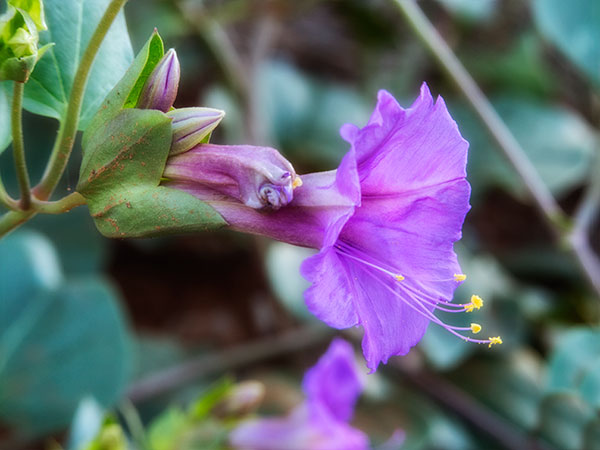
Been trying to identify this flower… Has the shape of a type of Morning Glory but the
pistols extending out from the bell I think are telling me it’s something else. Any ideas for me?
OK enough with the flower naming conventions… Here’s the down low on the gear used.
Because I was on the trail I wanted to stay fairly light so I grabbed the MePhoto Backpacker Tripod. Pretty versatile and folds up to around 15 inches with it’s own shoulder case. Nice ball head with firm controls. Wasn’t sure I would like this tripod but it’s been serving me very well.
I wasn’t traveling to far so the Lumix GH4 was the camera of choice with a 35-100 f2.8 Lumix Vario lens. Extra lenses, extension tubes and other photo stuff was in the Think Tank Mirrorless Mover 20. Good build with enough room for a good selection of gear but still is unobtrusive on my belt.
I added some inexpensive extension tubes from Vello. When you shop for extension tubes make sure you get matched to your system so the auto-focus and exposure are automatic. If you only shoot macro images occasionally extension tubes can work great and save you the price of a dedicated macro lens.
To help control the lighting I used a 20 inch 5 in 1 reflector from FJ Westcott. This is small and light yet big enough to cover flowers fro the sun and give a nice glow to the lighting.
Yours in Creative Photography, Bob
PS – If you like like the information you receive on this web site please shop for your gear using the links from this site. I am an Amazon affiliate and it helps to support the web site. Thanks!
by successfulbob | architectural photography, commercial photography, Lumix GH4, Lumix Lounge, photography, photography gear
Thought I’d share some of my commercial work with you… Been going at it pretty hard this week. Shooting images for the Sky Ranch Lodge (not my images yet on the web site they are still in post production) in Sedona, AZ.
One thing I like about my job is getting to know my community more intimately. I’ve been living in Sedona for over fifteen years and always knew about the Sky Ranch Lodge but never had cause to go there. Very cool property! It has a nostalgic feel, the grounds are gorgeous with multiple water features and the views are indescribable. But that’s where the photos come in handy!
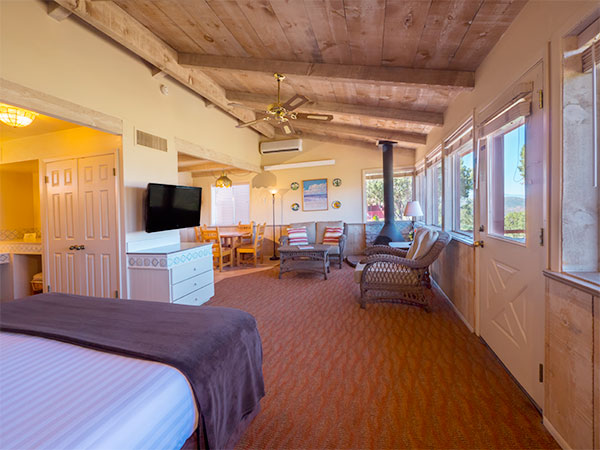
This is one of two cottages at Sky Ranch Lodge.
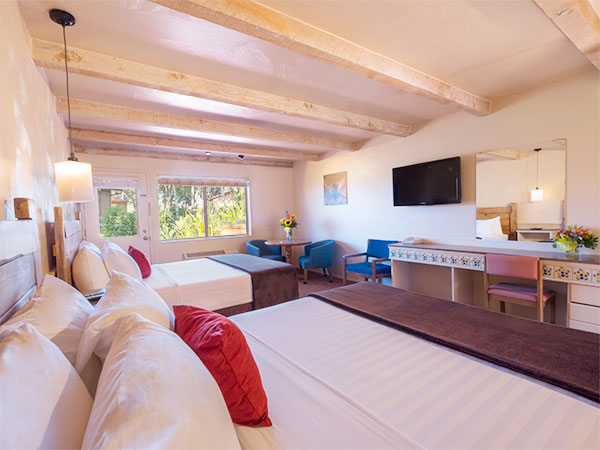
Double queen with a garden view.
The interiors were captured with the Lumix GH4 and 7-14 f4.0 lens. Having the articulating screen is handy when I am trying to squeeze the camera as close to a wall corner as possible.
Added fill light to the rooms with Fiilex LED lights. The 302EX 3 light kit with stands and roller case worked well. This was the first time I used continuous lighting on a hotel job and it sure makes the job easier. The fact that you can dial in color temperature on the lights saves a bunch of time time in post production when you are balancing outdoor light with the incandescent lighting from the fixtures.
I bracketed exposures to balance indoor and outdoor light to be stripped in in post.
I’ll share a trick I use to get a nice glow from the room lighting without blowing out the highlights. Change all the bulbs out to a 15 watt size. Saves a ton of time in post production!
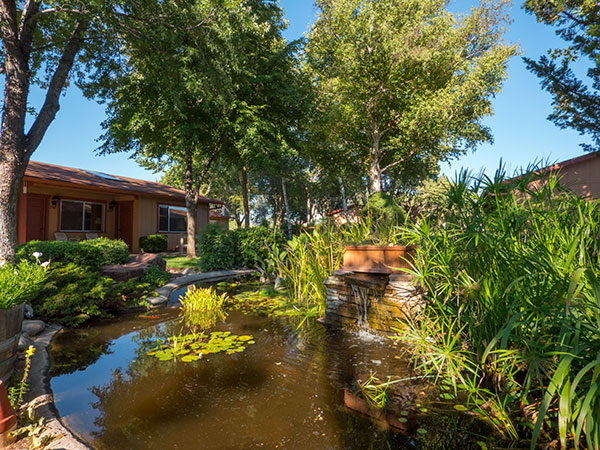
Water feature and gardens at the Lodge.
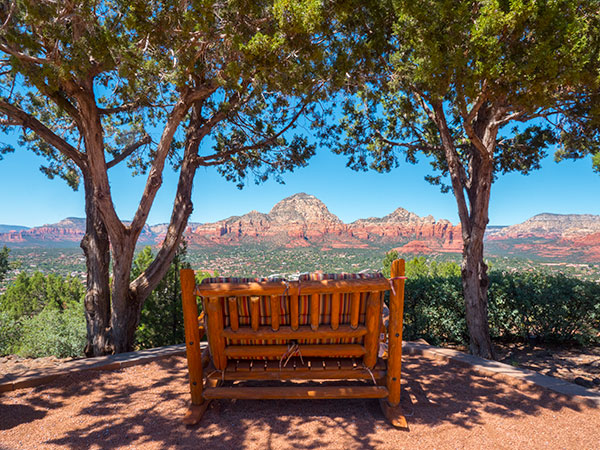
Put yourself in this rocker lounge chair. (Think I’d have a glass of wine or a cold brew in my hand too)
Yours in Creative Photography, Bob
by successfulbob | photographers health, photography, photography education, photography gear, success education
This will be a new series of posts about our health working as photographers. Let me preface this by saying I am not advocating that you follow blindly anything I share here. These are ideas and programs that are working for me. I have found most of these to also be regular problems for other photographers too. Consult with a physician or do your own research before embarking on any ideas shared here in this or other Photographers Health posts.
I reiterate – I am not a medical professional. I don’t play one on TV. I didn’t even stay at a Holiday Inn Express last night…
Computer Work Station Practices for Photographers
We spend an awful lot of time at our computers these days and that can be a severe health issue in and of itself. We hold ourselves in odd positions for long periods of time. We don’t move enough thereby putting ourselves at risk for back and neck issues, carpel tunnel syndrome and more.
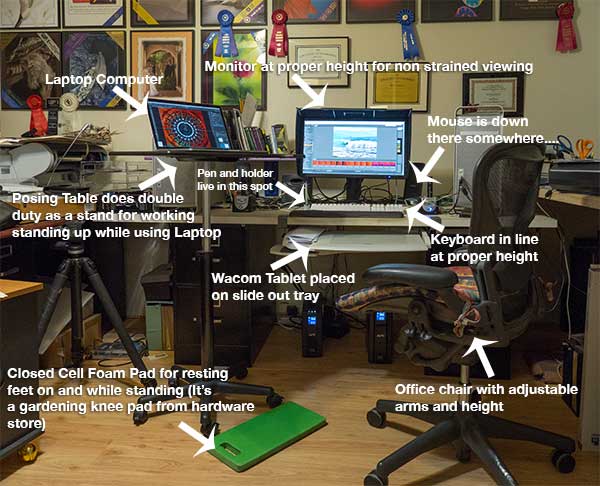 My work station at Bob Coates Photography.
Here’s how I’ve started to take back my health from the computer station.
Here’s a place to find good set up information for your work station. OSHA gets you moving in the right direction.
A quick review of the important stuff.
• Top of the monitor at or just below eye level.
• Head and neck balanced in line with your torso. (You might want to get someone to watch you while you work to make sure you are in a correct position. If no one is around to help you set up a video camera and watch yourself for a while you might be surprised by what you see.
• Elbows close to your body and supported.
• Some support for your lower back.
• Wrists and hands in line with your forearms
• Plenty of room for your keyboard and tablet.
• Feet flat on the floor
Here’s a link to a more in-depth checklist for good practices and to see how your current workspace is helping or hurting you.
As photographers we have an additional piece of equipment to work with that is not addressed in the guidelines above, a tablet. If you are not already using a tablet for your work I’d put it high on your list. “But Bob, I tried a tablet and I can’t get used to it. I hate it!” “No Excuse!” I reply. The way to fall in love with your tablet is to hook it up. Make sure the settings are correct for the click and double-click sensitivity and pen pressure. Yes there are settings and preferences and ways to test all that before you get started. Most who don’t like a tablet didn’t realize that this machinery is also software driven to customize your experience. Once you’ve got the settings correct for you disconnect your mouse for four to five days. By the end of that time you will be an old pro and realize not only the health benefits of not having your hand in an awkward position trying to make selections with your mouse leading to possible Carpel Tunnel Syndrome, but the time savings. Where you put the pen on the tablet is where your Curser will appear. This seems to be one of the most difficult things for newbies on the tablet to grasp. You don’t drag your Curser from place to place. You put your pen where you want it to be. Very cool.
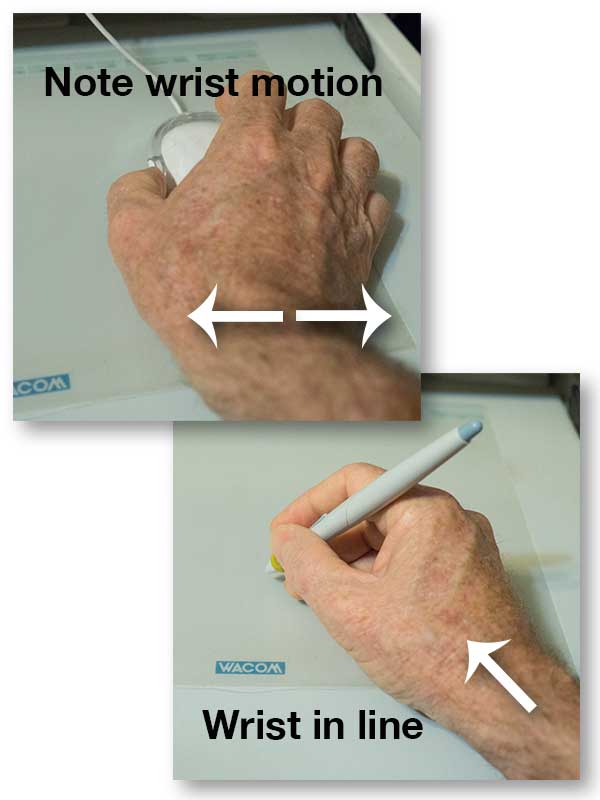 When you use a mouse you do a lot of work moving your wrist back and forth. When using the pen tool your wrist is held in a more neutral position using your arm and fingers to do more of the work making it much easier to make selections. This is a classic tablet I bought well over ten years ago. They design them a bit more sexy these days!
My tablet of choice over the years has been the Wacom brand. They have all different types, sizes and styles of tablet at different price points to meet every need and every budget. That sounds like an ad but it’s not. It’s an industry standard piece of equipment. I have a larger Wacom Tablet for my work station in the office that I bought a bunch of years ago and a smaller one for when I teach on the road with my laptop. If you have a question about which might be best for you drop me an email with info on the type of work you do, how long you do it, in the office? on the road? etc… and I’ll give you some ideas.
I mount my tablet on a roll-out tray so it is right in front of me. My keyboard is on the desktop right in line and above that and the monitor straight above that.
This is probably enough info for today. This has definitely turned into a two part post! In the next installment I share more ideas on staying healthy while working on your computer. Please don’t hesitate to share your ideas here too!
Yours in Photography, Bob
by successfulbob | Lumix GX7, Lumix Lounge, photography, photography education, photography gear, photography lighting resources
Traveling light these days!
Thought I’d share what my shooting kit is these days for a couple different scenarios. Panasonic Lumix has made me lean and mean these days. My favorite camera for travel and for hiking is the Lumix GX7. It has all the features I like and has an extremely low profile. The screen tilts up and down for low angles or overhead shooting. The screen is quite viewable even in bright sunshine but just in case there is a 90 degree moveable viewfinder. The camera is capable of in-camera HDR or up to a seven stop auto-bracket, in-camera Panorama, and a host of other specialty settings I’ve been enjoying putting through its paces.
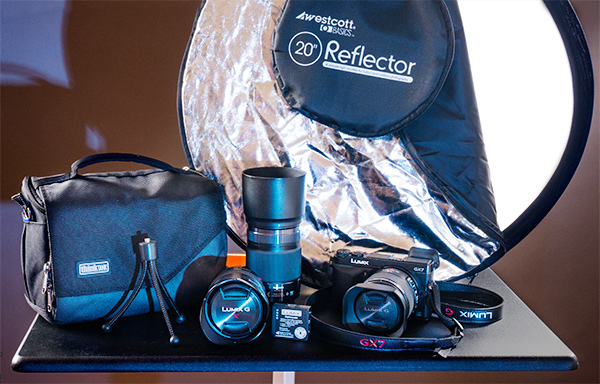 Let’s start with the hiking kit as you see pictured above. 45mm Leica DG Macro-Element f2.8 Aspherical lens for going after those close up details like flowers. Added to that the Lumix Vario 12-35mm f2.8 for the medium to wide angle scenic landscapes and the Lumix Vario 35-100mm f2.8 to help compress longer distance scenes or trying to reach a bit further. Note the mini-tripod. I tend to hike more often traveling light which means no full size tripod but with the mini I can place on or lean against a rock, tree, car or fencepost to help steady the camera. Very handy indeed. Of course, a fully charged spare battery is always in the kit. The Westcott twenty inch Five in one which folds to a very manageable 8 &1/2 inches rounds out the equipment list. So I’m covered from 24mm to 200mm – 35mm DSLR equivalent along with a MACRO and it weighs less than four and a half pounds.
Conversely, my DSLR weighs four and a half pounds with a single lens.
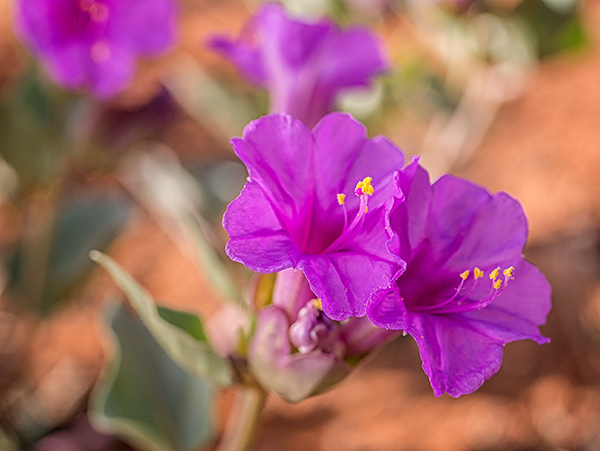 Wildflowers captured with the 45mm Macro
For travel I swap out the 45mm Macro for the 7-14mm f4 Asperical lens which covers me from 14-200mm 35mm DSLR equivalent and I the kit is still well under five pounds.
Both kits are supported by the Tenba Mirrorless Mover 20 bag which fits comfortably on my belt and holds all the lenses and gear including spare cards, cleaning cloth, etc.
Yours in Photography, Bob


