by successfulbob | inspiration, photography - art quote, photography education
Sunday Photo/Art Quote
Speaking through another medium.
We are photographers but within our chosen medium we have many ways of bringing attention to our subjects. Composition, lighting, color, tone and contrast all plat a part. But if we examine our work a bit more in depth we will see we at, any one time, one of these tends to come forward more often than not in our images.
Which brings me to today’s Photo/Art Quote by prolific artist Georgia O’Keeffe.
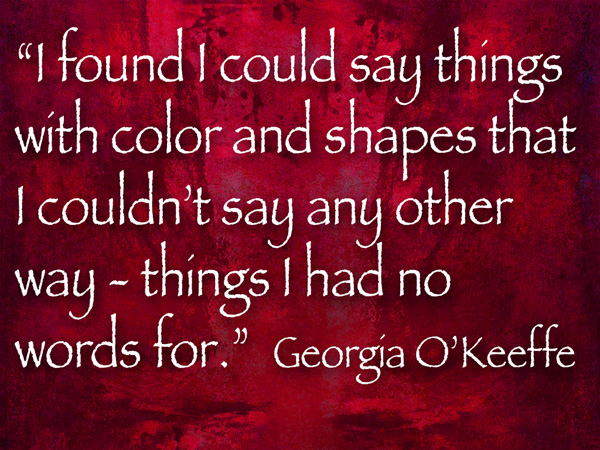 “I found I could say things with colors and shapes that I couldn’t say any other way – things I had no other words for.” Georgia O’Keeffe
So may I suggest when creating your art you give thought to the idea, whether it be portrait, fine art or move to the forefront, your message in the creation of your images. I believe if you think with this in mind you will begin to see your creativity grow.
Yours in Creative Photography, Bob
by successfulbob | 4K photo mode, 4K video, Lumix G7, Lumix Lounge, macro, photography creativity, photography gear
Using Post Focus Photography
It’s a feature I wasn’t sure I had a reason for but again in the studio I used the Post Focus Setting on the Lumix-G7 to focus stack to get a different look from my 45mm Macro lens. This image started with a seven second video clip with the focus point being moved by the camera as the camera searched through all of it’s focus points. I’ve found the camera to capture as little as one second of video to as much as ten seconds depending on subject matter and how deep the focus goes through the scene.
 This is my favorite rendition of the rose.
Create the Image from the Video
The steps I used were to download the video. Open it in Adobe Premiere Pro and select the still frames I wanted to work with and saved them as TIFF images. I wanted a soft and sharp movement through the final image. All 17 selected images were loaded into a single Photoshop document by using the Adobe Bridge command Tools>Photoshop> Load Files into Photoshop Layers after selecting all the images. Once the images are in Photoshop all layers were selected and under the Edit menu the Auto-Align setting was applied. Then under the Edit menu Auto Blend Layers was selected with the settings Stack Images with the Seamless Tones & Colors checked. This will take all the ‘Sharp Bits’ Of the image and mask them in.
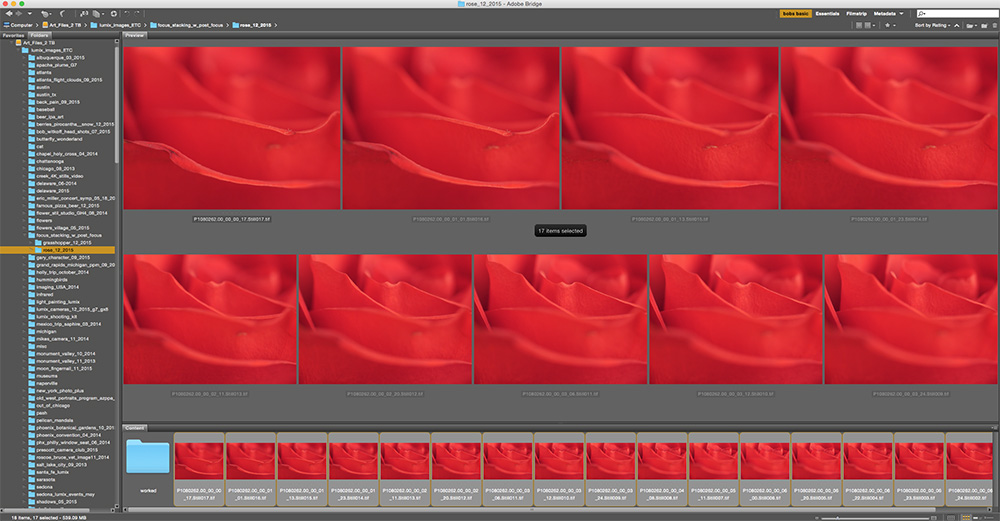 The set of images saved out to individual files for the Post Focus video capture.
 Layers Palette after adding images to file, aligning images and blending. Photoshop automatically created the masks.
 Rose photograph after blending and cleaning up imperfections in the flower. Used Photoshop Tools then moved in to NIK Color EFX Pro 4 for further modification.
Talking Photography Tools
The tools we have to work with like Photoshop & NIK Color EFX Pro 4 can take images to an entirely new level and I keep trying to push to see what I can do. I hope this has been a help to you and at the very least given you some inspiration to think about image making in a new light.
Yours in Creative Photography, Bob
PS – The Google NIK entire collection of software plugins is only $149. Great suite of tools!
by successfulbob | Lumix GH4, Lumix Lounge, musician photography, people photography
‘Wall of Fame’
A new member for the Sound Bites Grill ‘Wall of Fame’ in Sedona, Arizona. Sound Bites is the largest live entertainment restaurant in Sedona and over the years have brought in some great entertainment. I have been fortunate to record many of the fine musicians and entertainers and create photographic art to celebrate their performances. Here’s one of the latest, guitarist Darius Lux.
 Darius Lux ‘Wall of Fame’ Art
For the curious, here’s how I create the images for the ‘Wall’.
Capture live performance while trying to get good poses that tell the story of the artist. For example, Darius bill himself as ‘Acoustic Spirit & Soul’. That’s why I choose a shot of his eyes down in a thoughtful position. To capture the stage show I use the Lumix GH4 usually mounted with the 35-100mm f2.8 Lumix Vario lens. This makes it possible to capture the action with no flash and from low profile so I don’t disturb guests who enjoying the show.
The artist signs his or her autograph on a blank white sheet of paper with marker that is then scanned into the computer. Using Adobe Photoshop I invert the color so the words and signature are white and the paper black. Then the signature is moved to the file and changed to Screen Mode. This has the effect of making the paper ‘disappear’ and the text remain. This is resized to represent a regular autograph. This would not be possible after the fact as many of the musicians are from out of town. At the very least even of they are from Sedona getting up with them for the signature would take quite a bit of time.
The artwork is accomplished in Photoshop by selecting other images that contain textures and using more Blend Modes, color layers and masks to get the final look. While there is a unifying feel to all the images no two are created in the same way.
Yours in Creative Photography, Bob
by successfulbob | inspiration, photography creativity, photography education
Creativity & Photography & You
You are either Creative OR you are not!
True or False??
Many say true. I say, & so should you, false.
Found this chart on Design School a web site for creative graphic designers I think we as photographers face the same challenges and fears as any other creative does i any genre. I’ve also found when I’ve looked outside the traditional channels for getting creative about photography I find there is a whole world of ideas that we can apply. Here’s a great thought starter for jumping your creativity up a notch or three.
Find more awesome design content at designschool.canva.com
Put some, or all of these ideas, into play & you will find new and exciting things happening in your photographic life.
Yours in Creative Photography, Bob
by successfulbob | Lumix Lounge, photography - art quote
Sunday Photo/Art Quote
Assign yourself something!
If you’ve been following me for very long you know I’m a big fan of self-assignments to grow skills and earn new business. As a matter of fact, in putting together programs to teach other photographers about this I came to the realization that I’ve built a large part of my career by doing just that. I’ve built skill sets and gained new clients by giving myself a project as if I was the client. What kind of things?? Things like designing an art piece featuring a business or designing a magazine cover or line of T-shrts. Then taking the resulting work to the potential client and often ended up with pay for doing work I did to learn. At the very least, even if the client didn’t buy that piece of work, they were made aware of my capabilities. In addition, I would enter the resulting images in Competition and sometimes be fortunate enough to win an award or two and generate press release opportunities.
Which brings us to today’s Photo/Art Quote which I think shows you that even if you get no work it’s a great way to jump start your creativity.
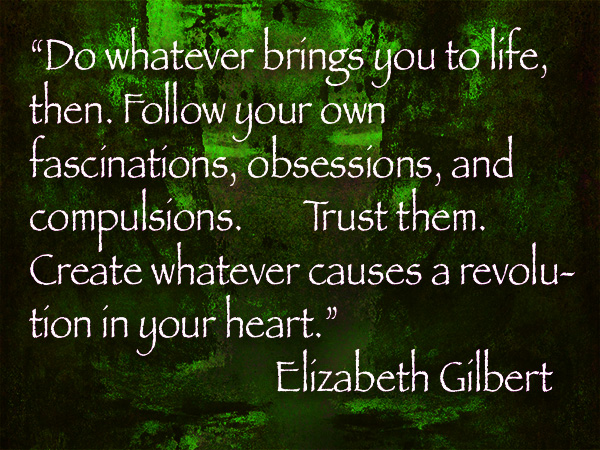 “Do whatever brings you to life, then. Follow your own fascinations, obsessions, and compulsions. Trust them. Create whatever causes a revolution in your heart.” (Elizabeth Gilbert)
Sponsored Speaking Program Available
If you are part of a photo group looking for inspired speaking programs I am available. As a Panasonic Lumix Luminary sponsorship is available to eliminate or cut down the cost of having the presentation. Check on the seminars page for more information about this program or others available or give me a call to chat about options and possibilities.
Yours in Creative Photography, Bob
by successfulbob | 4K photo mode, 4K video, cloud photography, landscape photography, photography, photography software, time lapse
Settings for Time Lapse Video
In a previous post I showed you a finished time lapse video captured from the parking lot of Mariposa Restaurant in Sedona overlooking the red rocks after having lunch there last Sunday afternoon. While having a great lunch we were watching the clouds clear after a bit of weather. And you guessed it, I had to run home and grab my gear. Today I’d like to share some ideas on what settings to look at when thinking about creating your own time lapses.
Depending on your scene and how long you would like to cover it you should decide the space between your image captures. Math comes in handy here and you will start to have an idea of your settings almost by instinct. For example, depending upon the speed of moving clouds I’ve found the interval that works for me is between three & five seconds. The rate that the images should be played back is between 12-24 frames per second. The time lapse in the previous post covered a period of about 40 minutes with 3 second intervals and 24 fps. This translated into a video that was about 35 seconds long. Now not being a fan of that much math here is a calculator that will help you figure things out including how much memory you will need to have in your camera to complete your session.
Time Lapse Calculator
Time Lapse Calculator from PhotoPills. You can download your own for your web site or get the App to calculate while on site. Try it right here you’ll like it!
Lumix Time Lapse Processing Features
A great feature in the Lumix cameras like the GX8 used to capture this time lapse is the ability to process the video in camera choosing from a large number of settings in quality and frame rate. When calculating how much memory you need to have on your card remember you’ll need room to process and store the final video as well. I processed out the video using the 4K setting. 4K is four times bigger than HD video which means you can place it in an HD timeline then have room to pan and zoom which adds a lot to the final product. There are many programs you can use but I used Adobe Premiere Pro CC.
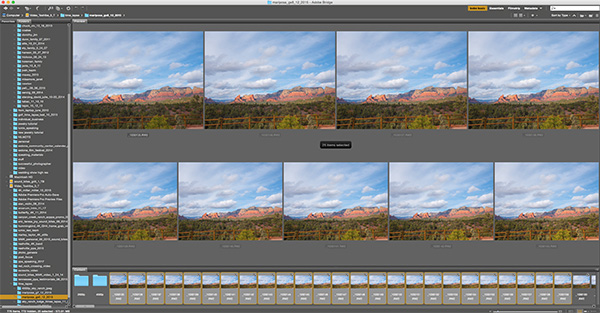 Screen Capture of still files in Adobe Bridge.
I shoot in RAW so I can process the original files for stills or for color tweaking if necessary. Then process out the files into jpegs and use a free program such as Time Lapse Assembler to put your video together. (link for MAC for link for PC. There are plenty of free or freeware programs to choose from. Find the one you like.
 Time Lapse Assembler window. I like it because it’s pretty simple and straightforward!
Shoot longer than you think is necessary. The first couple times out my time lapses were only seven seconds which was a little disappointing. Use the calculator above to save yourself some heartache.
Yours in Creative Photography, Bob