by successfulbob | commercial photography, fine art musician portrait, Lumix GX7, Lumix Lounge, photography, photography education
Sound Bites Grill brought in the Steph Johnson Trio to entertain last week on Sunday night. Wow! It was wonderful. Steph has a really low smoky sounding voice and plays a silky smooth jazz guitar. Rob Thorsen was on upright bass and he was making beautiful sounds that I had never heard a bass make before. On drums Fernando Gomez showed skills mastered because he started drumming before the age of ten. All in all lots of good sounds. The Steph Johnson Trio will be right at home on the ‘Sound Bites Grill Wall of Fame’. I created a single image of Steph and one for the Trio. I used the *Lumix GX7. I’ve found this camera to have a great dynamic range which is extremely helpful in capturing the variety of mixed color stage lighting.
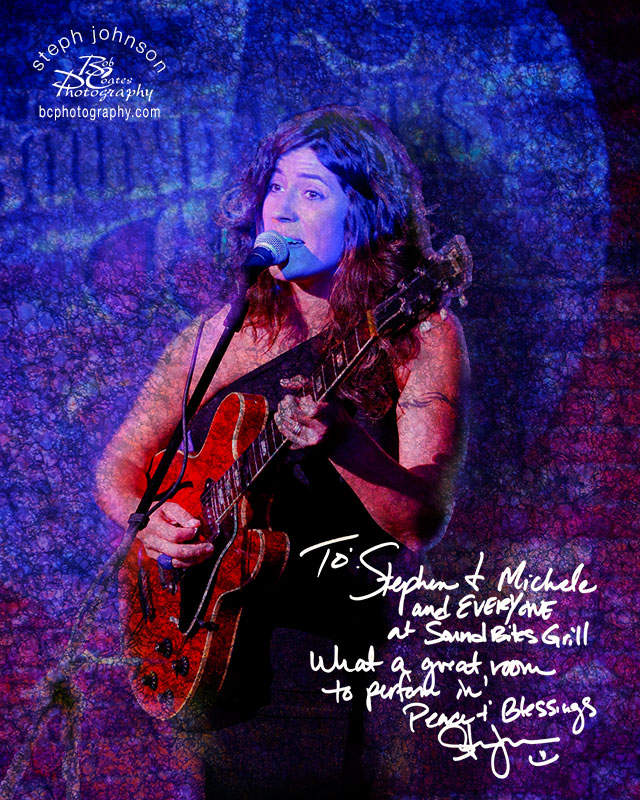 Steph Johnson live on stage at Sound Bites Grill.
See below for some ideas on the techniques used to create this look.
The technique I am using is one I call ‘Photo-Synthesis’. It starts with a base image, or in this case multiple images of the band members. They are all cut out, even if they are going to stay in the same position and placed on their own layer. After the musicians have been put together into the composition texture layers are added by placing images of metal, rock, walls or grasses or – you get the idea – almost anything will give a different look and feel as the various blend modes of each layer are adjusted. The blend modes allow the layers to interact with the layers below in different mathematical ways. The old ‘if this, then that will happen’. Shuffling layers, changing blend modes, and adding masks tweak the look. Where the individuals were placed on their own layers makes it possible to add drop shadows and lighting effects to enhance the depth selectively.
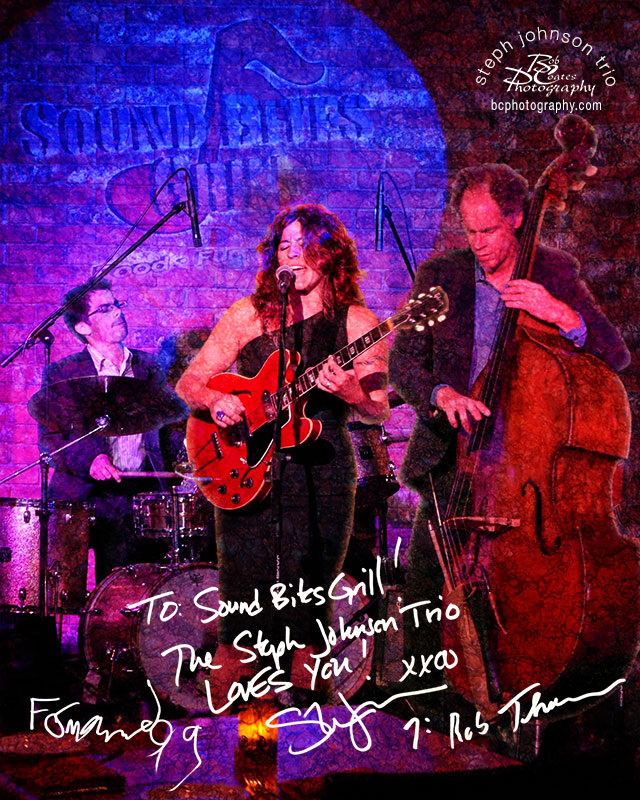 The Steph Johnson Trio at Sound Bites Grill in Sedona, Arizona by Bob Coates Photogrpahy
One last tip is adding the autograph messages from the band. Because it would be difficult to track down the individuals after the photographic art work is completed I have the musicians sign a blank white piece of paper with a black Sharpie marker just as if they were signing their autograph. This is scanned and brought into the final composition as a layer. The image is inverted turning black to white. Blend mode is set to screen and the signature magically blends into the image with no muss no fuss.
If you would like to learn more about how I work with Adobe Photoshop in creating this type of imagery I am available for personal coaching or if you have a photo group I can present a program. As a *Panasonic Lumix Luminary I could be sponsored for your event. Give me a shout to get details.
by successfulbob | commercial photography, Lumix GH3, Lumix Lounge, photography, photography education
Every business needs an image that steps out beyond the norm and grabs attention. These are often referred to as the ‘HERO’ shots. The idea is to create something that grabs attention because it goes above and beyond the norm either in composition or lighting or a blend of the two.
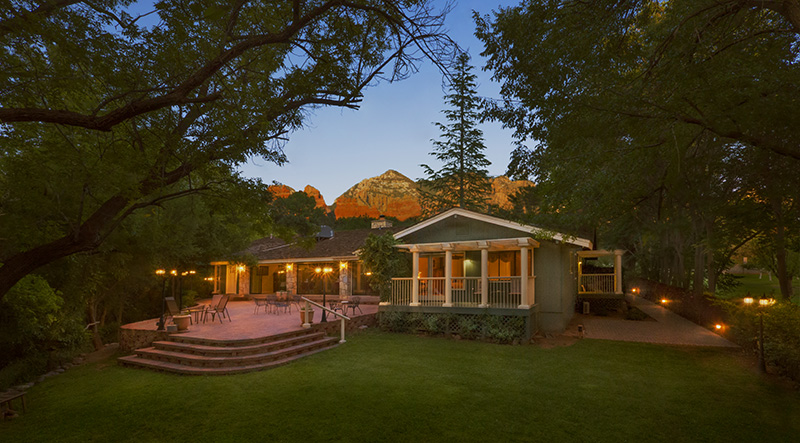 Creekside Inn Sedona, Arizona beauty image. (a great place to stay by the way…)
In order to accomplish this look for people who are trying to promote their properties I make a time based image. What do I mean by that? I create a series of images over a period of time from just before sunset until after the sun has sunk below the horizon. This allows me to show the best features of a property by blending them together. Photos taken before the sun goes down allow me to show detail in the building. Images taken after the sun starts to go down allow the sky to record as the cobalt blue and images made after the sun has disappeared show off the lighting and allow the warm glow to come from the windows.
In this particular image I needed a high angle to show off the deck so the camera was placed on top of a light stand about 12 feet off the ground and wasn’t the most stable platform to shoot from. Because of that I didn’t want to touch the camera to get exposures so I used two features on the Lumix GH3 * that helped immensely. The first was a 7 stop bracket setting to grab a number of exposures from each time I fired the camera. The other was the on-board WIFI in the camera that allowed me to control the camera using my I-pad. The 7-14mm f4 lens really kept the lines straight on the verticals. To say I’m happy with the micro 4/3rds cameras would be an understatement!
After the images are captured then it’s off to the computer to assemble the finished piece.
Here’s a reminder that I am available for one on one or group Adobe Photoshop classes to help you get the ‘HERO’ images for your clients. As I am also a Panasonic Lumix Luminary you can contact me to see if I can be brought in to speak before your photography group paid for by Panasonic. Drop me an email with your contact information and request or give me a call to start the process.
* Panasonic Lumix DMC-GH3K 16.05 MP Digital Single Lens Mirrorless Camera with 3-Inch OLED – Body Only (Black)
by successfulbob | Lumix GX7, Lumix Lounge, photography
Created a moving photography self portrait in the middle of Oak Creek in Sedona, Arizona. This area is known as Red Rock Crossing at Crescent Moon State Park. I set up my Lumix GX7 camera on a tripod. Asked a passerby to hold down the shutter for a burst of images and uploaded the images to Google Plus to use Auto Awesome to create an animated Gif file to show the motion of the creek but leave most of the rest of the image alone. Then I downloaded the Motion Gif to my computer downsized the image and used the Adobe Photoshop Save for Web feature for the image you see below.
Fun stuff and easier to do than ever…
 Self portrait by Bob in Oak Creek – Sedona, Arizona.
by successfulbob | landscape photography, Lumix GX7, Lumix Lounge, panorama, photography
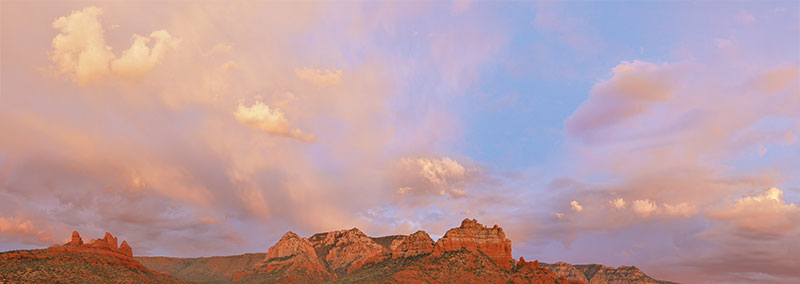 Monsoon sunset in Sedona, Arizona from Sound Bites Grill. Red rock landscape image with cloud formations.
Great time of year for landscape capture in the southwest. Sedona, Arizona has great red rocks all year long but add in the cloud formations of the monsoon season at sunset and things really start to rock!
This landscape image was assembled from 2 in camera panoramas made with the Lumix GX7 with a 25mm 1.4 Leica Summilux lens. Then the 2 images were stitched together using Adobe Photoshop to get more of the clouds in with the red rocks.
FYI, I wasn’t thinking about making images when this started to occur. I was out to dinner with my wife Holly and things started to happen on the horizon and luckily before we left the house I had grabbed the GX7 “just in case”. I’m finding that because of its small size I am keeping the camera with me more and more often. And, consequently I’m finding more and more photo opportunities unveiling themselves before me. I tried to do this with my former go-to camera but often found it too cumbersome so often left it behind and lamented not getting the shot when it jumped up in front of me.
Click here to see other sedona canvas prints
by successfulbob | Lumix GH3, Lumix Lounge, photography, photography education, video
Let’s kick off this photography blog with a start in Chicago, Illinois. I went to be an instructor at the SCU Summer Session in August with a class on marketing and creating fine art photography. It is amazing how much you learn when you teach! Upon arrival in Chicago I went on a city photo safari with a group of students. Led by Sherry Adlington (Thanks for the Chicago Crack popcorn! and driving all over), Heather Carpenter, Lauren Nygard, Mark Evrard (who drove the other car), Jared Burns, Carlos Zamora and Levi Sim.
We left the hotel around 3 PM and returned well after midnight. A great day of capturing images and experimentation with our photography techniques.
I was using the Lumix GH3 and with that camera on my shoulder and my small waist pouch carrying spare lenses and a mini tripod I was very comfortable with no strain or pain. Man, I’m enjoying the smaller size cameras and lenses!
Chicago in the summer is extremely photogenic. The skyline reflected on the water, Buckingham Memorial Fountain the skyline up close. All were great fodder for creating great images. Here’s a few.
 Chicago Skyline captured with the Lumix GH3 in vertical orientation. Approximately 7 images stitched together in Adobe Photoshop CS6 using Photomerge. Fireworks were added to the scene because they were set off way to the right of the skyline. Hey! It’s my art you know… Each fireworks image was added with a changed blend mode in the layers palette to make the background disappear using either screen or lighten blend modes. Masks were used to allow the fireworks appear to be behind the skyline.
Here’s a more traditional (realistic?) view of the Chicago skyline.
 This was a 7 image capture with Lumix GH3 in the vertical position. Using Adobe Photoshop CS6 in the Photomerge mode to stitch the image together. It needed just a little tweaking to add a little sky and water where the stitch had some issues.
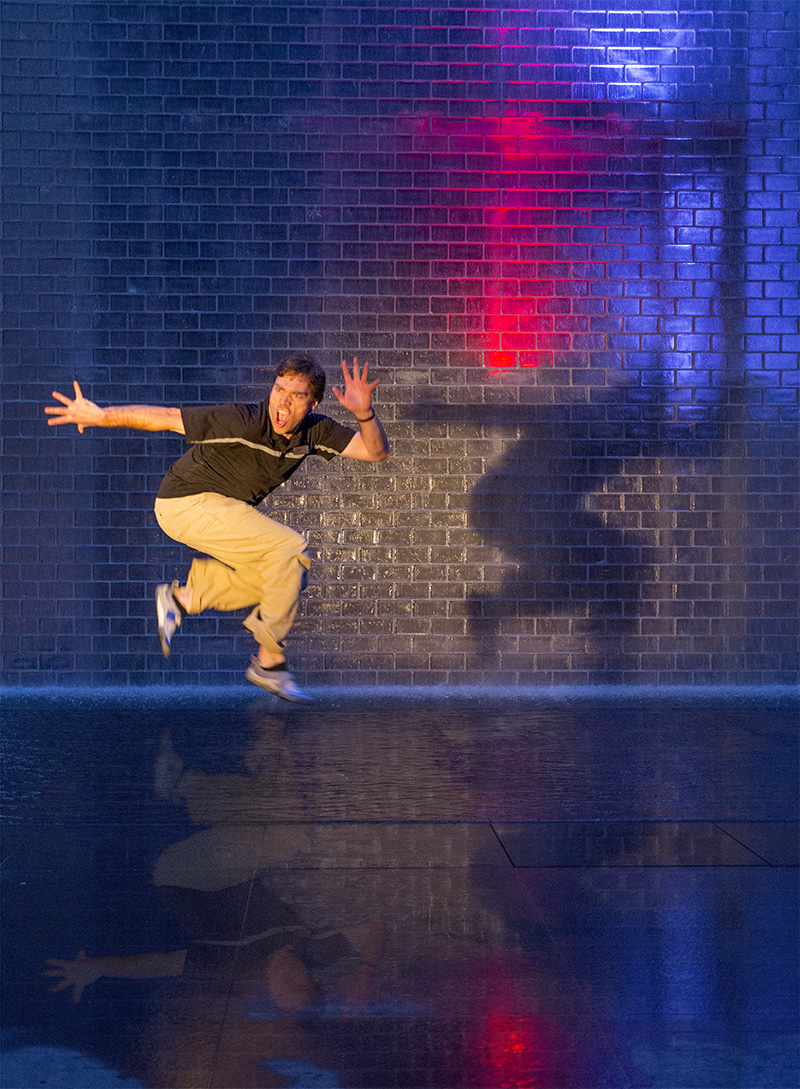
Had some fun with Levi Sim of S Designs. Levi was full of energy and great ideas. I felt like he was levitating in this jump shot…

Levi Sim getting some air! I added a little of the reflection under Levi in post. He noticed right away that it should have been further away from him because of the height he had. It pays to study (and think about) light, reflections and form.
A wonderful bit of serendipity was finding a couple trying to get photos in front of the fountain after dark. Sherry Adlington of Allusion Photography in Plainfield, IL took charge and handled posing, while Levi added the video light.
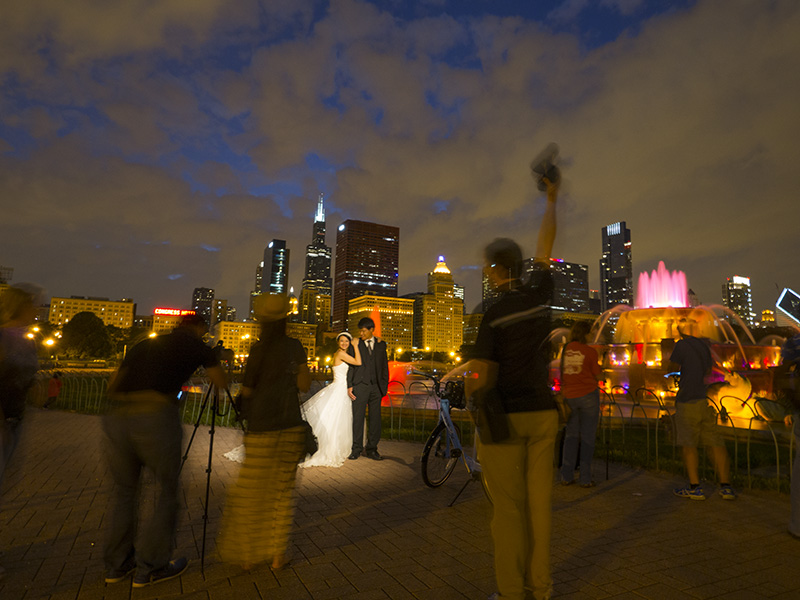

Above a more refined image of the couple. Below you’ll find a video of the scene captured with the GH3…
Video at the Buckingham Memorial Fountain in Chicago, Illinois.
PS – I am a Panasonic Lumix Luminary. If you have at least a 50 person photo group you would like me to speak to about the art of photography and capture and/or marketing contact me and Panasonic will sponsor my program at your event. bob@bcphotography.com