Had another Tech Talk Show with Mike Tabback on KAZM Radio here in Sedona. We talked about the newest capabilities of the the Panasonic Lumix cameras to choose the focus of an image after you have made the exposure. (previous post here) In addition to choosing your Depth of Field after the fact you can create more Depth of Field using Adobe Photoshop to Layer Stack for hyper-focus.
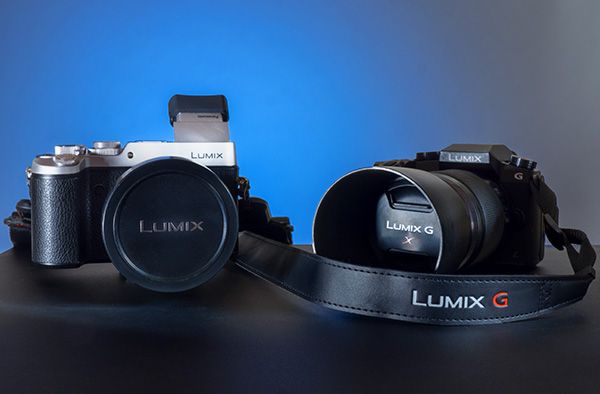
The Post focus feature is available on the Lumix cameras – GX8, G7 and FZ300 (not pictured) cameras.
Here’s one of the radio shows I do monthly on KAZM Radio with Mike Taback. We’re talking teaching photography and how people learn about photography, how I teach and two new Lumix cameras GX8 and the G7.
Got a chance to work with my buddy Jack Hillman of Hillman Design Group on another shoot with Sky Ranch Lodge in Sedona, Arizona this past week and we dodged rain and wind to traverse between the eight rooms we needed to photograph for the web site and marketing.
Had a chance to work with LED lighting instead of my traditional flash units to supplement the lighting in the rooms and I like it. Because I had more powerful LED lights from FJ Wescott I was able to see the final image a bit better as I was working. Kicking a little light here and there and seeing the effect immediately was a great way to work.
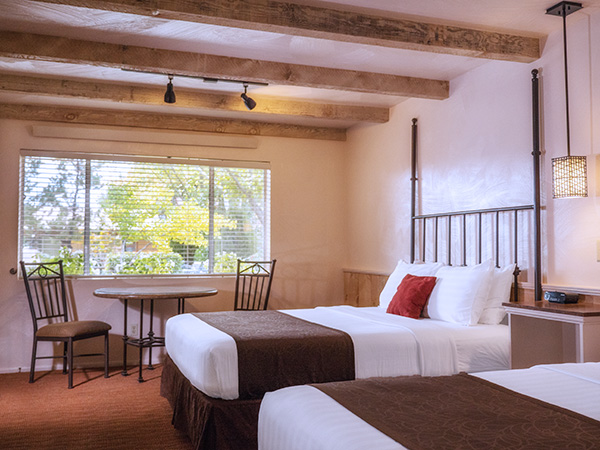
This is a double queen room. The daylight balance lights made it relatively easy to balance with the light entering the room from outside the window.
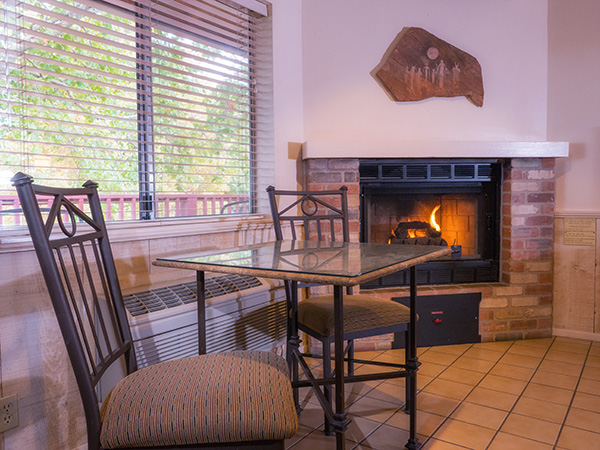
Sky Ranch Lodge fireplace and table detail. Simple rooms but very neat & comfortable.
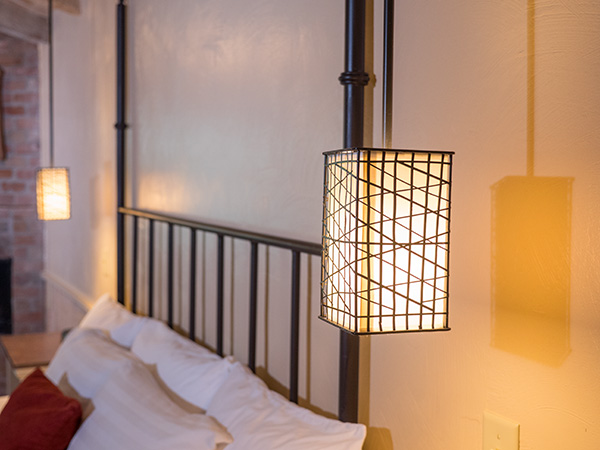
Lamp detail. I enjoy when I get the tell the story of a property in detail images like this. Over the years many properties have tried to show everything in a room in one photo and the message of how wonderful the property actually is can get lost.
The lights I was working with are Skylux LED lights that are designed for studio video work. I pushed them into location lighting for the resort I was photographing. All images were captured with my workhorse Lumix GH4 camera body. ANd the most used lens was the 12-35mm f2.8 Lumix Vario with an assist from the stunning 42.5mm f1.2 Nocticron.
As you can probably tell by my lack of posting the last few days it has been extremely busy in bob’s world. Had a full two day shoot for the Sky Ranch Lodge after their remodel. I’ll share some photos with you as soon as the processing is done along with some of the techniques I used to get the images.
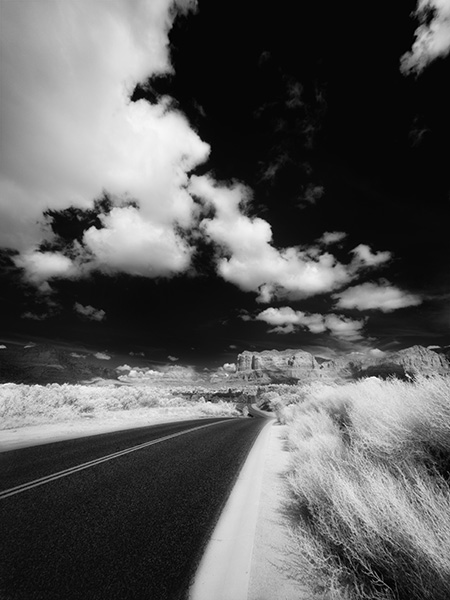
In the meantime, I did have a chance to process another image from my infrared photography. I really enjoy black and white images and the infrared adds another whole new dimension to it. I converted my Lumix G6 through LifePixel with a 750 NM (standard) IR filter. This gives you images that are on the pink side and of course need some processing to get them into final shape of Infrared BW images. As I practice and process more I am able to get a better range of tones throughout the photo.
Captured in the Village of Oak Creek, Sedona, AZ. Courthouse Butte is the main rock formation.
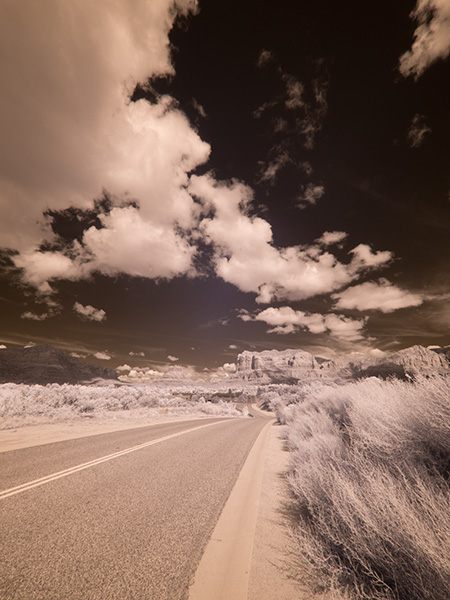
Here’s the IR image Straight out of Camera Note the pink cast. Finding I need to underexpose a bit in order to not loose highlights even though the histogram indicates it is with the scope. You have to remember that the histogram is letting you know about visible light not necessarily infrared exposure.
One of the really great things about having a dedicated IR camera is the ability to set recording for RAW + jpeg and have both images to work from in post production. If you shoot only in RAW you don’t get the processing from the camera. I set the camera to capture BW images so I can get a ballpark preview of the scene as I work.
You don’t need to convert a camera to IR you can always go ‘old school’ with a Wratten IR filter in front of your lens. The problem with doing that is your exposure time will be lengthy and focus can be a bit of a pain as IR light rays and visible light focus at a different depth on the sensor so additional calculations need to be made. (although the extended time might be cool for capturing cloud movement!) Might have to pick up an IR filter myself too…
Best part is infrared photography really opens up the mid-day time slot for creatively capturing images as it is usually too much contrast for regular photography.
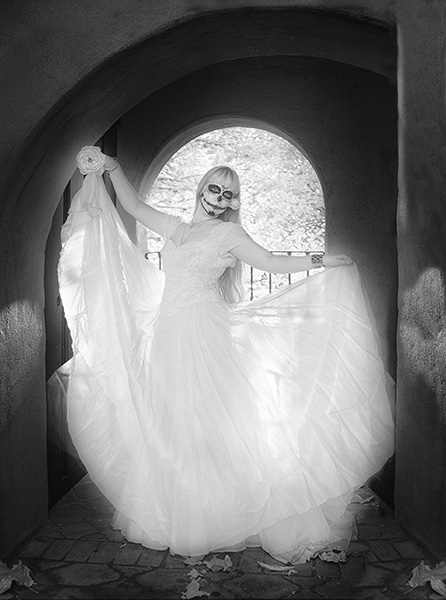
Obviously infrared imaging is not for people photography. Dead eyes. Super high contrast. Blown out highlights. Definitely not for people… Unless you are doing something artsy with the scene being most important and people are a relatively small element in the overall image OR you are at a Dia de Muertos(Day of the Dead) Celebration.
And, I just happened to attend one at Tlaquepaque in Sedona on Saturday and found a few people in costume and face paint to pose for me.
Had a lovely ‘Day of the Dead’ model join me for a quick photo session in a back lit alcove.
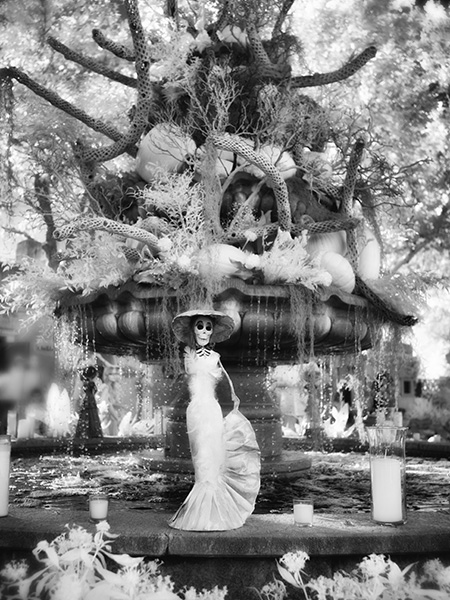
Paper mache Caterina on the fountain. Seems like it was a day for brides as I worked…
If you are unfamiliar with the Day of the Dead celebration it is a Mexican Holiday when families get together and morn and celebrate the passing of loved ones. The celebration is to help those who have passed to move on in their journey beyond.
Images captured with the Lumix G6 and 20mm f1.7 pancake lens. Converted to IR by Life Pixel. I had the
Proper tool for the job. I think infrared works for this situation. How about you??
For infrared conversion of my cameras I use LifePixel. Infrared allows you to put an older camera to use and opens up a new time time of day for productive image creation.
Learn Photoshop in a fun environment. Aaron Nace applies the right amount of fun with easy to understand and follow tutorials. Actions and brushes are included with lessons!
Lightning, waterdroplets, sound, time-lapse, HDR sequences, smiles and much more control for your camera!
Cameras Get Smarter -
A High Speed Smart Camera Remote
Best embroidery ever. Give Queensboro a try, get a $20 instant credit to get started by clicking on the logo! They specialize in great quality custom logo apparel and promotional products with the best customer service.
Platypod has become a great resource for being creative in getting your camera gear easily into unusual places. As an Platypod Pro I get to work/play with the gear even before it comes out. Head over to Platypod, subscribe to the newsletter and you will get special discounts reserved only for subscribers.