by successfulbob | architectural photography, black & white, Lumix GX7, Lumix Lounge, photography education, photography seminar
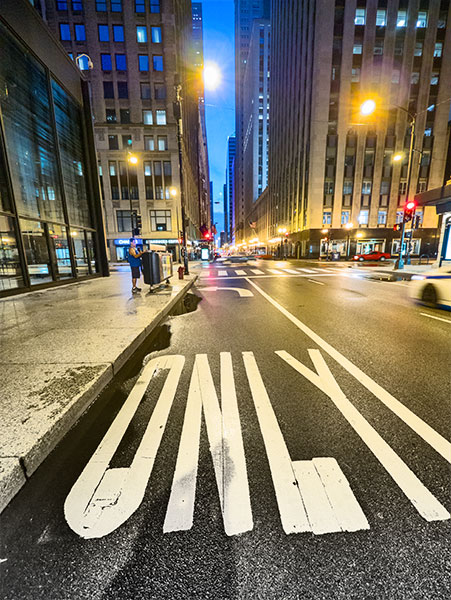
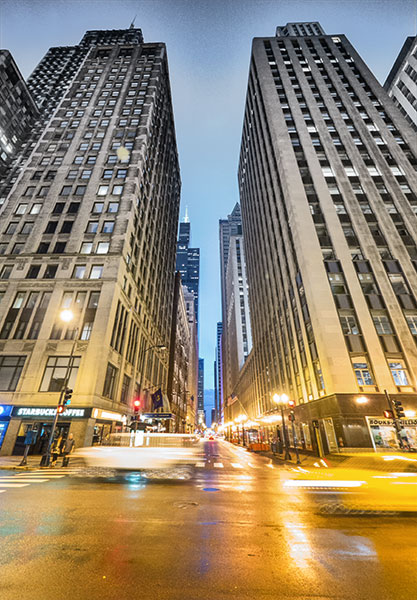
While roaming the streets of Chicago during the Out of Chicago conference I was led to a place to capture a ‘Batman’ image. One of the organizers was on our photo walk and had found this great spot to play with the architecture and come up with this…
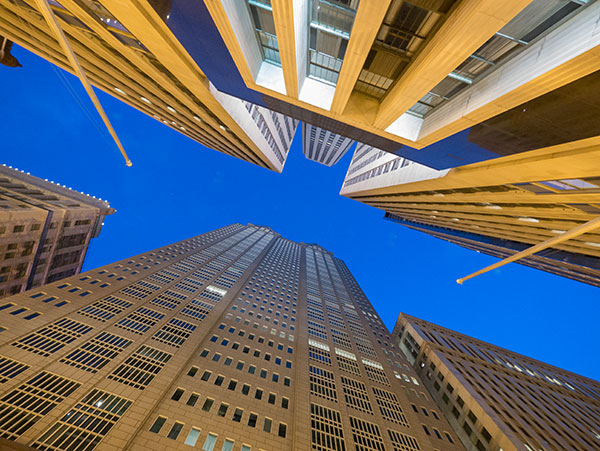 Check out the blue sky for the batman logo formed by the buildings.
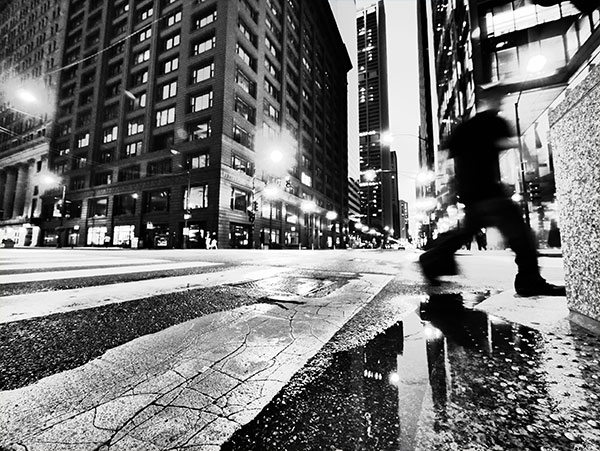
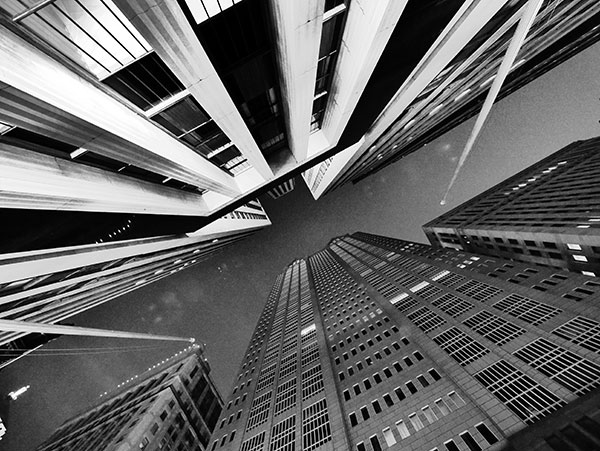 Had to experiment for a different look.
Using the Lumix GX7 with the 7-14 f4 Aspherical Vario lens (a sweet and sharp lens with no distortion) in Illustrative Art mode set to Black & White and under-exposed by about a stop led to this more graphic rendition on the same scene. Totally different feel don’t you think? Don’t be afraid to get in there and play with the camera presets, especially since you can tweak them Remember to shoot in RAW plus jpeg so you get the arty image as a jpeg but also get all the information present at the time of capture so you can tweak away in post for a totally different look.
How do you find it? Just go down the streets looking up everywhere you go – you’ll eventually find it! Actually you can head out on a photo tour with Teresa Peek of Tour Through a Lens. She was the one who hooked us up with this spot giving very specific instructions on where to stand and what to look for. I promised I wouldn’t tell so you can wander around looking for it on your own or check out her photo tours.
Yours in Photography, Bob
by successfulbob | architectural photography, black & white, graphic design, Lumix GX7, Lumix Lounge, photography education
Had great time in Chicago at the Out of Chicago Conference put on by Chris Smith. What an incredibly successful event with over 160 people registered in it’s first year. You’ve missed it for this year but I suggest keeping an eye out for next year’s dates and get them on your calendar.
While out and about on one of the photo walks I moved to the Illustrative Art Mode on the Lumix GX7 and tweaked it to Black and White. This gives a very high contrast look with a bit of a glow. I enjoy this look for architecture with a graphic twist. But I had to try something just a bit different on top of that. Capturing images in RAW plus jpeg allows me to get to the full color information presented to the camera and I’m starting to play with mixing them and adding a gradient on a mask to blend them together.
 Splitting the photo into Black and White and color. Bottom to top.
 Reversed the gradient for this photo.
 Tried the split on this one and it lost it’s ‘Cartier Bresson Decisive Moment’ feel so I took away the color.
Experimentation is key to growing your photography. Does the split color work? For some images maybe but as I play with it some more I may find the perfect place to use this technique. Let me know what you think!
Yours in Photography, Bob
by successfulbob | architectural photography, photography
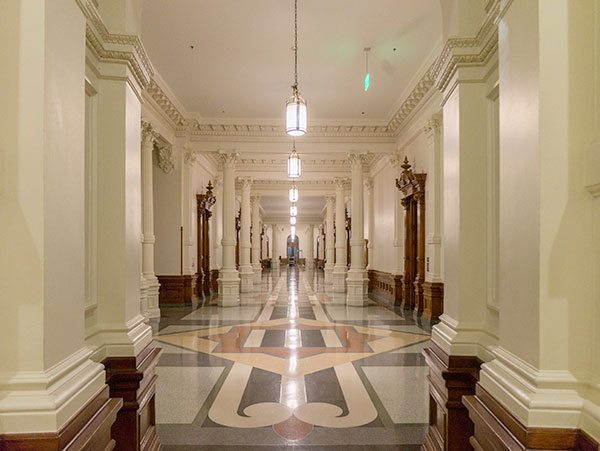
Symmetry.
I like it. .ti ekil I (can you tell I’ve had a couple IPA’s already?)
The capitol building in Austin, Texas was the subject of a quick photo shoot while in town to give a program at Precision Camera. I enjoyed the look of this hallway. The light and their reflections on the floor bisect the hall almost perfectly.
 It’s not quite a perfect mirror image… but that’s what makes studying this image interesting.
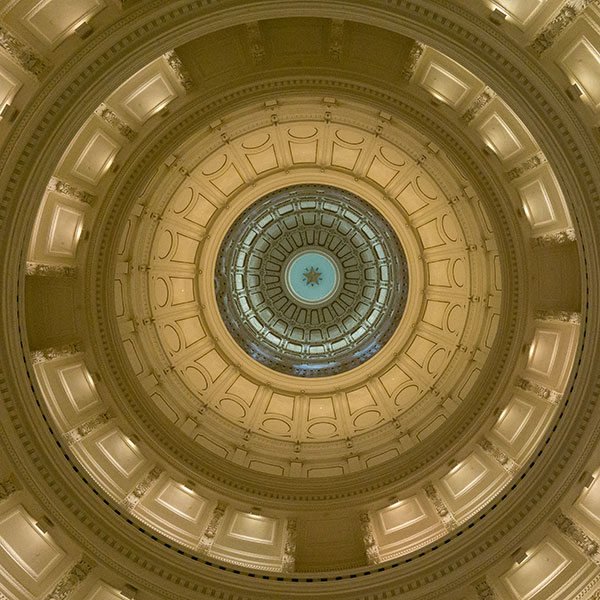
 The capitol dome in Austin, Texas from the inside.
I was laying on the floor on my back shooting up at the dome. Wish I had taken just a bit more time to get perfectly centered to show the symmetry in all its perfection. This is an amazing, and fascinating, construction. At the very top you’ll find the star of Texas with the letters of the state in between the points of the star.
Always take time to practice different skills, ideas and techniques so that when the time comes to create a certain look in any situation you’ll already have an idea of the possible pitfalls.
Yours in Photography, Bob
by successfulbob | architectural photography, Lumix GX7, Lumix Lounge, photography, photography education, photoshop tutorial
Speaking of Austin, Texas…
Wandered around downtown for a bit. Spent a little time in and around the capitol building. Lots of stunningly beautiful architectural detail. Could probably spend a day or two photographing and still want to come back for more, but I share a couple I was able to snag while there…
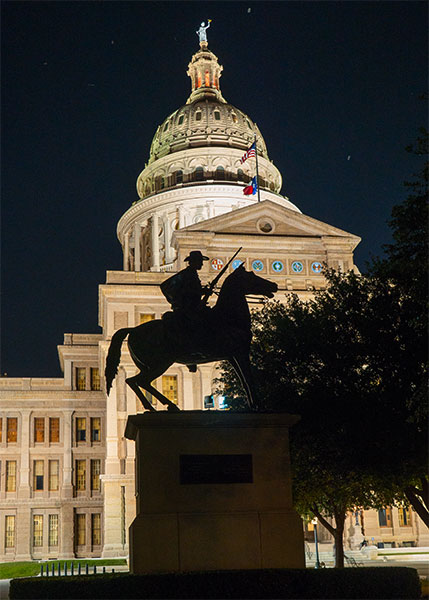
 Silhouette of the salute to the Terry Rangers. There’s a couple quotes attached of which here’s one, “There’s no danger of surprise when the Rangers are between us and the enemy.”
I think the silhouette of the statue in front of the capitol dome tells more of the story of the place and has more depth than a straight shot of the dome. No my camera sensor is not dirty… Lights attract bugs. Bugs attract bats which is what you see in the sky above the dome.
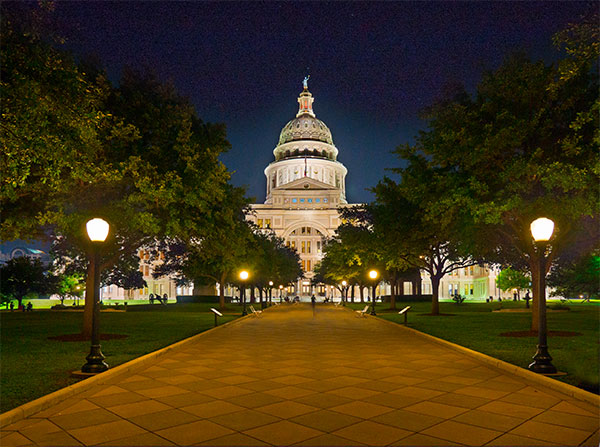
 Texas State capitol building and entry walk in Austin.
The wide view of the capitol building was made combining two exposures out of a 5 exposure sequence made with the Panasonic Lumix GX7. Each image was processed in Adobe Camera RAW (ACR) using the highlight and shadow sliders along with exposure and saturation. Even though the two images were made within milliseconds of each other when I placed one on top of the other there was a tiny registration problem. This can happen even when you have the camera mounted on the tripod so I use the technique below whenever I stack images for blending. Photoshop to the rescue!
Here’s how.
Turn the bottom layer from background layer into Layer Zero. Highlight both layers in the Layers Palette. Under the Edit menu select – Auto Align Layers. Make sure Auto Align is selected in the projection. I leave Vingette Removal and Geometric Distortion unchecked. Depending on the image and lens used you might want to remove Vingette. Click OK. In seconds the layers are perfectly aligned.
Next a mask is added to the top layer and painting with a brush and black chosen as the color allow any parts ot the image below to show through until the blending is to your satisfaction. You might want to save out the file at this point and continue any additional work on a copy of the file. If there was an error made in the masking the mask will still be available for adjustments instead of starting over from scratch.
Tomorrow we’ll go inside the capitol building for a couple photos….
Yours in Photography, Bob
by successfulbob | architectural photography, Lumix GX7, Lumix Lounge, photography, photography education
Was in the wonderfully funky town of Austin, Texas this past weekend giving a couple classes at Precision Camera for Panasonic. I broke out my street shooting camera the Lumix GX7 for a little High Dynamic Range work while out and about.
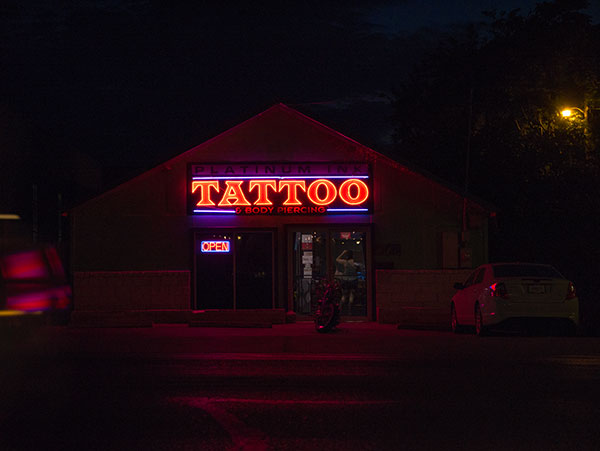
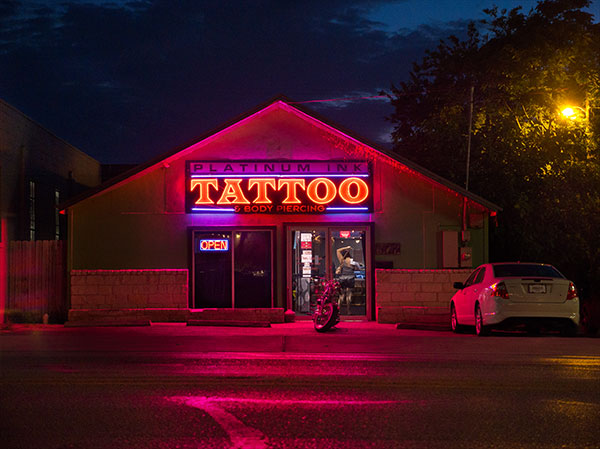
If you have ever photographed neon lights at night you know it’s a subject that screams out for HDR to get the scene to look great. There’s no way to get all that lighting information into an image with a single push of a button. Fortunately, with the GX7’s frame rate I was able to get the exposures hand held as this was grabbed on the fly with no tripod.
 Single capture of the Platinum Ink tattoo parlor gives an idea of the range of light in this scene.
If I was shooting this on assignment I would have spent more time and had a tripod, lost the car, rearranged the motorcycle and would have added some more gelled light to the scene to really make this image rock. As it was a little layer work with some masking of the five stop exposure gave me this…
 Perhaps if they saw this at the tattoo parlor they might like to have some new images created for their web site next time I am in Austin? If you know pass on this link… We can talk!
Yours in Photography, Bob
by successfulbob | architectural photography, black & white, Lumix GX7, Lumix Lounge, photography, photography education, photography gear
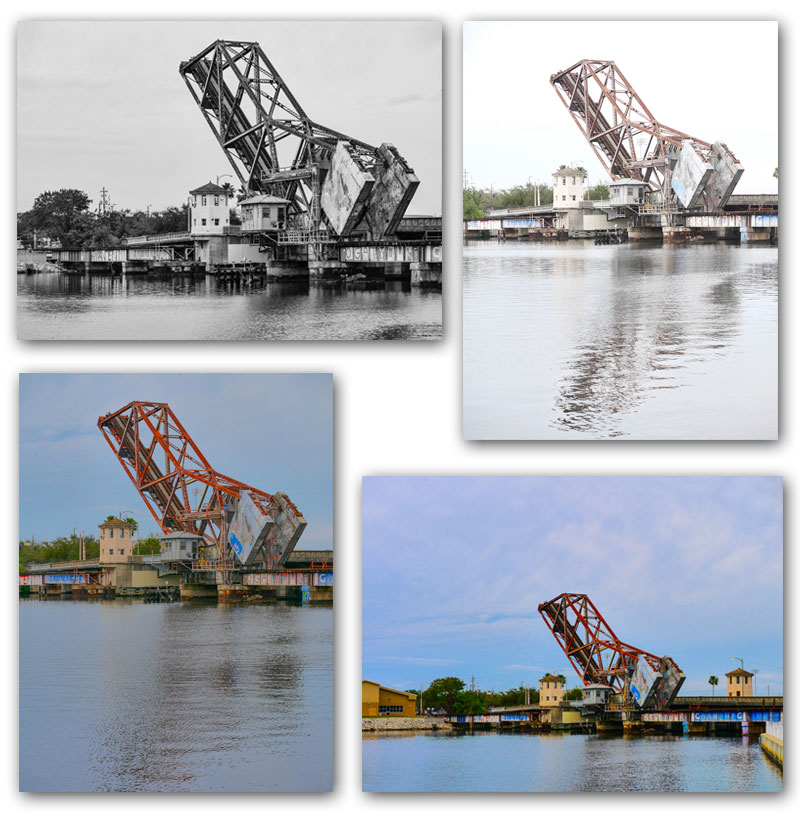
For some reason I found myself enamored with this railroad draw-bridge in Tampa, Florida. It’s just outside the museum I was hanging in and I liked the graphic lines and shapes that ran through the scene. I thought i’d run the camera through some of it’s pre-sets to explore different ‘looks’. Never used to be a preset guy but I’m liking the fact I can have a pretty well processed image straight out of the camera. Here’s a few…
 Four different preset images from the Panasonic Lumix GX7 camera pretty much straight out of the camera.
Totally different feel with all of them. Having fun seeing what the camera can do.
Please be aware of a couple things. You must have the camera set to save jpegs. Shooting in RAW only will allow you to see the processing on the camera but when you download the RAW images and open them on the computer you will see the processed file for about 2 seconds and it will disappear leaving you with the RAW information only.
Now a wonderful thing is available here. You can get the best of both worlds by shooting RAW + jpeg. Then you have a finished processed jpeg and still have access to the RAW file if you want to process the image in a different way. My friend Kevin Ames of Ames Photographic in Atlanta says, “Friends don’t let friends shoot jpeg!” He is a big advocate of shooting in RAW because if you shoot jpeg only you are allowing the camera processor to throw away a lot of information from the file. If you shoot in RAW it has the most information and will allow your file to be even better in the future as more and better software is designed for processing images. I agree. But, I like the idea of working with and tweaking some of the setting the camera has available for immediate use hence I now do both.
 Check out the blue sky for the batman logo formed by the buildings.
 Had to experiment for a different look.
