by successfulbob | black & white, Lumix GH4, Lumix Lounge, people photography, photography education, photography gear, photography software, photoshop tutorial
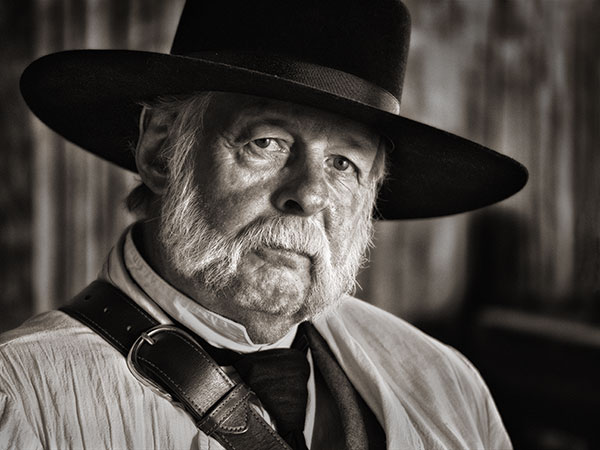
I’m working on a video for a future seminar being hosted by the Arizona Professional Photographers Association (AZPPA) in the fall and here is an image of one of the character actors expected to join us in a western setting. Steve AKA the ‘Sheriff’ is a pleasure to work with as are all the people who will be dressed in period costumes at the event.

‘Sheriff’ Steve in costume.
Steve was captured with the Lumix GH4 and the 35-100mm f2.8 Lumix Vario Lens. Natural light from a somewhat overcast but bright day coming through a doorway camera right and behind Steve so I could shoot into the shadow side of his face to add depth, dimension and drama to his features.1/15th sec f3.2 ISO 1600 in Aperture Priority with a slight bump in Exposure Compensation to open shadows just a bit.
Post processing often plays into the creation of my images. As Ansel Adams proclaimed, “The negative is comparable to the composer’s score and the print to its performance. Each performance differs in subtle ways.” So here is the original digital capture with no adjustments.

Straight Out of Camera (SOOC)
Top Image was processed in Silver FX Pro 2 to convert to Black and White.
Then some small retouching moves, mostly dodging and burning to control the contrast of the scene.
NIK Color FX Pro 4 Bleach Bypass Filter. Used a Layer Mask to bring back some detail that got whacked.
Back into NIK Color FX Pro 4 to use the Tonal Contrast Filter to highlight details and bump contrast.Layer Mask to control specific areas.
Added a Soft vingette.
Soft Light Blend Mode Layer added to retouch and add extra life to his eyes.
Then a conversion to Sepia Tone using a Hue Saturation Adjustment Layer with the settings Hue 30 Saturation 10 Lightness 0 and Colorize checked. (Got this recipe, or something very similar, about 15 years ago from longtime photographer friend Tom Cheswick)
Link to NIK Plugins
Yours in Creative Photography, Bob
by successfulbob | black & white, commercial photography, Lumix GH4, Lumix Lounge, musician photography, photography, photography education
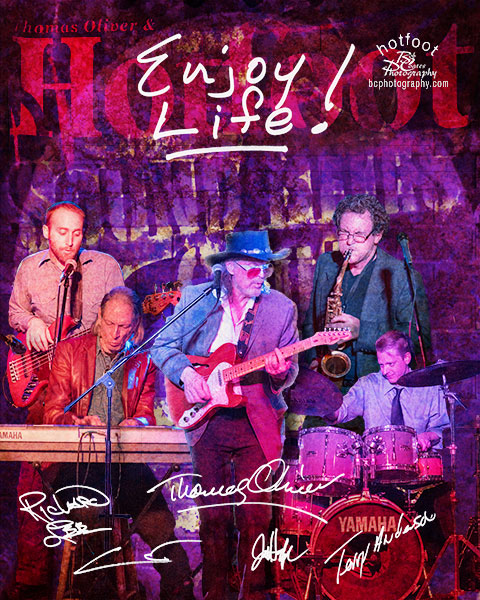
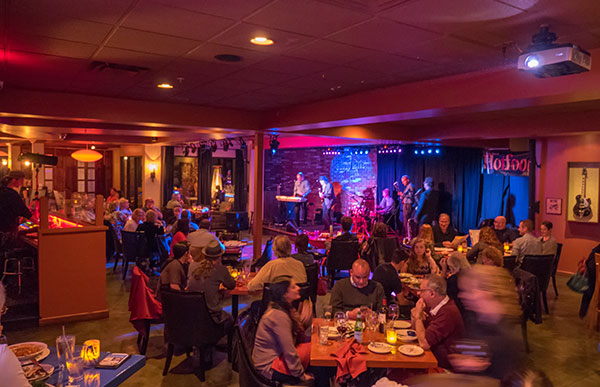
The band Hotfoot out of Phoenix packed the house at Sound Bites Grill in Sedona last Friday night. Good sounds that make the feet move are the reason this five piece band filled the place.

Wall of Fame image for the band Hotfoot. All photos are captured during the live performance. Then each musician is isolated from their photo using masks and combined using Adobe Photoshop layers into another document. Lighting and shadow effects are used to add depth and dimension. Finally multiple textures are added in Layers with different blend modes to create the artistic rendition of the group.

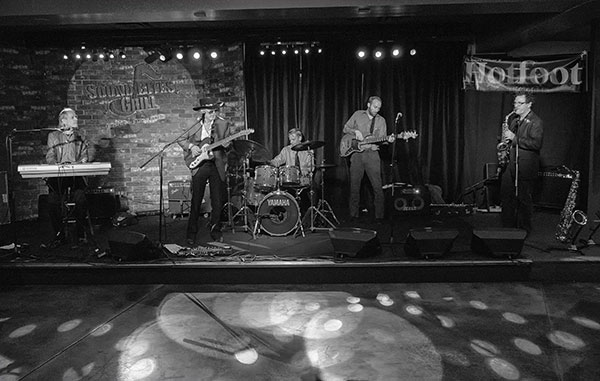
Additionally I capture ‘straight’ photos for future publicity photos for when the band returns. Even these are worked using multiple captures as often the different band members are in a better position in alternate photos. For example there was one photo where three of the band members looked good but the drummers face was obscured behind his cymbals and one of the singers face was behind a microphone.

This is more for showing the restaurant in full swing with live music as the backdrop.
The photos were captured with the Lumix GH4 with the 35-100mm f2.8 Vario lens. This camera has enough Dynamic Range to cover the LED stage lighting with a little post processing knocking down the highlights and opening up the shadows just a bit using Adobe Camera Raw.
Yours in Creative Photography, Bob
PS – Please remember that using the links to Amazon to make your purchases through this web site help support the ongoing education provided here. Thanks!
by successfulbob | architectural photography, black & white, graphic design, Lumix FZ 1000, Lumix Lounge, photography education
Wizard Academy in Austin Texas is a place of creative learning, whimsy and full of visual delight! I was there last week and enjoyed working and learning in this target rich environment!

Detail from a metal sculpture near Engelbrecht House on the Wizard Academy campus.

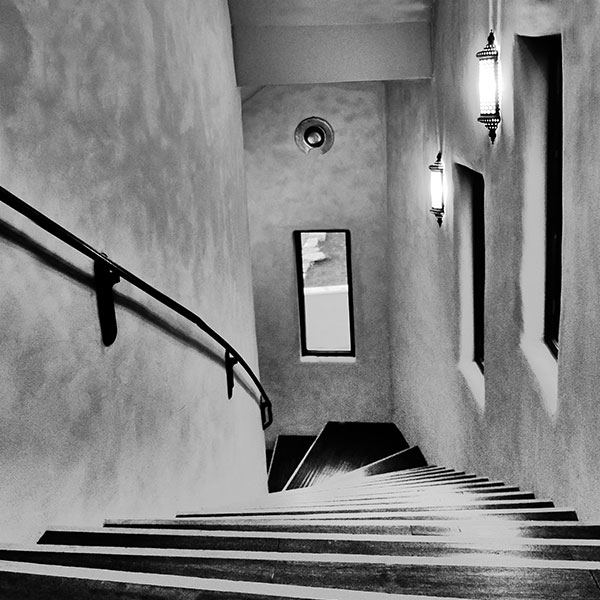
Spiral staircase from the Library down to the presentation room in the Tower at Wizard Academy

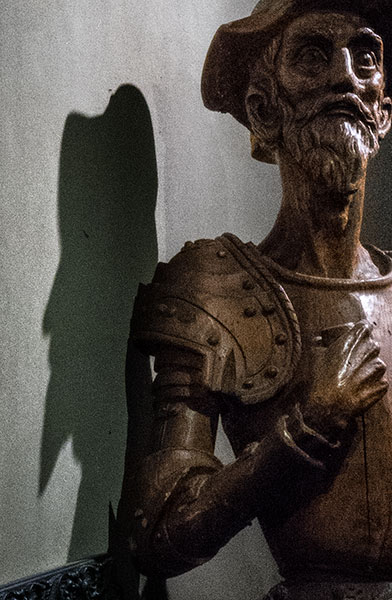
Detail from a Don Quixote carving in the lower art gallery in the Tower.
The Wizard Academy has an extensive collection of art devoted to the Don. Paintings, lithographs, metal and wood sculptures in all shapes sizes and mediums of which you might think. Think adventures, tilting at windmills and all that entails. It is definitely not a place for those who are traditional thinkers! It makes you stretch…
Images captured with the Lumix FZ 1000
by successfulbob | black & white, Lumix FZ 1000, Lumix Lounge, photography, photography education
I spent most of last week a Wizard Academy, a creative business learning environment, in Austin, Texas in Creativity Mode.
You ask, “What the heck is Creativity Mode Bob??”
Creativity Mode is any time when I can throw off the shackles of having to create a specific image for a specific reason. It allows lots of time for experimentation, play, trying new techniques with plenty of chances for failure of a concept with no negative consequences. And usually leads to pushing the boundaries of photography. In this case it was the ‘Photographers Roundtable’ led by Roy Williams and Daniel Whittington. 17 photographers gathered to be pushed to create interesting imagery. Challenges were issued to look harder for shadows, challenge composition rules with frameline magnatism, use color as a statement, push the use of portals and framing to new levels and more.
All of this taking place in a target rich environment with wonderful architecture, artwork everywhere designed to delight and surprise the visual senses. Good times.
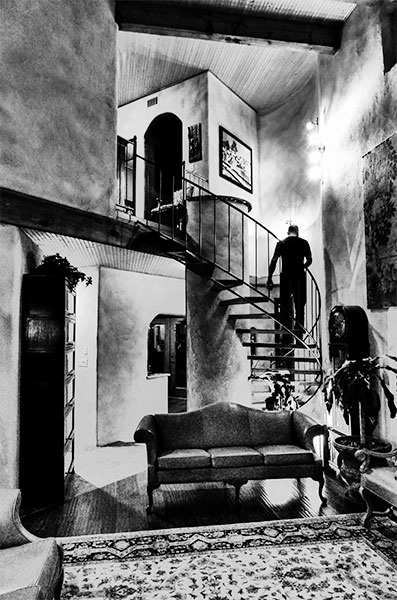
Here’s one of the images created with the Lumix FZ 1000 with a tweaked creative filter program mode.

In Spence House the high ceiling and spiral staircase create wonderful lines.
This photograph was made using the Illustrative Art setting on the FZ 1000 (setting is available on most Lumix cameras). The nice part about the art settings is that you can tweak them in camera. In this case I changed the white balance to black and white. The monochrome allows the shapes, forms and glow to come to the forefront of the photo. 1/40 sec ISO 1600 f2.8
I’ll be sharing more images and ideas from spending mulitple days talking about pushing envelopes and experimenting with other photographers…
Yours in Creative Photography, Bob
PS – Talk about an all around camera the FZ 1000 is 25 to 400mm f2.8-4 all in one. Under 2.5 lbs. Captures 4K video and syncs to 1/4000 of a second with flash. The link here to Amazon has the camera (as of today prices go up and down a bit) for only $728
by successfulbob | black & white, commercial photography, Lumix Lounge, musician photography, people photography, photography education
Pre-visualization Part 2.
And, the anatomy of post production of an image to meet the pre-visualization. That’s what we’re continuing talking about today. I saw this final image in my head before I even made the photo. (if I could only get there in time) Here’s the story…
Esteban is an extremely talented artist with the guitar. I have been fortunate to photograph him on numerous occasions. Last time out (see post here) I made images of him for marketing and promotion and I was gifted with seeing a lighting situation during a live performance that I knew would be wonderful in color. And, then especially in black and white. If only I could get to the right position, with the right lens, before the dynamics of the situation changed.
Moved quickly across the room while changing lenses. Dropped to the floor and fired off about 8 frames before he came out of the position and the lighting changed.
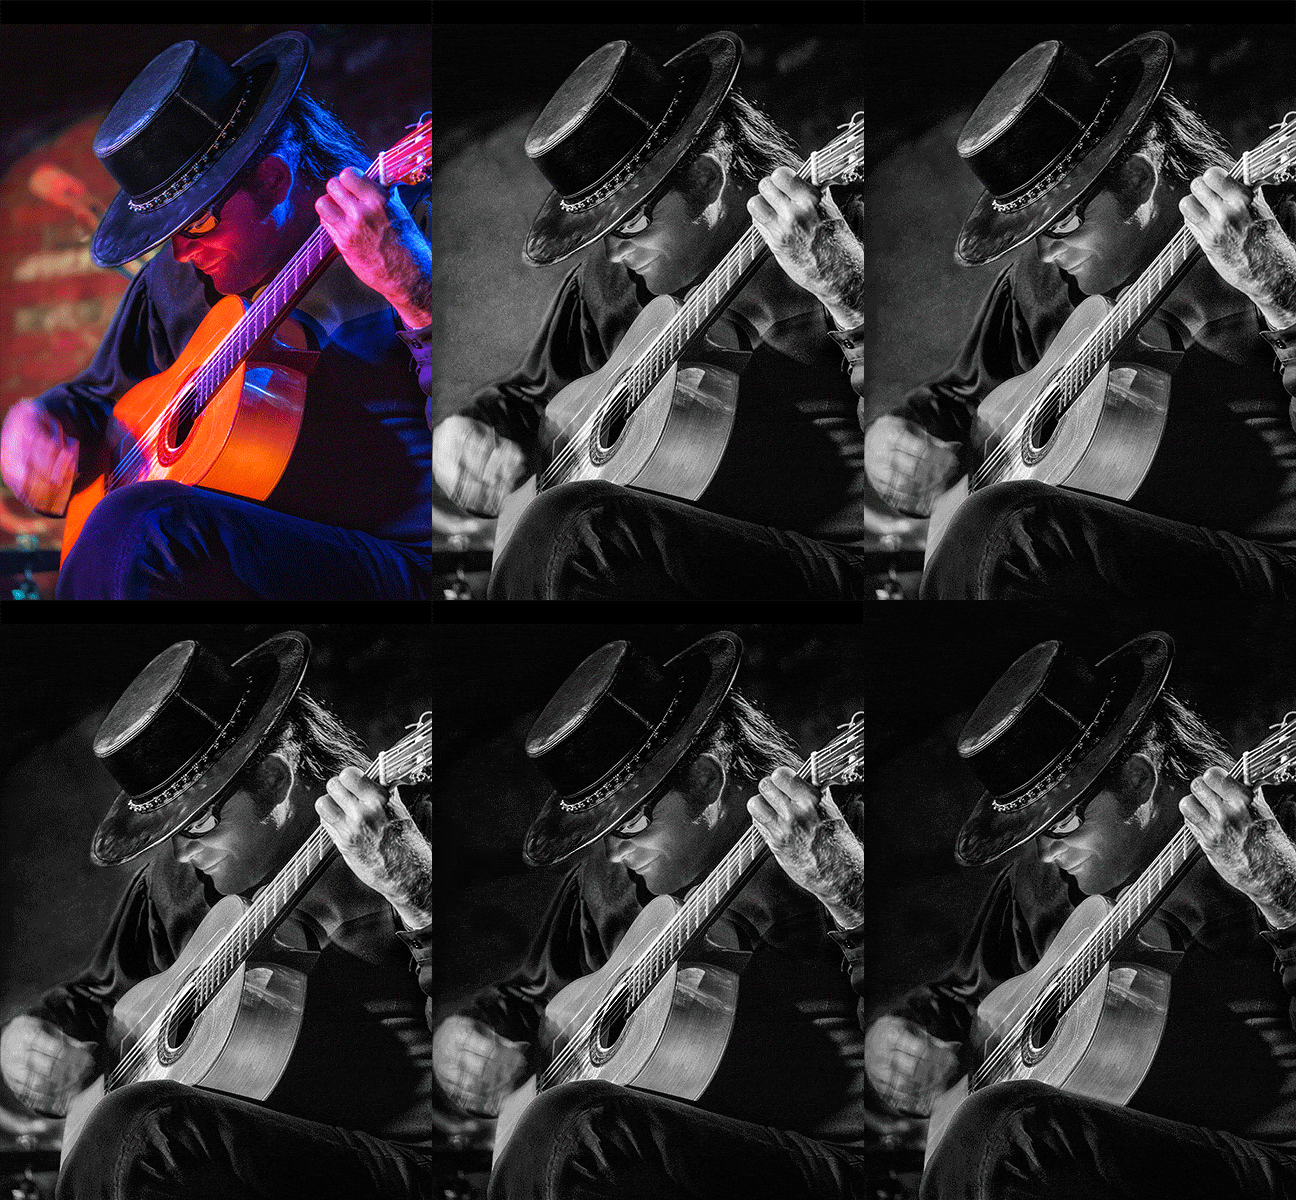
Here’s the Black and White version building upon the color version from yesterday followed by an Animated Gif showing the steps of post production…

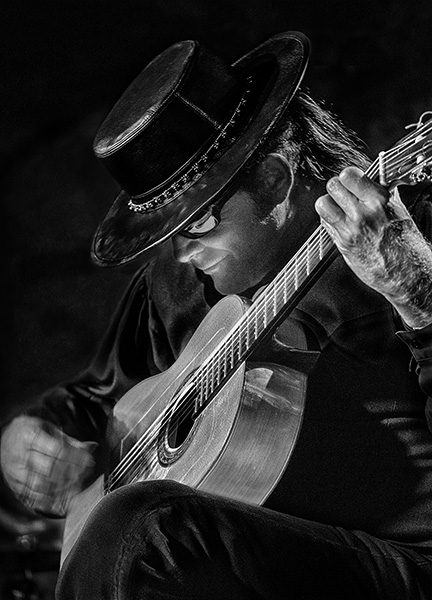
Esteban image after building on the color version.

Color processed file. NIK Silver FX Pro 2 for BW conversion. Clean up background distraction. Add detail to hand from another capture. Tone down Background w/ Curves Layer. Duplicate Curves Layer. Add Soft Light Layer Painting with grey to burn down image. Copy of previous Layer. Remove distracting shadow from leg near guitar. Final Soft Light Layer for final burning adjustments.
Was there more in post? You betcha! Some things are very subtle like selective sharpening of certain places in the image to further guide the viewer around. They would be too subtle to show the differences in this Animated Gif.
Yours in Creative Photography, Bob
PS – Original image was captured with the Lumix GH4 with the 35-100mm f2.8 Vario Lens under stage lighting conditions during a live performance.
PPS – So which image do you like better? Color or Black and White??
by successfulbob | black & white, commercial photography, Lumix GH4, Lumix Lounge, musician photography, photography, photography education
Pre-visualization.
And, the anatomy of post production of an image to meet the pre-visualization. That’s what we’re talking about today. I saw the final image in my head before I even made the photo. (if I could only get there in time) Here’s the story…
Esteban is an extremely gifted artist with the guitar and I have been fortunate to photograph him on numerous occasions. This last time (see post here) I made images of him for marketing and promotion I was gifted with seeing a lighting situation during a live performance that I knew would be wonderful in color. And, then especially in black and white. If only I could get to the right position, with the right lens, before the dynamics of the situation changed.
Moved quickly across the room while changing lenses. Dropped to the floor and fired off about 8 frames before he came out of the position and the lighting changed.
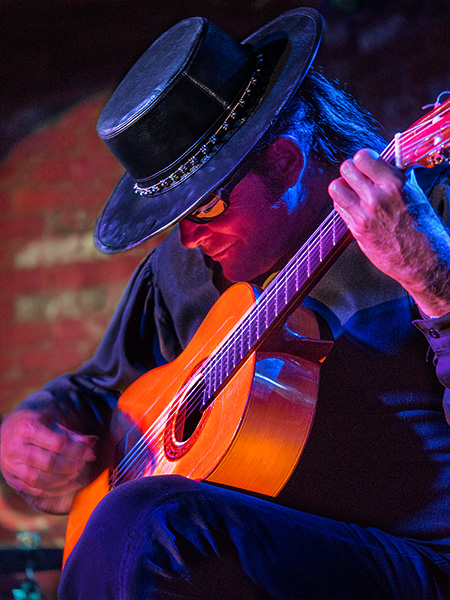
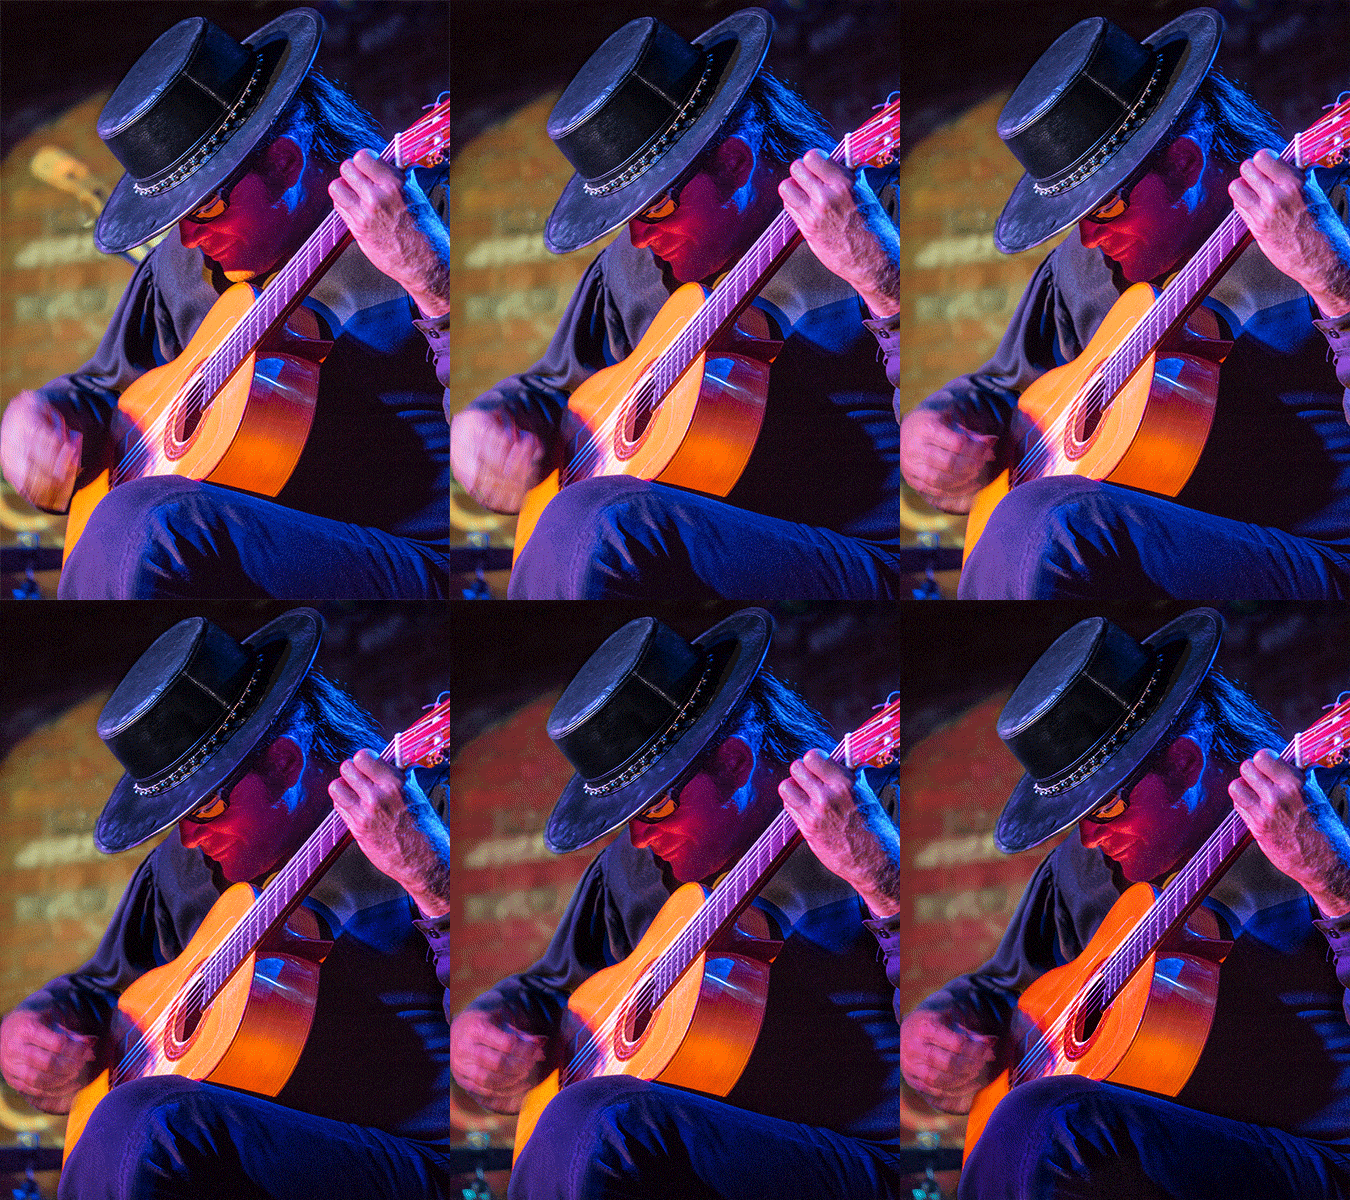
Here’s the color version followed by an Animated Gif showing the steps of post production…

Esteban playing guitar after post production. See the animated .gif below for most of the steps used.

Straight out of camera. Remove background distraction. Add a Tonal Contrast and Glamour Glow with NIK filters. Bring back some detail in strumming fingers from another capture. Burn some highlights. Tone down clothing to shift focus. Tone down background. Tone down guitar.
Toning was done with a variety of techniques including Curves Adjustment Layers and Soft Light burn layers. You see how we can drive the focus to where we would like the viewer to look first. The eye goes to the area of highest contrast. Then the viewer is invited to look around in the image by the use of diagonal lines in the composition.
Tomorrow this will be taken to another level when the image is converted to black and white followed by more adjustments.
Yours in Creative Photography, Bob
PS – Original image was captured with the Lumix GH4 with the 35-100mm f2.8 Vario Lens under stage lighting conditions during a live performance.

