by successfulbob | fine art photography, Lumix GH4, Lumix Lounge, macro, photography, photography education, photography gear
I took my Lumix GH4 out for a hike yesterday. I was accompanied by it’s friends the 7-14mm f4, it’s cousin 12-35 f2.8 and it’s big brother the 35-100mm f2.8. This combination of camera and lenses gives me the 35mm equivalent focal range of 14-to 200mm with fast glass. Add a spare battery, a five in one 20 inch Westcott reflector, some extension tubes and put it all in a small Tenba ‘Switch 10’ bag and I’m ready for almost anything I might come across photographically.
Oh, did I mention all of that gear weighs just a bit over six pounds? Throw in a MeFoto backpacker tripod and water for the hike and it’s still under ten pounds. TOTAL.
The Lumix Micro 4/3rds Mirrorless system rocks!
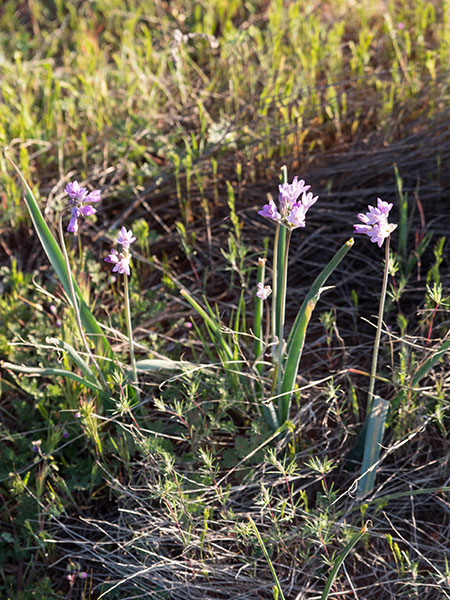
Happened upon this stand of delicate little lavender flowers.
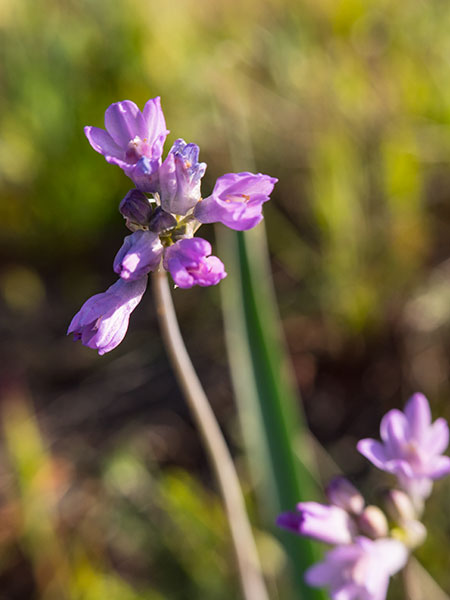
Mounted the GH4 with 35-100mm on the tripod. Added a 10mm Vello extension tube and it looks like this in full sun.
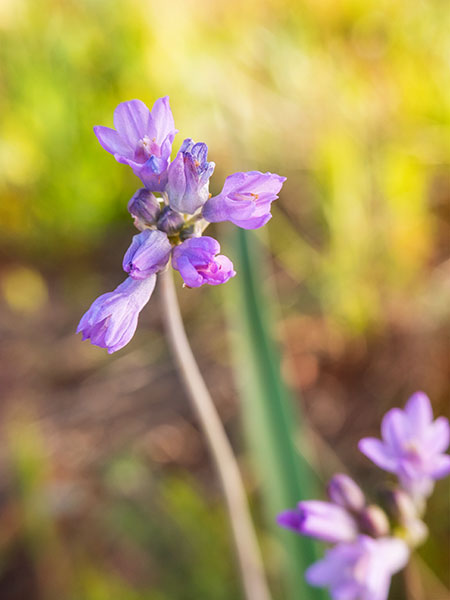
Open the 5 in 1 Westcott reflector, take off the cover and use the scrim between the sun and the flower and look at the change.
I think I’ll take the kit out for a hike again tomorrow.
Yours in Creative Photography, Bob
PS – If you use the links to Amazon.com as an affiliate I will receive a small percentage form the sale. It helps support photographer education and the Successful-Photographer web site. TIA.
by successfulbob | fine art photography, photography, photography education
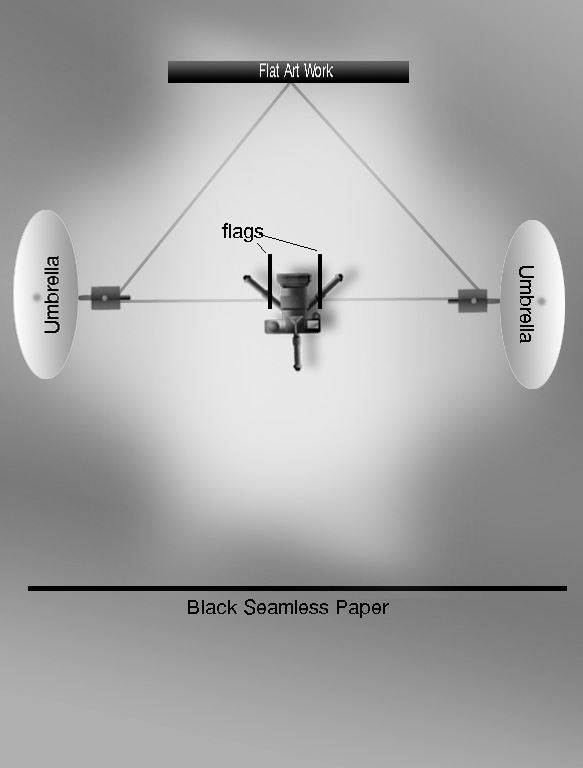
I’ve been working with a way to shoot flat art that really simplifies the set-up and gets you better color than some other ways. No longer a need for polarizing filters and busting butt trying to get even light across the field of the artwork by trying to use 45 degree angles with lights pointed at the art… See the diagram for the set up here’s how it works for me…
Take a measurement of the art. The lights should be at a distance as an equilateral triangle that is longer than the longest dimension of the art to be photographed. If you have really large art you can stack another umbrella light over the first to get larger coverage.
 Lighting Diagram
Lights on umbrellas should be facing the CAMERA. We are lighting the flat art with the spill from each umbrella. This makes it extremely easy to get the light falling on the art to 1/10 of a stop over the entire surface with virtually no effort.
Set up flags so that the light doesn’t flare the lens since the lights are pointing toward the camera.
Take meter readings to ensure the light is within even across the art. Use that reading on your camera with an expo disk. Make an exposure with the expo disk in place with the metered settings from the artwork’s position and use that exposure to set a custom white balance on your camera.
If you are shooting artwork with glass or with highly specular highlights from the paint or glaze set up a black background behind the camera and cover the tripod with black velvet. Get out of the way and trigger the camera with a remote. There will be no reflections or any light for the artwork to “see” hence no glare or specular hotspots to deal with. The color will be spot on since you are using a custom white balance. I’m sure you could also use the Macbeth checker system also but the Expo disk works great for me. I also add a checker chart and gray card just in case, but haven’t had to use them since adding expo disk….
BTW the camera can be anywhere along the center line it doesn’t have to be in between the lights it can be forward or behind the lights.
One other thing to be careful about is lens choice. Ideally a tilt shift or very flat lens with no distortion is best. Use a level on the artwork and the camera lens to make sure they are on the same plane. Spending more time here will save you lots of hassles once you get to the computer. If you use a wider angle lens you can get some barrel distortion. If you don’t do enough of this work you can use the flattest you have. Camera raw has a lens correction tool that can get you very close but even then you should check that the image is perfectly square by pulling down some guides. A VERY small amount of transform tool using warp can get you back on the straight and narrow.
Since I have been using this system I no longer have issues with shifts in color from hot spots or polarizing filters. And most important no more fighting with artists about getting the ‘right’ color. Before there were always problems, no more. Try it you’ll like it!! Any questions give me a shout….
The black seamless paper is only necessary when you have glass that you can’t remove for one reason or another or if there are specular reflections in your room. You would also need to cover your tripod with black velvet to reduce reflections also..
Yours in Creative Photography, Bob
PS Thanks to commercial photographer and educator Jim Lersch for the diagram materials… Jim Lersch Photography
Save
Save
by successfulbob | fine art photography, photography, photography competition, photography education, success education
Thanks to New Mexico Professional Photographers Association (NMPPA) for hosting a convention of which to be proud. They did a great job. I was there to give a program on art and imaging competition and to help judge the annual print competition. There were a lot of great images.
If you are in the NM area and want to get in on some great learning you should join the organization. Organizations always go through ups and downs and it looks like they are on the ups with a solid board excited about getting quality photo education from photography speakers for their members.
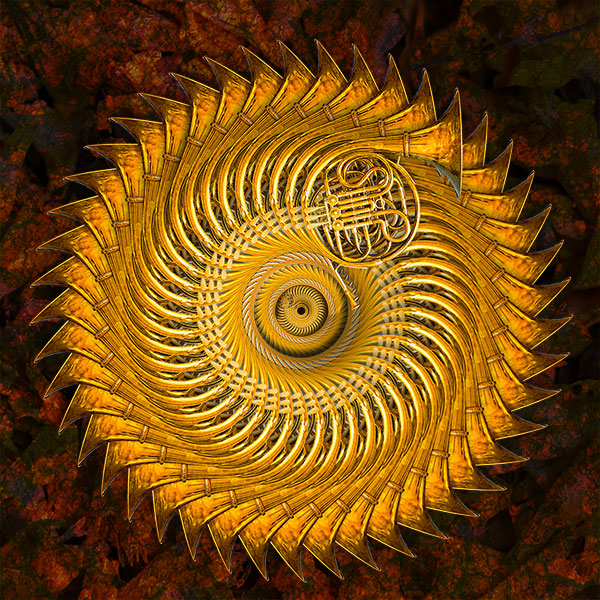
Image made during the NMPPA convention during my ‘Photo-Synthesis’ Photoshop class.
Books, magazines, the web, DVD tutorials, Creative Live & PhotoVision are all great ways to gather photography education!
BUT, nothing beats in-person photo education and networking with fellow photographers and competing in the PPA system of Imaging Competition. A great place to start is with your state Professional Photographers Association whether you are in New Mexico, Arizona or any other state. Not sure where your closest PPA Affiliate is? Find out here.
Yours in Professional Photography, Bob
by successfulbob | fine art photography, photography, photography - art quote, photography education
There are often conversations with photographers of whether they are creating art or fine art with their imaging. Some are – some aren’t – but who are we to judge? The point is once we get over whether we are artists or not we need to work, not just dream, to make our dreams happen. Today’s Photo/Art quote from Constantin puts it very succinctly. (especially the second sentence!)
“Art career goals make your career happen. To see far is one thing, to go there is another.” Constantin Brancusi
What are you doing to work on your career and push it into the direction you would like it to go?
Yours in Creative Photography, Bob
by successfulbob | architectural photography, fine art photography, graphic design, Lumix FZ 1000, Lumix Lounge, photography, photography education, photography seminar
Exercise.
Makes you stronger.
Exercise makes you better.
Exercise doesn’t have to physical to be helpful to you.
As part of a workshop I conducted for the Photographic Society in Chattanooga, Tennessee we all went down to the aquarium and waterfront area downtown to begin the day. I shared ideas I have about gathering textures for the ‘Photo-Synthsis’ technique I teach. The exercise was to gather textures and subject matter to work with later in the day. There was one mandatory subject, the Market Street Bridge. After heading to our computers we all were tasked with creating an image of the bridge. It proves once again that you can give multiple photographers the same subject to work with and come out with a variety of finished images. Here’s a few the class shared with me.
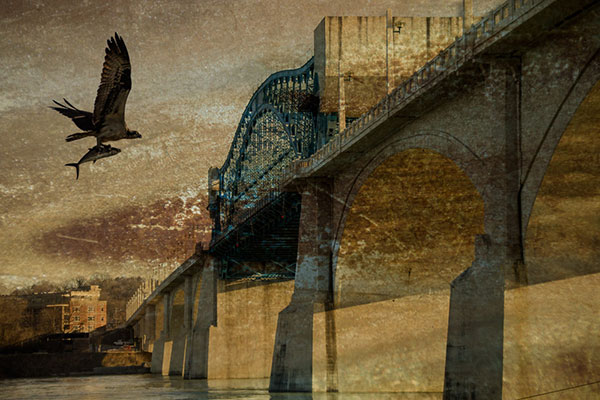
This was by Mickey Rountree. If you would like to see more of Mickey’s work which contains, as he says, lots of HDR and pin up art. (I saw some of Mickey’s work and it’s definitely worth a look. Some very stylized interesting techniques) Go here. © 2015 Mickey Rountree
“Bob, I thoroughly enjoyed both days (of instruction) and have enough new ideas that it will take weeks to play around with and learn the techniques well. You are a great teacher; knowledgeable, enthusiastic, and yet easy going and approachable. Hope you enjoyed your time in Chattanooga.” Mickey
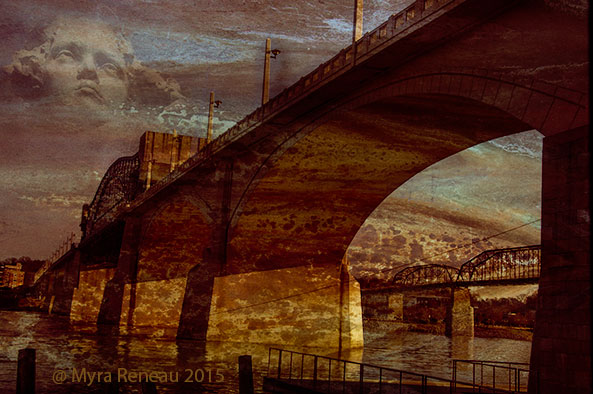
This one is by Myra Reneau. © 2015 Myra Reneau
“Thanks Bob for a great workshop both days this weekend. I especially liked today. Thanks for your help in working on my selections (as well as well as everything else). Anyway, safe travels! I am looking forward to learning more. Thanks again,” Myra Reneau
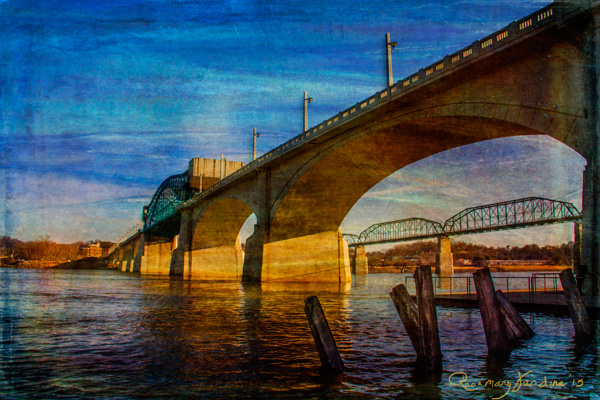
By Rosemary Jardine. In addition to using the textures and techniques we talked about in the class I enjoyed Rosemary’s
composition and framing of the secondary bridge. © 2015 Rosemary Jardine
“Thanks for the compliment using my work on your blog! I shared the link on my facebook page. Here is my finished project from the workshop yesterday. I finished this up with a layer that I painted some highlights on the water canons as well as a warming mask. Thank you once again for coming to our area and sharing your knowledge with us. most of my current skill came from the internet, tutorials and so forth. It was a blessing to have the personal training. You have given me the desire and skills needed to proceed forward with my passion for fine art photography. I can hope to one day produce they quality of work you, yourself are doing. That is if I have enough years left in my life, although I do consider myself a fast learner. I also want to let you know your slide show is perfect, the music suits it so well!” Sincerely, Rosemary Jardine
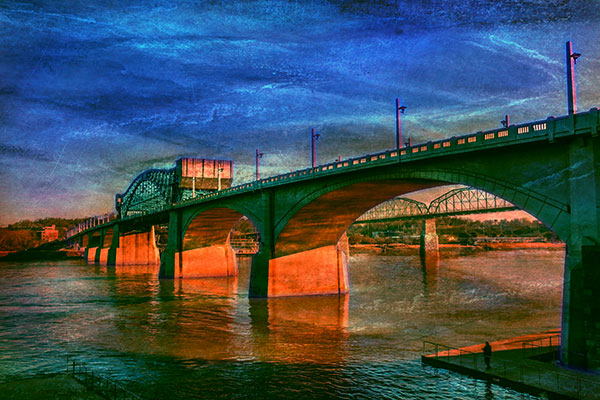
© 2015 Bob Coates
I used the Lumix FZ 1000 to have a complete zoom range to vary my captures. Able to go wide for scenes and also able to get close-ups of various textures. A handy camera to work with indeed! Here is my Market Street Bridge rendition…
Four photographers. Four images with a totally different feel. Have I told you lately that I love photography!
Yours in Creative Photography, Bob
by successfulbob | fine art photography, photography, photography - art quote, photography education
Inspired!
Just finished up two days of teaching the Photo-Synthesis program in Chattanooga, Tennessee (that city name sure has a lot of letters!) and I am inspired by how excited the students were. Today’s class was a hands-on follow up to yesterday’s program.
We went out early in the morning and did a little photo safari around the waterfront. I shared my thinking on photographing and gathering textures for use in working with the Photo-Synthesis process of blending multiple images together. We shot for about an hour gathering source materials to work with on our individual computers.
Which brings me, in a roundabout way, to the quote from Margaret. After we spent an hour talking, shooting thinking and capturing textures everyone in the group was tuned into it. As we drove to the meeting room students were looking out the window saying, ‘Wow there’s a cool door! Wouldn’t that make a great texture for the background of an image?” As we took a break for lunch the restaurant we went to had lots of character and everyone was lamenting we had left our cameras back in the classroom.
The point is after just spending the morning absorbed in and thinking about textures and their use we were seeing things that would have normally been passed unnoticed.
Think about it. Just that morning working toward new knowledge and all eyes were now primed to see and capture new things.
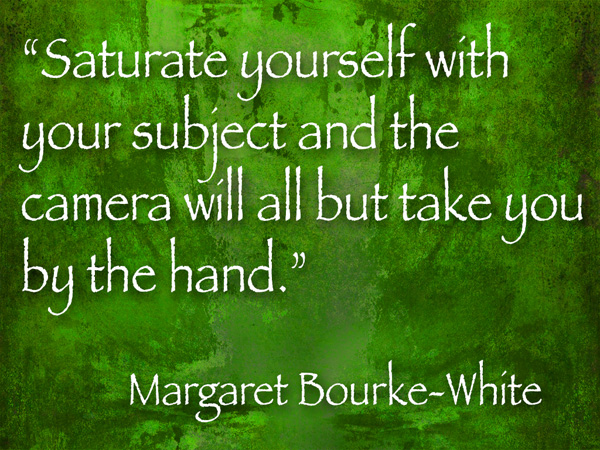
“Saturate yourself with your subject and the camera will all but take you by the hand.” Margaret Bourke-White
Sooooo….
Let me ask you an important question.
What are you saturating your brain with?
Yours in Creative Photography, Bob


