by successfulbob | cloud photography, landscape photography, Lumix GX85, photography creativity, photography gear
When the Elements Come Together
I’ve heard it called shooting on the edge. Edge of what you ask? Edge of everything. Edge of the weather. Edge of day and night. Any time there is a contrast from the norm it’s a great time to be creating images.
Case in point.
Here’s an excellent argument for always having a camera handy as Jay Maisel always coaches. I walked out of one of the galleries where my art is sold and came across this moment that was there for maybe three minutes.
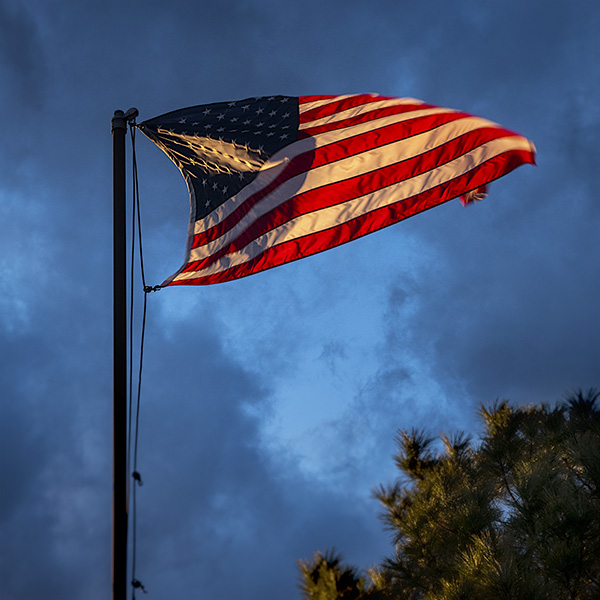
 The golden light of sunset sneaking through a hole in the clouds
It was the confluence of the elements that I think makes for an interesting photograph. A small shaft of light appeared and highlighted the flag which was lowing in the wind. The background to the flag was enhanced by the darkened and scattered storm clouds.
There is a tendency to go to ground when the weather is not sunny. Most dramatic photography occurs when the weather moves toward the inclement. Next time you see the clouds starting to form head out and see what you can see.
This image was made with the Lumix GX85 ** and the G Vario 12-35mm f2.8 lens. ***
Yours in Creative Photography, Bob
PS – ** I linked to what I consider a geat vacation and always have camera and lenses. Bang for the buck as far as quality. *** Pro level quality lens
by successfulbob | bird photography, landscape photography, LumixGH5, photography, photography gear, photography software, wildlife photography
Salt River Wildlife – Part Two
As I mentioned in the previous post using the new gear from Panasonic with five-axis image stabilization such as in the Lumix GH5 and the long reach of the Leica 100-400mm lens makes photographing wildlife a new joy. Here are a few more examples from a photo shoot in the Salt River Wildlife basin near Fort McDowell, AZ.
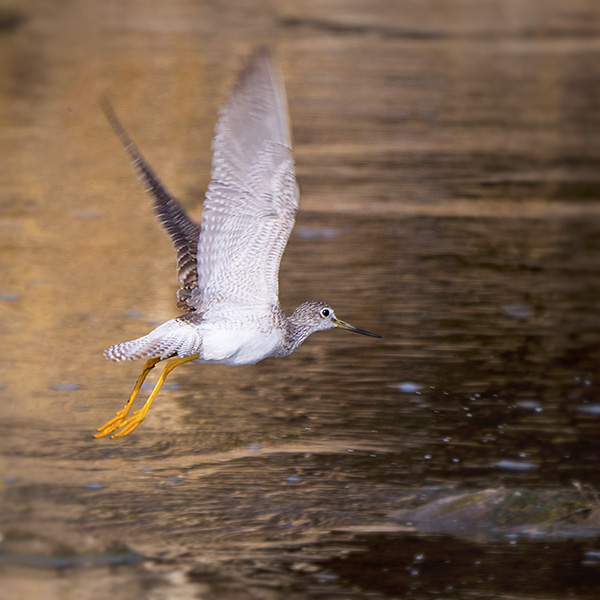
 The avian population on the Salt River is diverse. This is a Yellowlegs Sandpiper.
The 800mm equivalent reach of the Leica lens makes acquiring action photos such as this possible. The stabilization allows for handholding even though the lens is extended to its fullest range. I enjoy making images that include behavior such as birds in flight. Got just the right shutter speed in this case as the body of the bird is tack sharp while the wing tips are slightly blurred showing motion.
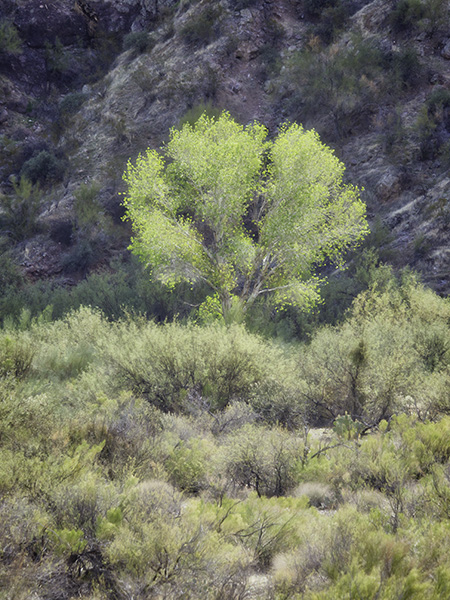 Isolated tree along the banks of the Salt River.
I like how the tree is highlighted against the darker background of the hillside behind. Processed with Adobe Camera RAW, Photoshop and finished with Luminar as a plug-in.
Capturing the image is only the beginning of photography in my opinion. Images are massaged, and the vision is completed in post-production. The tools are quite varied, but I try to settle on specific software so I can use it to its fullest. Below are my current most used software options.
Adobe Bridge, Adobe Camera RAW, and Photoshop – Learn more here
Skylum software including Luminar, Aurora HDR 2018 and the Creative Kit – Learn more here Use the code COATES to receive $10 off your purchase. You can try the software for free for 30 days.
NIK filters – Formerly free from Google DXO has purchased NIK and still makes the plug-ins available for free. They are working on a new release scheduled around the middle of 2018. In the meantime, with a few workarounds, the software still works (mostly) with the current MAC OS system. Learn more here and download for free.
Yours in Creative Photography, Bob
by successfulbob | cloud photography, landscape photography, photography creativity, photography software
Software from Skylum (formerly MacPhun)
Until December 31st some deals are going on with the number one software program for photographers. I’ll hit you with the details below. I will often use Luminar as a plug-in to Photoshop for finishing work. Here’s an image I processed in the Luminar standalone version.
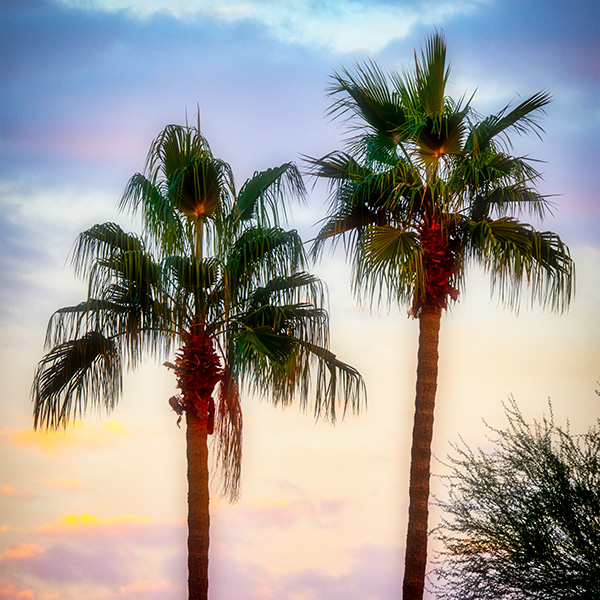
The things that impress me include the ability to pull detail out of a file that is very close to a silhouette. Color rendering. And the ability to make some artistic choices along the way. I would never have thought when I grabbed the silhouette that I could create an image as you see below.
 Here’s a processed file from Luminar. Palm trees in Phoenix.
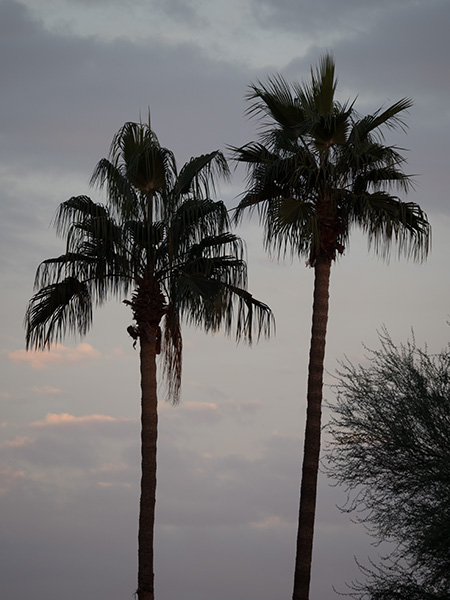 Straight out of camera file. (SOOC)
 About Luminar: Luminar 2018 offers everything a modern photographer needs for photo editing, including new filters powered by artificial intelligence, major speed improvements, a dedicated RAW develop module and a forthcoming in 2018; digital asset management platform.
Users will also benefit from the new intelligent Sun Rays filter, LUT support, and real-time noise removal. With workspaces that match different styles of editing, Luminar adapts to deliver a complete experience that avoids clutter and complexity.
Luminar 2018 has been re-built from the ground up for dramatic performance boosts. Existing filters deliver more vibrant colors and depth in less time. A brand new streamlined user interface speeds up working with presets, filters, and masks. With the full support of pro options like layers, masks, and blending modes, complex repairs and photo composites can be easily accomplished.
Offer Availability: The Luminar 2018 Holiday offer is now live and available until December 31
Pricing: Current users of Luminar may upgrade at a Black Friday price of $49 ($39 with coupon COATES)
New users can purchase Luminar 2018 for $69 ($59 with coupon code COATES)
A collection of bonuses will also be included with every purchase.
Bonuses:
The Shootkit ebook
Preset pack: 20 Festive Texture Presets
500+ Sky overlays for Sky replacement
Video tutorial “How to replace Sky in Luminar.”
EXTRA Bonus
“Capture: Adventures in Photography” ebook by Simon & Lisa Thomas, the world’s foremost adventure motorcyclists
Yours in Creative Photography, Bob
by successfulbob | HDR photography, landscape photography, photography software
Software from MacPhun (now Skylum)
The holidays are fabulous as software companies roll out deals for Christmas and the holiday season. I have been playing the software from MacPhun for a while. It was only MAC-based, and they have now made the software available for Windows PCs as well. This is excellent news for those who were using NIK filters as the people who designed initially that software formed to create some new software that can help creatives get their vision out of their heads and into their imagery.
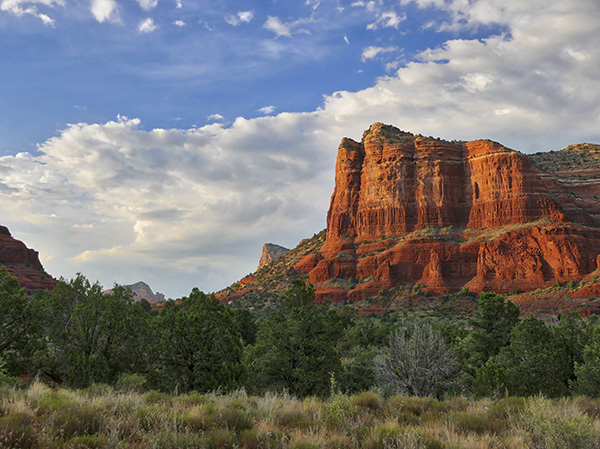
The first software I want to share with you is Aurora HDR 2018. This is the first HDR software that I found to be able to give me reliable results in density over the image without that ‘HDR!!’ look. Very clean and easy to use with a WYSIWYG system. Here’s an example.
 RAW files capture sequence
 Processed in Aurora HDR 2018 software from images above.
I like how I can add life and dynamic range to the photo without dialing in HDR noise and artifacts that seemed to be prevalent in other HDR software processing programs. And, no hoops to jump through.
AURORA HDR
AURORA HDR 2018 Special Offer
Aurora HDR is not just a tool for merging bracketed images; it also provides numerous tools and countless options to create perfect HDR photos for every taste – from one-click presets and advanced tone-mapping, to layers, noise reduction, and robust luminosity masking controls. It was named as the Best Mac App of 2017 by Apple.
Offer Availability: The Aurora HDR Special offer is already live and continues until December 31.
-
Current users of Aurora HDR may upgrade at a Special price of $39 ($29 using my coupon code COATES)
-
New users can purchase Aurora HDR 2018 for $79 ($69 with my coupon code COATES)
-
A collection of bonuses will also be included with every purchase.
Bonuses:
-
Deep Dive video tutorial from Trey Ratcliff
-
“How to create realistic HDR images” Ebook
-
2 Preset Packs – 40 presets! Preset Pack 1 – Winter Vibes. Preset Pack 2 – Wonderland.
Yours In Creative Photography, Bob
PS – There’s a deal on Luminar I’ll outline tomorrow!
by successfulbob | architectural photography, infrared photography, landscape photography, Lumix G6, LumixGH5, photography creativity
Infrared Capture for Photographing Architecture
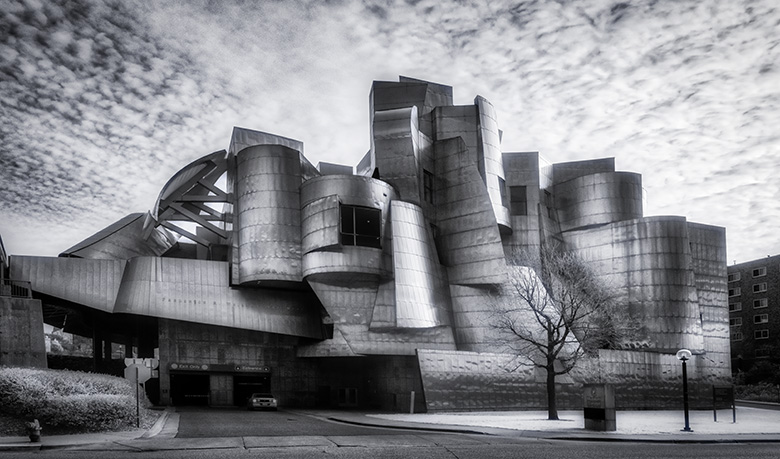
We don’t necessarily think about using IR capture when taking everyday images of architecture. It can give you a different look. And I like it.
Always the difference will be dependent upon what the final image use will be. Since I am my client when doing architecture images for art presentation, I get to choose. I’ll show you a couple of different captures and let you decide. Let me know what you think.
 Weisman Museum IR capture Lumix G6 Camera converted to Infrared Capture by LifePixel Processed in Adobe Camera RAW and Skylum (AKA MacPhun’s) Luminar
I think the infrared gave this image a bit of an otherworld feeling complementing otherworld style architecture.
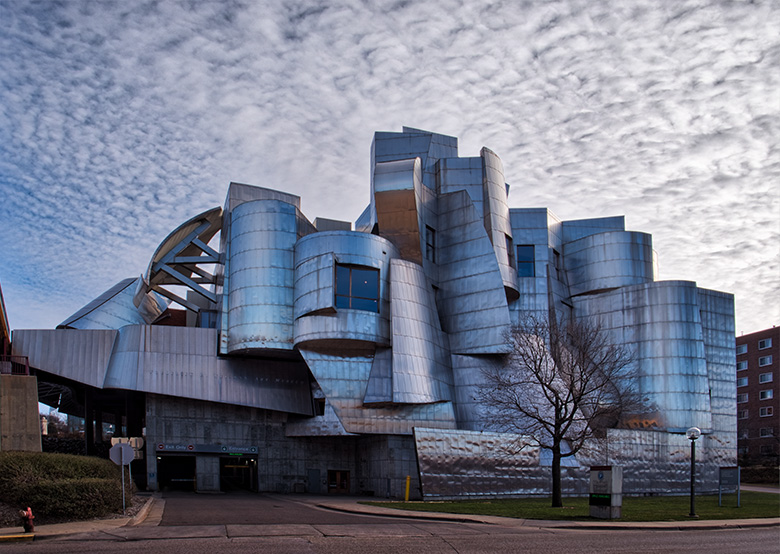 Here’s a color capture made with the Lumix GH5. Processed in Adobe Camera RAW and Skylum (AKA MacPhun’s) Luminar
I always try to work a subject over and above a straight-forward rendition. This includes different angles, framing, and processing. See a couple of images below for examples. I would have tried quite a few different ideas, but I stopped on my way to the airport and didn’t want to miss my flight. Art suffers from a tight schedule!
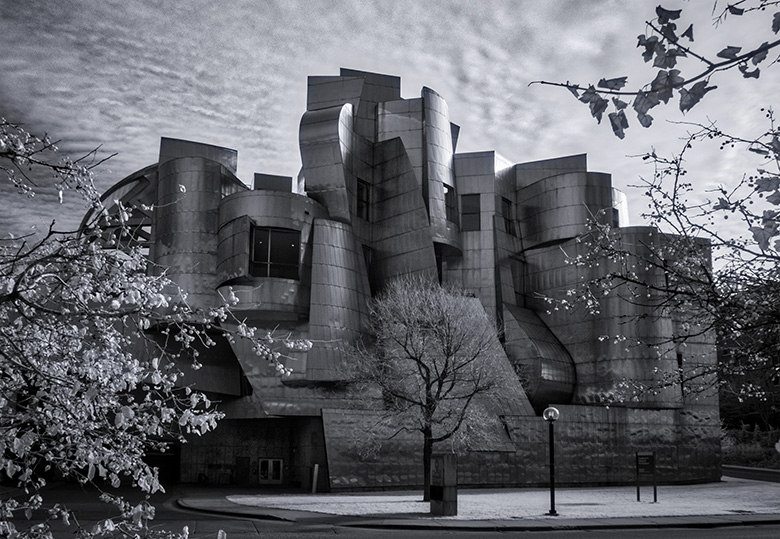 While not showing off the architecture quite as much I feel the framing made for a more interesting photo.
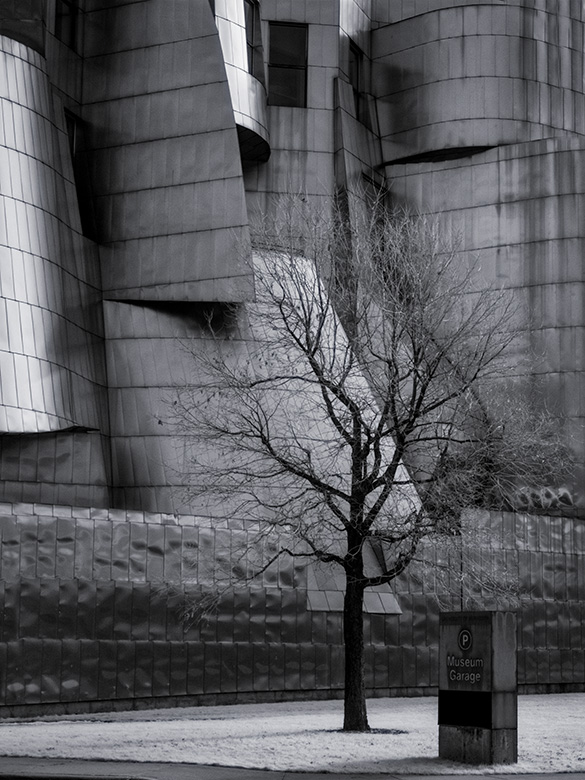 Details can always add to the story. I liked the barren tree against the architecture in this image.

 The golden light of sunset sneaking through a hole in the clouds


