by successfulbob | black & white, fine art portrait, Lumix Lounge, LumixGH5, people photography, photography, photography gear
Post Processing on the Portrait of Ernst
One of the great pleasures of traveling to speak to photography groups is the fellowship with photographers. I met Ernst Ulrich Schafer while at the PPW Conference in Yakima, Washington. Ernst and I went out on an adventure and had a blast getting to know each other.
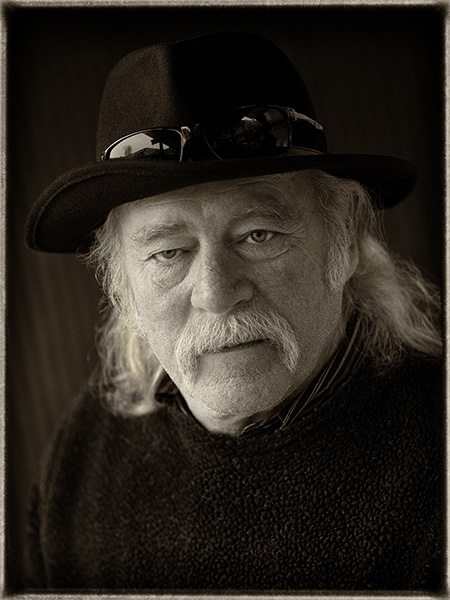
I asked Ernst to take a moment to pose for me to make a portrait. Found a decent spot for a nice lighting pattern on his face but the final portrait was completed in post-production. Here is the story of ‘The Making of Ernst”.
 Final image of Ernst
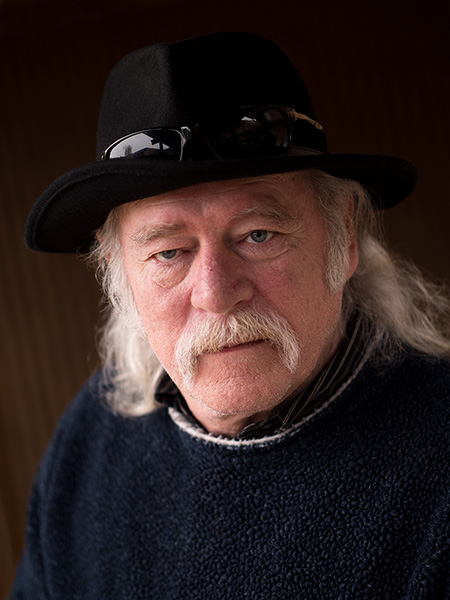 Original capture. Looking for a soft split light pattern.
I looked for a background that had a little bit of a gradient and a soft shadow transition from light to dark. Accomplished but finding an overhead light block with two open sides. I placed Ernst closer to the left-hand side to make the short side of his face the lighted portion. The light coming from the other side worked as fill. If aI wanted a sharper contrast I would have moved him further left. Less contrast further right. Since we can’t move the lights in a situation like this moving the subject is the only way to go.
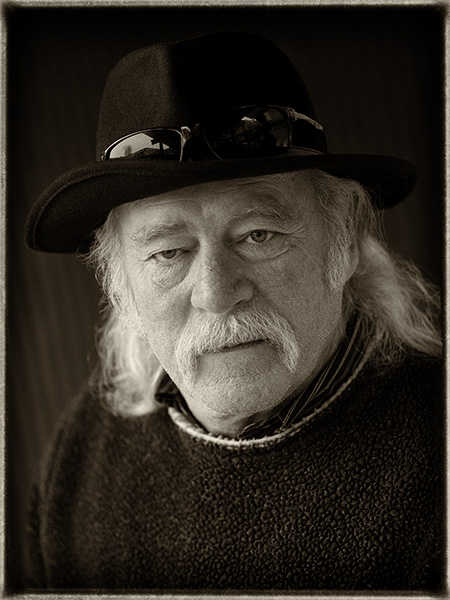 Process in NIK Silver FX Pro 2 with Sepia Tone. Note the difference between this image and the final at the top of the page. The white rim on the collar was removed as it was a distraction. Additional dodging and burning was done to lightly increase contrast and control some of the highlights. Check out the Layers Palette Screen Capture for more details.
If you don’t already have NIK filters be aware that they are a free download from Google. There is a great variety of filter effects available in the Suite. I often use Silver FX Pro 2 for my black and white and sepia tone conversions.
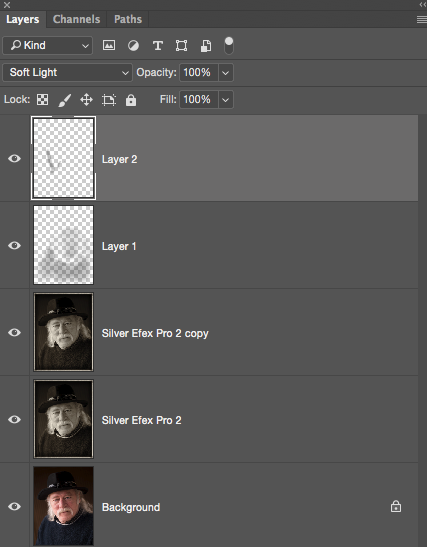
 Layers Palette
Background is the original capture. Silver Efex Pro 2 is the Sepia Tone conversion. The copy Layer shows some retouching with the removal of the white collar. Layer 1 is a Soft Light Layer to burn in the sweater and add contrast to the shadow side of the face. Layer 2 is another Soft Light Layer to control some highlights and add a little sparkle to the eyes. I use the Soft Light Layer Mode to dodge and burn my images.
As you can see Adobe Photoshop with a pit stop in Adobe Camera Raw is a large part of my workflow.
Image made with the new Lumix GH5 and the 42.5mm f1.2 Nocticron lens @f1.2 1/320th sec ISO 200
Yours In Creative Photography, Bob
Save
Save
Save

by successfulbob | Lumix GX85, Lumix Lounge, musician photography, photographer of musicians
Live Entertainment Photography – Anthony Mazzella
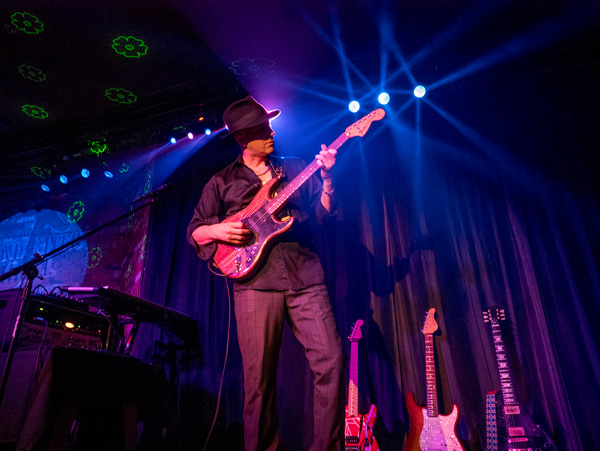
I’ve been working capturing the performers at Sound Bites Grill in Sedona for about four years. I still enjoy the challenge of making images in this environment.
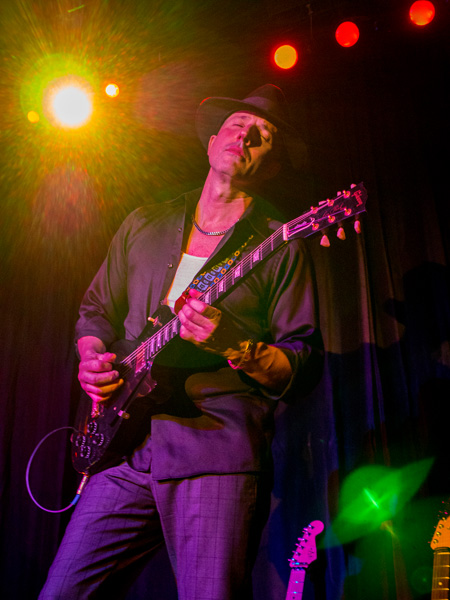
 Anthony Mazzella on guitar – Image captured with LumixGX85
The latest entertainer to make the Wall of Fame is Anthony Mazzella. Even though Anthony is on the Wall already from a previous performance Sound Bites felt that the stage show Anthony has developed with his salute to Legends of Guitar should have its own special image.
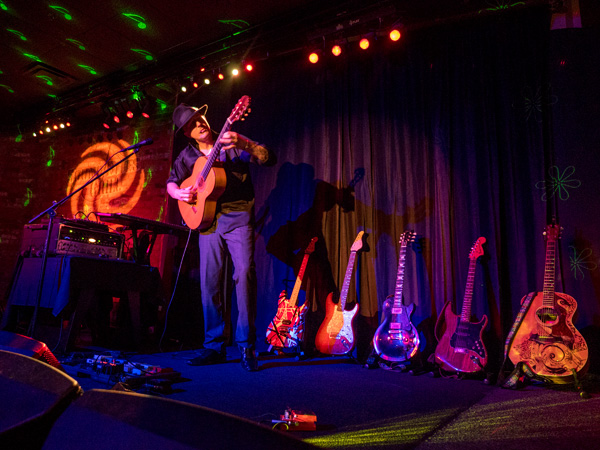
 Full stage with Anthony and his ‘babies’ all ready to play.
Playing multiple guitars in a variety of styles, along with looping music from other instruments makes this a really great show.
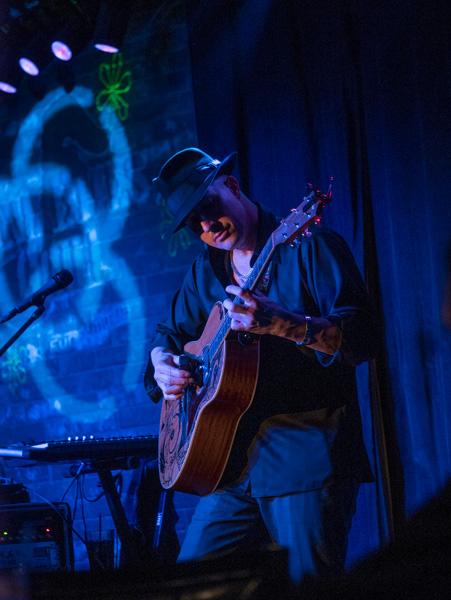
 LED lighting and a smoke machine add a lot of ambiance to the stage.
I’ve been pleased how the Lumix camera gear can handle the contrast range in this difficult shooting scenario. In the earlier cameras, I had to work a lot harder to have detail in the shadows and not loose the pure color of the LED lights. Now, with new processing engines and five-axis image stabilization, I’m able to get more detail across the entire range. Can you say happy?
 Mazzella Playing the blues during his performance.
Monday I’ll share the black and white conversions of these images.
Yours in Creative Photography, Bob

by successfulbob | bird photography, fine art photography, Lumix GX85, Lumix Lounge, wildlife photography
Bosque del Apache Wildlife Refuge – Part Four
Getting Artsy
When photographing a specific subject or area I always shoot for good solid captures at the beginning. After I know I’ve got some good work ‘in the can’, I see what I can do to push the creative ‘Artsy’ side. Here are some of those images.
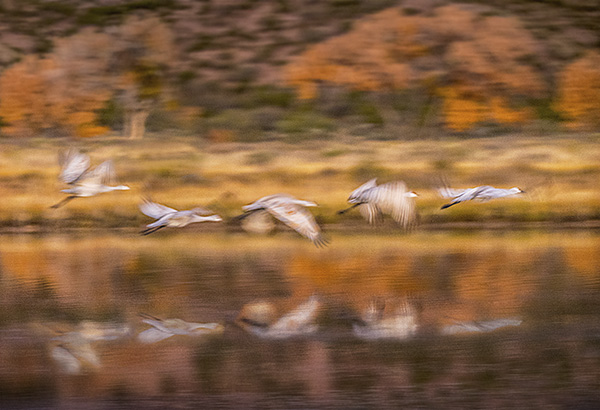
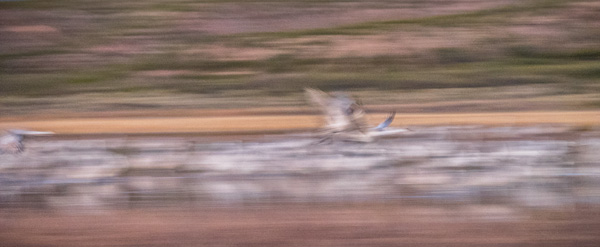
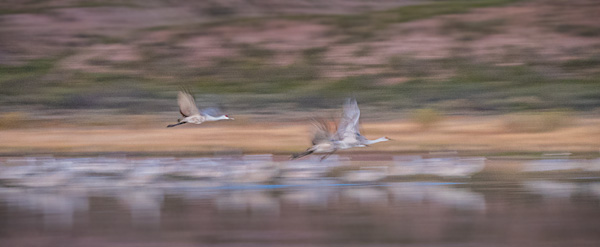
Let’s look at some tracking flight images with the shutter speed set to a slow speed in this case most were at 1/250th sec. Images were captured handheld with the Lumix GX85 and the Lumix 100-400mm lens (200-800 35mm equivalent) Most were with the lens fully extended.
 Sandhill cranes photographed at takeoff panning with slow shutter speed.
 This technique adds lots of movement and an abstract feel to the images.
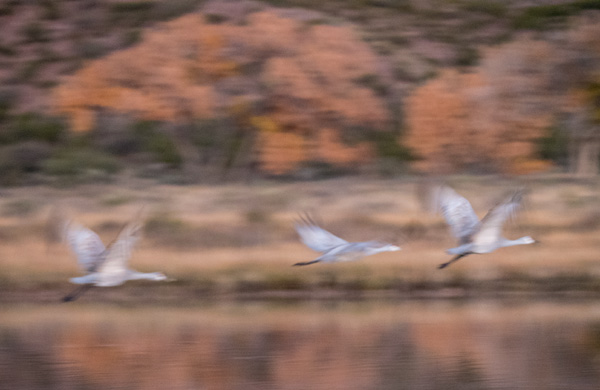
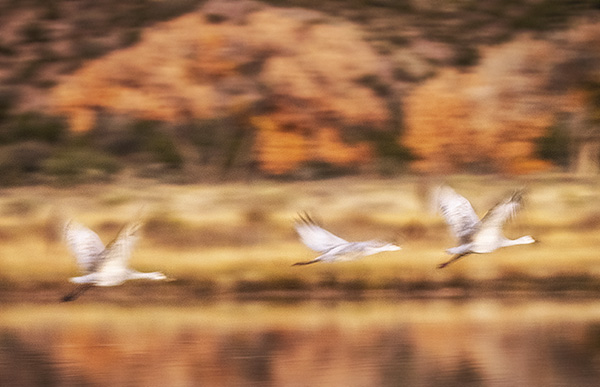
 Further into the art arena using additional post-processing techniques. MacPhun software Focus CK was used to bring more attention to the flight of the cranes.
 Cropped SOOC (straight out of camera) 1/40th SEC shutter speed.
 Image from above worked with additional post processing.
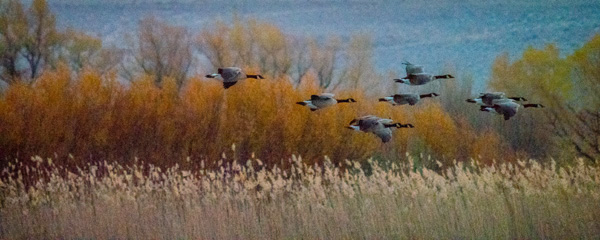
 Canada Geese on a flyby 1/1600th SEC shutter speed.
Experiment. Push. Play. Don’t be afraid to get an imperfect result in camera. Playing can lead to more interesting and personal image creations.
Let me know what you like, or don’t care for, in these images. I have an inquiring mind!
Yours in Creative Photography, Bob
Save
Save

by successfulbob | Lumix FZ 1000, Lumix Lounge, photography gear
The Range Cafe – Albuquerque New Mexico
sometimes you just find an environment that is a target rich for making fun photographs. I found one such place while in Albuquerque, New, Mexico while presenting my PhotoSynthesis program for the Professional Photographers of New Mexico.
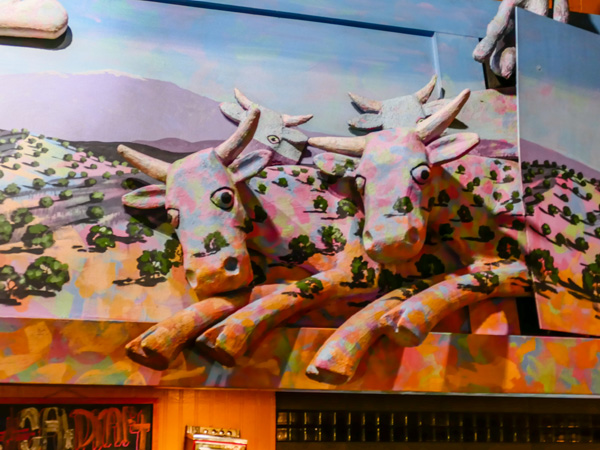
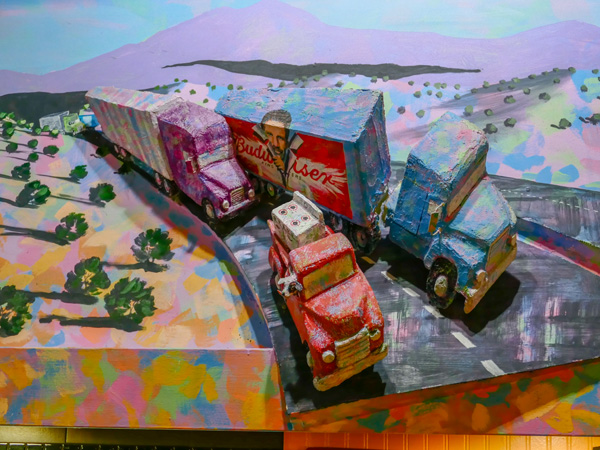
The decor in this place is a hoot with a painted panorama that is disgorging three-D cows, trucks, and other goodies. Meanwhile other parts of the restaurant display blasts of color and neon goodness. (You know that I like neon right?)
Here are a few images from dinner last night. All were made with the Lumix FZ1000 an east comfortable camera to keep on hand that will cover almost all possibilities. I used the built-in HDR setting to help with some of the challenging lighting situations. The next camera in the FZ line is now out with even more features. FZ2500
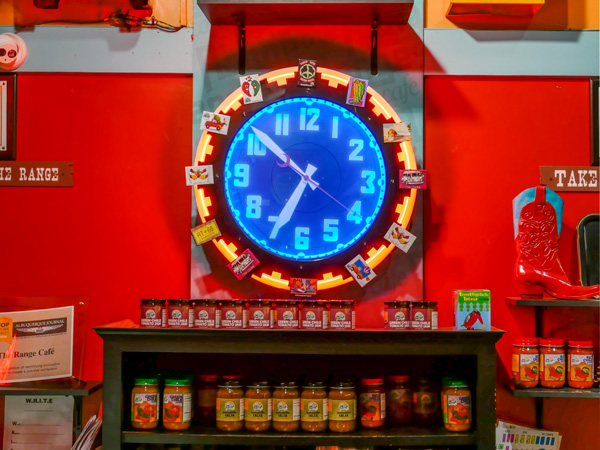
 Neon rimmed blue light clock face with a red background. Love it!
 A mural that has pink and blue cows jumping out of the painted panorama is not something you’ll come across every day.
 A highway comes out of the mural with multi-colored painted trucks. Way cool!
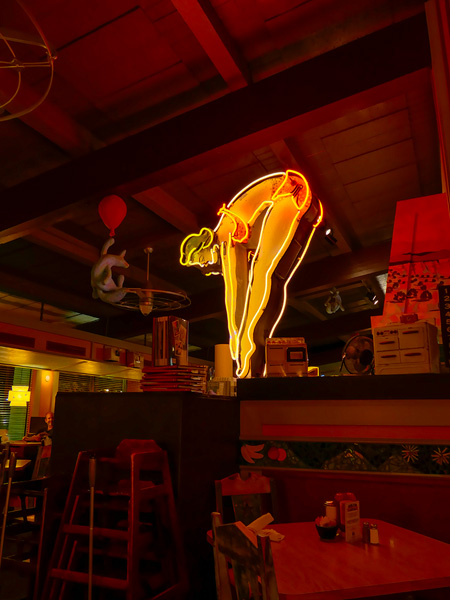
 Classic neon sculpture is part of te Cafe decor
A restaurant with unique decor, fun furniture, colors that dance and light fixtures that take you to the moon and the stars can be found in Albuquerque. Oh, and I didn’t mention the namesake part of the decor which is antique toy ranges and stoves from the 50’s and 60’s.
 Find the Range Cafe here
Yours in Creative Photography, Bob

by successfulbob | 4K photo mode, 4K video, Lumix GX85, Lumix Lounge, photography creativity, photography gear, video
In-Camera Focus Stacking
Cool beans!
Yep, I said it. Cool beans. This feature is quite handy when you want to photograph with a macro lens and show some incredible depth of field in your image.
The 4K Photo Mode in the Lumix GX85 and the G85 called Post Focus which allows you to choose the frame with the focus where you want it, after the shot, also allows you to focus stack the images together to enhance the depth of field. One downside to using this method is that we are pulling stills from the video which means there is 8MP worth of file size with which to work. A file of this size will get you to a 20-inch print with no problem, but if you want to go bigger, you’ll need to use a different method. I’ll share that with you in the next day or so.
Let’s take a look.
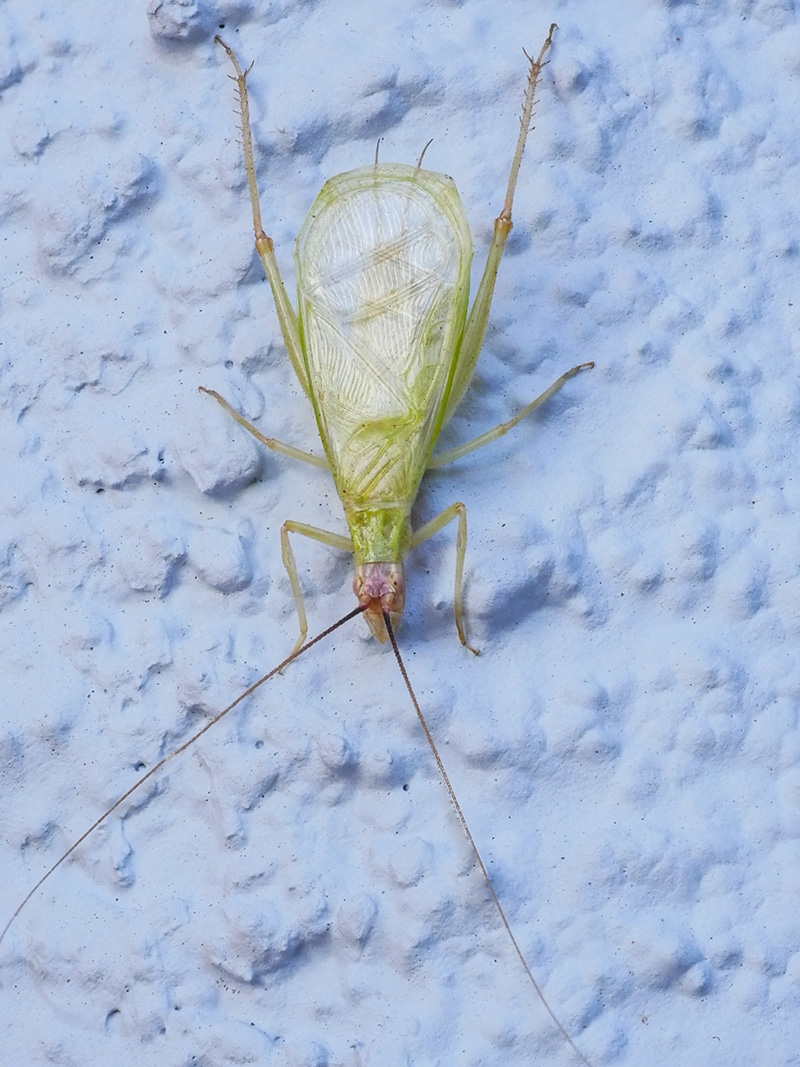
 I call this Green Bug. This image is a single frame grab from the 4K video. Printable and OK. But let’s see something a little better.
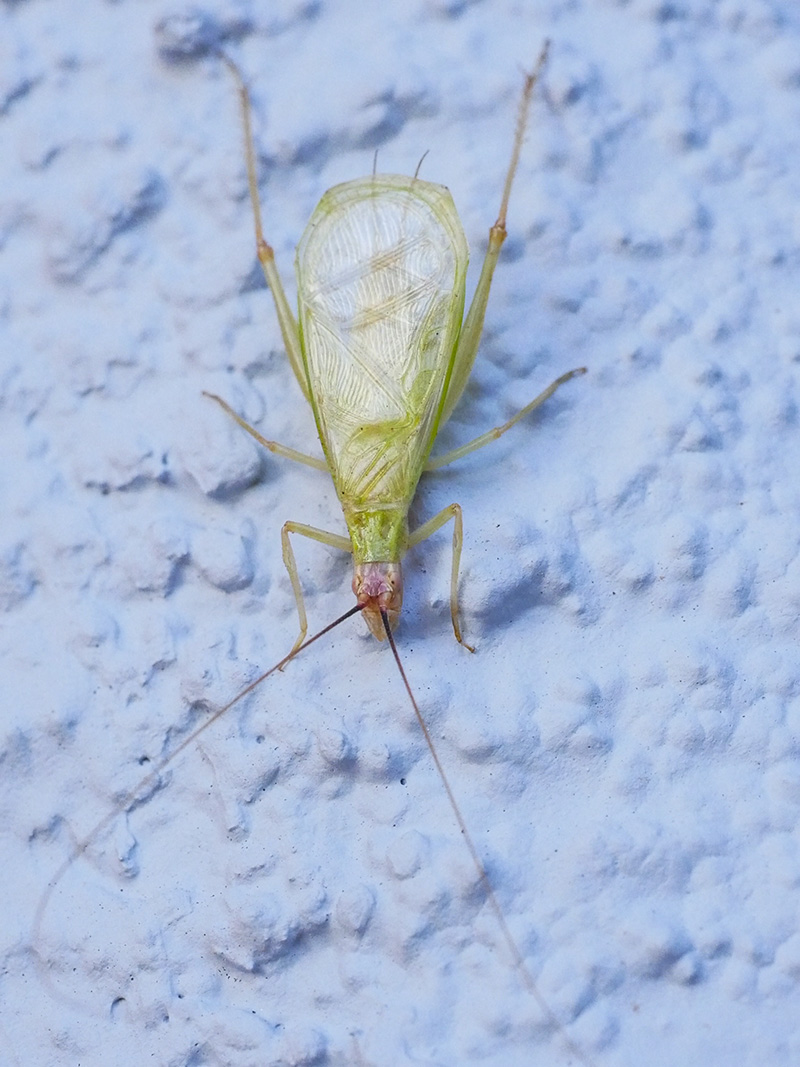
Now let’s take a look at the image after all the images in the stack have been combined to show the sharpest parts of each frame in the video.
 Check out the detail throughout the photo now.
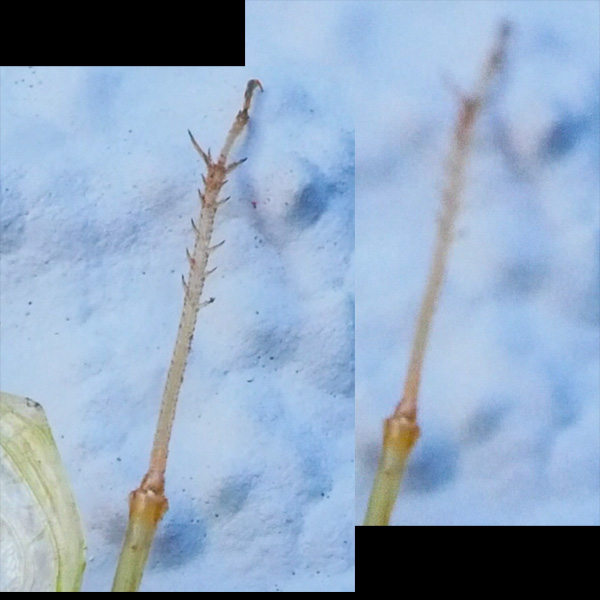
 Here’s a little zoom in on the back leg of my friend the Green Bug.
Click Here to see the original video clip
This video image was captured with the Lumix GX85 with a 45mm f2.8 macro lens.
Tomorrow I’ll take a look at the Focus Bracketing feature that allows us to bypass the video and capture full-size images.
Yours in Creative Photography, Bob

 Original capture. Looking for a soft split light pattern.
 Process in NIK Silver FX Pro 2 with Sepia Tone. Note the difference between this image and the final at the top of the page. The white rim on the collar was removed as it was a distraction. Additional dodging and burning was done to lightly increase contrast and control some of the highlights. Check out the Layers Palette Screen Capture for more details.
