by successfulbob | landscape photography, Lumix FZ2500, photo walkabout, photography, photography gear
Red Rocks of Sedona, Arizona
I am incredibly fortunate to live in a picturesque area filled with red rocks, blue skies, and bounteous wildlife. I carry a camera with me wherever I go. I used to try to do this in the past but found myself parking my camera when I wasn’t officially working because the weight was uncomfortable. As a Panasonic Lumix Ambassador, I find that I have a camera with me at all times because the gear is lightweight and gives me the quality I need.
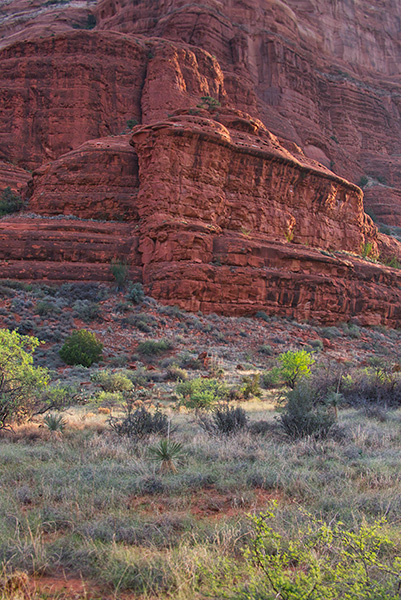
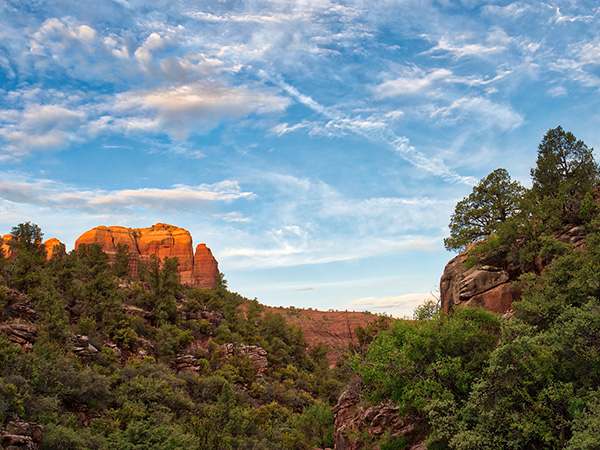
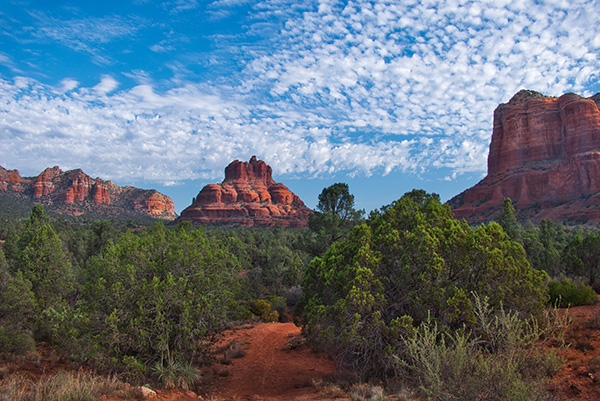 Path down to Bell Rock in Sedona made with FZ2500
My quest for lighter weight gear was prompted by my wife Holly who pointed out that I was hauling thirty-five pounds of photo gear with me on personal trips. When I said, “What’s your problem? You aren’t carrying it.” She replied, “Neither are you as you often leave the gear in the room because it is so uncomfortably heavy. My wife is a brilliant woman who knows how to pierce my sometimes thick skull.
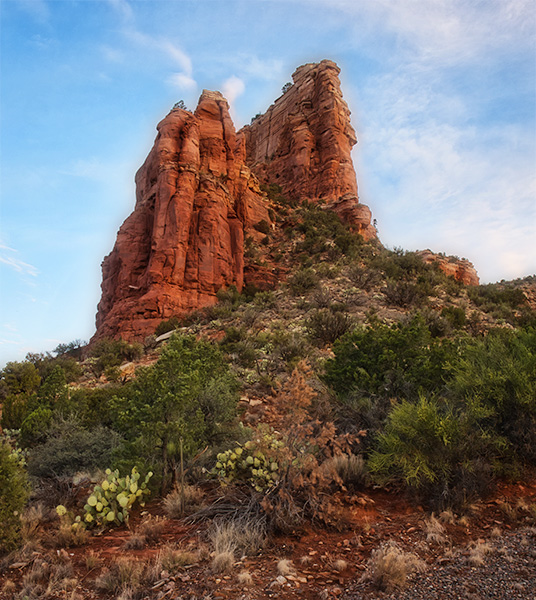
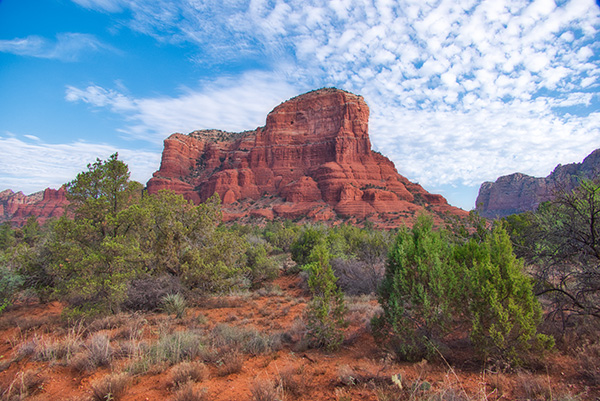 Courthouse Butte – Images processed with Adobe Photoshop and Skylum’s Luminar 2018 **
Today I’m featuring the Lumix FZ2500 which is a prosumer camera. It can do almost everything as it is an all-in-one with a zoom range of 25-480mm and tons of features. The FZ2500 is a little under 2 1/2 pounds. The beauty is that it can focus in macro mode almost as close as you can get the camera to the subject. With the built-in f2.8-4.0 power zoom lens, it has a reach of 480mm optical. That’s a long way!
 Detail of Courthouse Butte
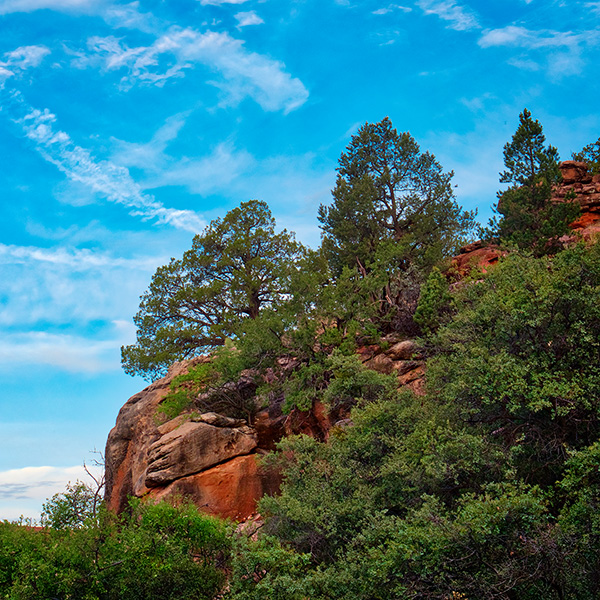
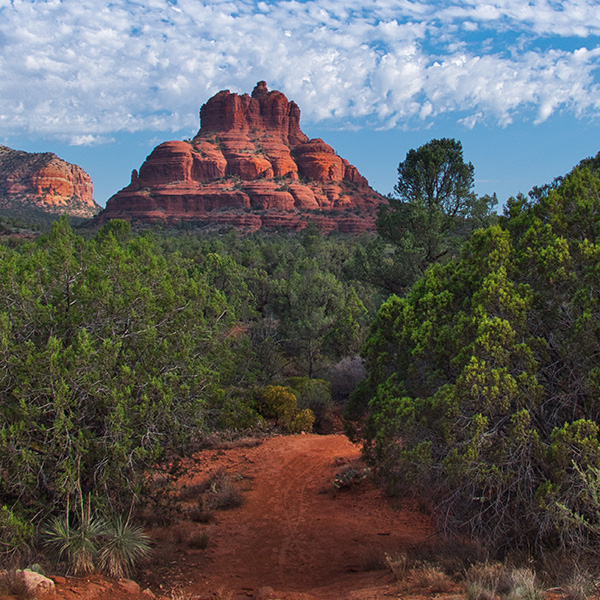
One more thought is that many times a crop of the photo can be much stronger image and tell the story in a better fashion. Here’s square crop of the top photo in the post.
 A stronger rendition of the top photo with a square crop.
Yours in Creative Photography, Bob
PS – Take ten bucks off Luminar or other Skylum software with the coupon code – COATES

by successfulbob | black & white, infrared photography, landscape photography, Lumix G6, photography, photography creativity, photography gear, photography software
Photographer Muse – Part Two (or Deux if you prefer)
I shared how much I enjoy working with Pash. I can’t give her enough credit for coming up with concepts she would like to pursue that lead me to new imagery. She knows how to move, and hold a pose, when necessary. Both are equally powerful skills. See my original post about my muse here.
Learn more about Pash and her work with modeling, mask making, performance and more here.
And now to the images.
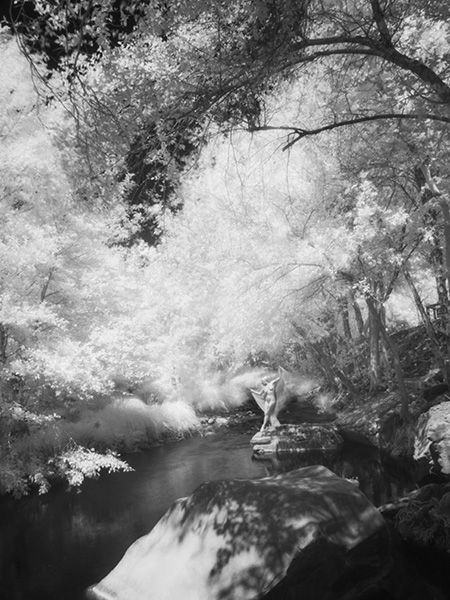
 This image is pushed to high exposure.
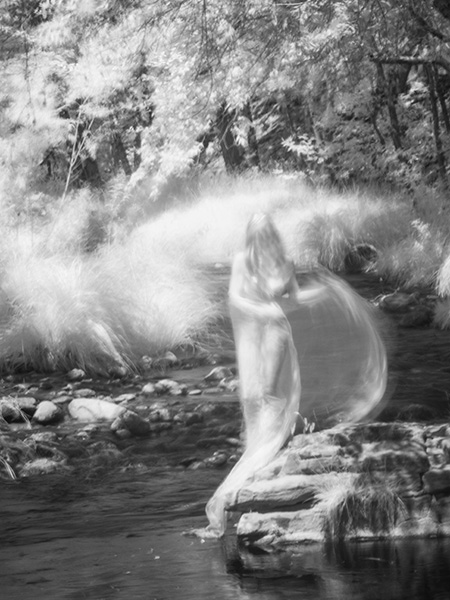
Going very high key with the exposure of the image with the ND filters in place allow the wind to play a part giving an even more ethereal feel to the image as the leaves and cloth wrap blow gently.
ND filters are by Tiffen. It’s the Pro100 package which includes the holder, a 1.2, and a 1.2 graduated filter. For this shoot, I had a 3.0 and the graduated filters. You can buy much less expensive filters but in ND you get that for which you pay. These are very thick optically pure glass filters.
 This one turned out a bit spooky!
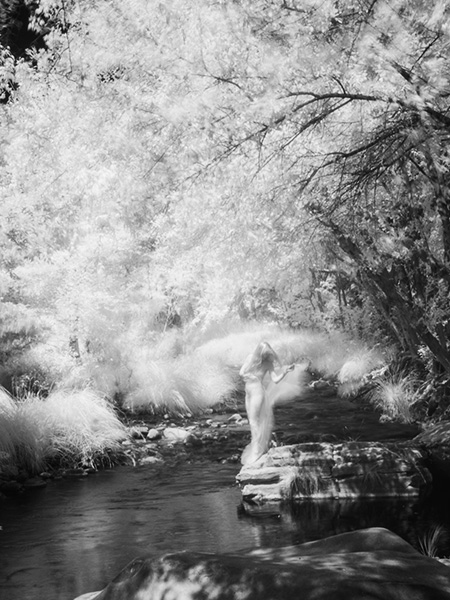
 All the images were photographed in the same space, but all have a different feel.
A different view of the creek and the amount of space my model Pash takes up within the frame makes for a very different look for all the photos. Let me know which one is your favorite and why. It would be interesting to see the various responses.
All images were created in Infrared made with Lumix G6 converted by LifePixel.
A 14-140mm (28-280mm 35mm equivilent) lens was used. This allowed for the significant changes in framing without spending time swapping out lenses. Files were processed with Adobe Photoshop and Skylum’s Luminar 2018.** Some images were givin a little extra glow. I set up a preset in Luminar to get the image close to where I wanted then tweaked from there.
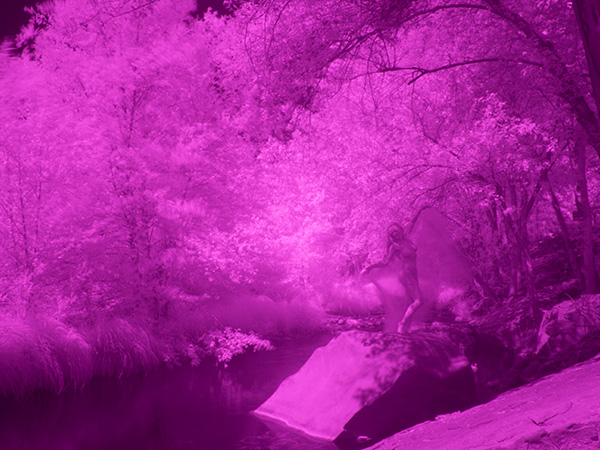
If you haven’t captured photos in infrared with a digital camera here is what a file looks like when downloaded in RAW to the computer.
 SOOC Infrared RAW file.
The files captured in the IR spectrum need some work as you can see. The nice part of using the Panasonic camera with live view set to monochrome allows you to get a better idea of what the final image will look like. If you shoot RAW plus jpeg, you will end up with a magenta version as above and a black and white version. Can be very handy when you first start shooting IR.
Yours in creative Photography, Bob
PS – Save $10 on Luminar 2018 by using the Promo Code COATES

by successfulbob | landscape photography, Lumix G9, photography, photography gear, photography software
Red Rocks at Sunrise
Living in Sedona is quite a blessing. When I want to experiment there is no lack of obvious subject matter. The red rocks all have different shapes and appear different at differing times of day and night leading to a veritable plethora of images that can be photographed with additional techniques and shared.
On Sunday morning I was up just before the sun made its appearance for the day. I grabbed my tripod. Well, if I must tell the truth, I grabbed my camera (lumixG9) and some lenses, rushed out the door, jumped into the car and headed off to catch the rising sun and quickly coloring clouds. Then I turned the car around and went BACK for the tripod wasting beautiful light in the process. But that’s why we are considered pros. We can come back from a less than perfect situation and still have some nice images. ( or… I guess a real pro would have had the tripod to begin with. But, I digress)
 I took a different road than usual. I made a five exposure bracket with the camera on a tripod. I used three of the images processed in *Aurora HDR 2018. This angle made the red rocks feel rather majestic.
Today’s savior was the ability to bracket images and extend the range of light the image can show. Without HDR and the processing software in my tool-bag I would have had a pretty bland results. As it was I found some interesting angles and areas that in which I don’t often shoot.
 Another not so frequented road let me see this rock formation with trees issuing forth. Again processed with Aurora HDR software from a three exposure bracket.
 The back side of Cathedrlal Rock with the rock outcrop. Three exposure HDR with one stop oveand one stop under.
Without the hdr system the trees which were in shadow would have been very blocked up and noisy. Making multiple exposure allows the photo to repliatewhat the eye sees. The eye constantly is changing ‘exposure’ with the pupil opening and closing depending upon the brightness of the scene.
In a couple days I’ll show you the hero shots of the backside of Cathedral Rock.
Yours in Creative Photography, Bob
PS – I was using the Lumix 12-60mm LUMIX G LEICA DG VARIO-ELMARIT PROFESSIONAL LENS
This lens has a great range from wide angle to medium zoom and covers a lot of my needs. There is also a kit lens with this range that is not as fast.
* Save $10 with the coupon code ‘COATES’ on AUrora HDR or other Skylum software

by successfulbob | infrared photography, landscape photography, Lumix G6, photography software
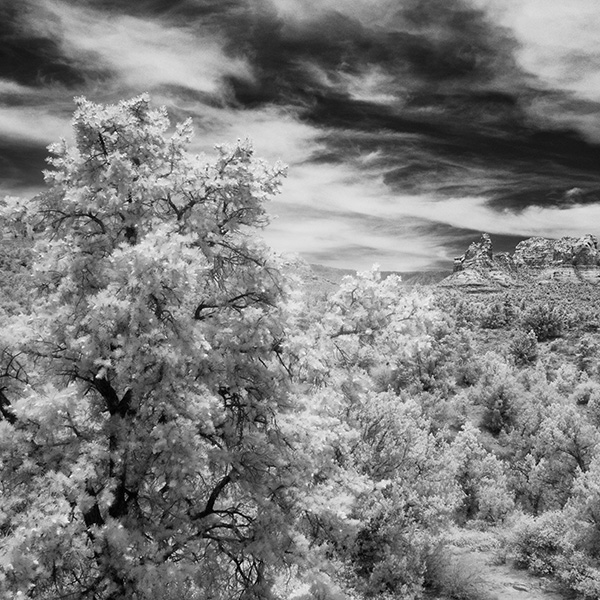
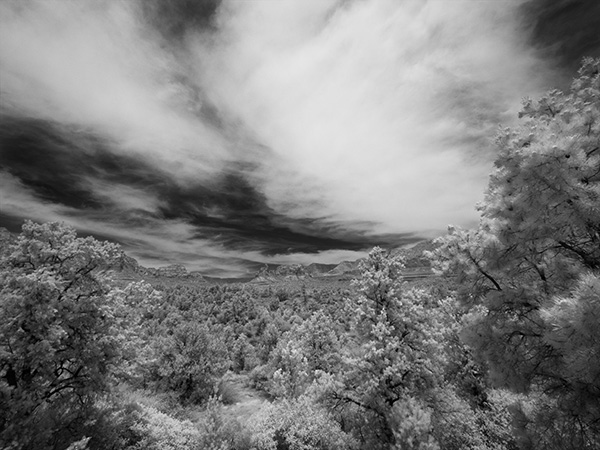
A Little Infrared – View from Mariposa Restaurant
There’s a wonderful restaurant in Sedona; AZ called Mariposa. Award-winning chef/owner Lisa Dahl created a Latin-inspired Grill menu on the hill between Uptown and West Sedona. I highly recommend heading over there for lunch. Good stuff! This was a location that caused me to say, “There should be a restaurant here!’ every time I passed this location. Much of the thought involved had to do with the spectacular view.
While passing by today, I saw some clouds and thought that a little-infrared imaging was in order. As always I recommend working the scene at least a little bit. Play with composition. Play with cropping. Play with different angles. As I didn’t have a lot of time I didn’t work the scene as much as I might have but here are three images.
 First Capture. I only had a very wide angle zoom. The trees kind of overwhelm the red rocks in the middle ground in this rendition.
 Zooming in a bit and using the play of the foreground tree to balance the red rocks in the background. Using the tighter crop also allowed the sky to read better as there was more movement in the area without clouds.
 Here is one last version cropped to a square from the image above. It brings even more attention to the red rocks while honoring the glowing tree.
Images were captured with the Lumix G6 which was converted to infrared by LifePixel. Any camera you have retired just sitting on the shelf after upgrading your equipment can be brought to new life by a conversion. It opens the middle of the day to some creative image making. This is the standard 720nm filter that most looks like infrared of old. Infrared converted cameras that are live view capable make it possible to see the image in real time and not have to make focus adjustments as we once did with film cameras.
I processed these in Adobe Camera RAW and Photoshop to control contrast and set the proper tonal range. I then made a copy of the layer and used Skylum’s Luminar 2018** as a plugin to add a glow to the highlights and tweak specific areas for more contrast control, and then another layer to add a little noise to replicate the look of IR.
Yours in Creative Photography, Bob
** Use CODE COATES to get $10 off if you decide to buy Skylum software such as Luminar and Aurora HDR software.

by successfulbob | landscape photography, LumixGH5, photography, photography software
Desert Cactus – Working Files to Completion
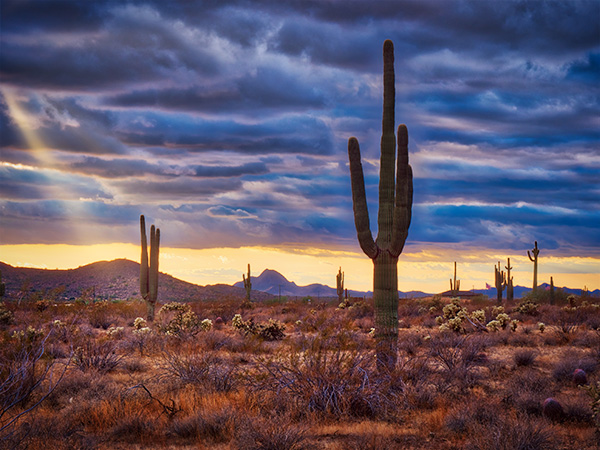
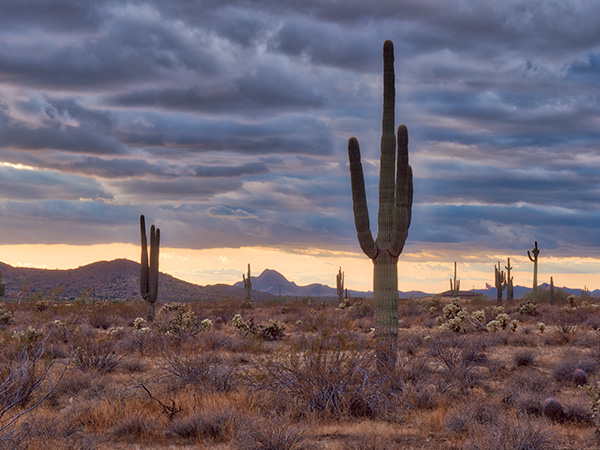
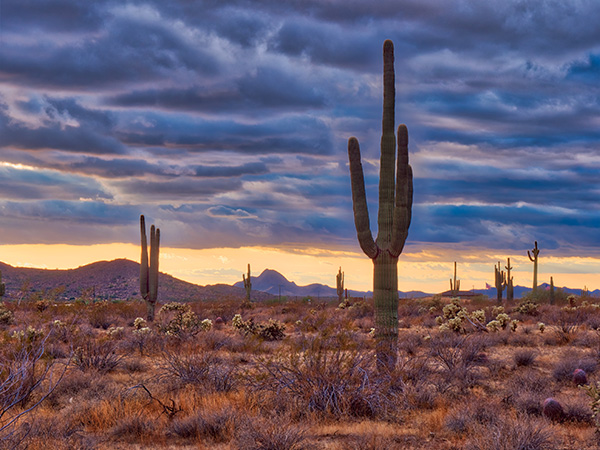
As I wasn’t having a ton of luck getting images from the driveway due to mobility issues I decided to go back into my archives and see if there were any images which I hadn’t processed. I found this desert cactus on a side road in Phoenix. A saguaro cactus is an iconic object screaming “DESERT!” in my mind. Last January as I was heading out of town for a speaking engagement I was watching this scene develop and pulled to the side of the road to explore possibilities.
 Here is the original five stop bracket. It was a bit overcast, so I probably could have made three exposures and been OK, but I like to err on the side of caution to have more information rather than coming up short.
These five images were fed into Aurora HDR 2018 **. I’ve found Aurora to be a solid performer in creating natural looking HDR images without much ghosting or obvious ‘HDR LOOK’ for images that become overcooked.
 Without too much fiddling in the Aurora program the image has a full range of tones with just the slightest halo around the main cactus in the foreground in the sky.
 With a small amount of dodging and burning and a Curves ayer cleaned the image up nicely. I often use a Photoshop Layer in Soft Light Mode to Dodge and Burn. Painting with black will darken and painting with white will lighten. I use my brushes at a very low opacity and build up or knock down density to avoid seeing the brush strokes.
 Here’s the final image after a stop in Luminar 2018** for some finishing touches and enhancements.
I hope some of these steps will give you some ideas for processing your images. If you have any questions or would like me to address a particular type of image processing, let me know.
Yours in Creative Photography, Bob
** Use Coupon Code – COATES – to receive $10 off on the software programs

by successfulbob | cityscape photography, landscape photography, panorama, photography, photography competition
Professional Photographers of America
Southwest District Competition – Photographic Open Results
Professional Photographers of America supports photographic education in many ways. One of those is through the Merit and Degree program. Two of the degrees are image based on that you need to earn thirteen Merits plus another twelve Merits for service or education in the industry.
On the way to International Photographic Competition (IPC) is a proving ground called the Districts. The country is divided into five different Districts of which I am a member of the Southwest District. They recently completed the judging, and I earned Merits for all eight of my entries. Additionally, I received an automatic Loan Collection image for scoring 95 or above. Another image will be judged for Loan when IPC commences August 5th through 8th at Gwinett Technical School just outside Atlanta in Georgia.
I’ll share my images here except for one that will be judged for Loan Collection as the judges are not to have access to any unjuged photos.
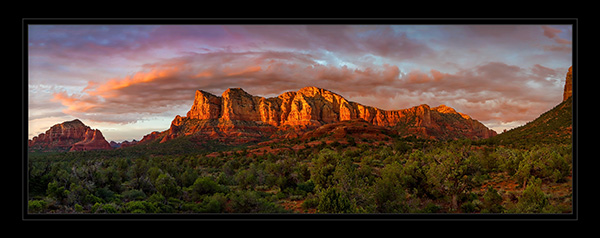
 ‘Days End’ – A spectacular sunset on the red rocks in Sedona viewed from Hwy 179.
A slightly different version of this image is available for sale through the Gallery of Modern Masters in the Hillside Shopping area. Day’s End will be automatically accepted into the PPA Loan Collection at the final judging in August because it scored above a 95.
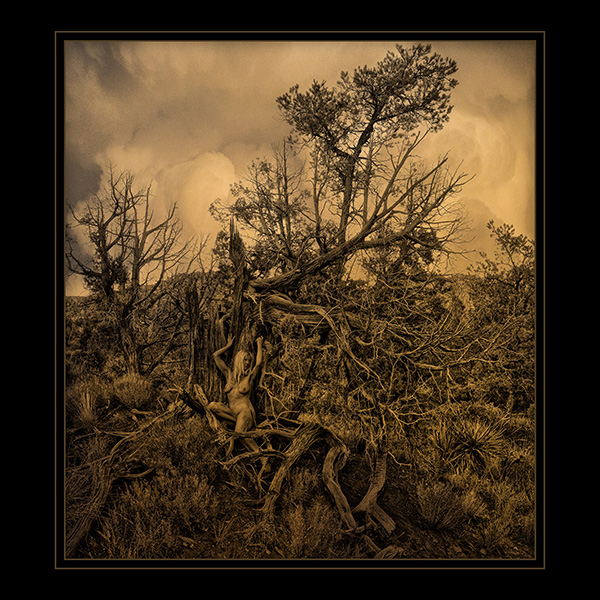
 A capture of my Muse Pash Galbavy who is an incredible artist who is in love with nature. She is a life model, mask maker, performance artist and so much more. Other images from this series with Pash are also available through Gallery of Modern Masters. This image earned a Merit score
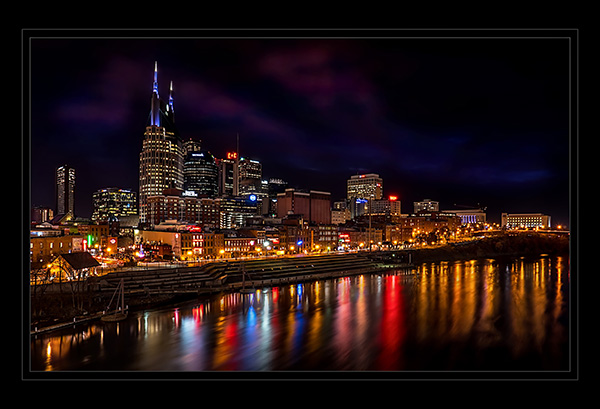
 While in Nashville at last year’s PPA convention I hoofed it out to the bridge to capture a night shot of the skyline along the river. This image also earned a Merit score.
 This image will represent the Non-Event album which scored a 92. I can’t share the images from this until after judging for the Loan Collection in August. It scored second place in the category.
These are the Photographic Open Category images. In the next couple days, I’ll share my Artist entries with you.
Yours in Creative Photography, Bob

 Path down to Bell Rock in Sedona made with FZ2500
 Courthouse Butte – Images processed with Adobe Photoshop and Skylum’s Luminar 2018 **
 A stronger rendition of the top photo with a square crop.
