by successfulbob | architectural photography, black & white, fine art photography, Lumix GX7, photography, photography education
Camera presets.
Never used them with any success before getting into the micro 4/3rds system with Panasonic Lumix cameras. I’m out on holiday in Santa Fe, New Mexico and putting the Lumix GX7 through it’s paces. One of my favorite presets is Illustrative Art. But, with a tweak. Turning it to black and white. It leads to a high contrast image with a bit of a glow on the highest contrast areas. Here take a look at these images…
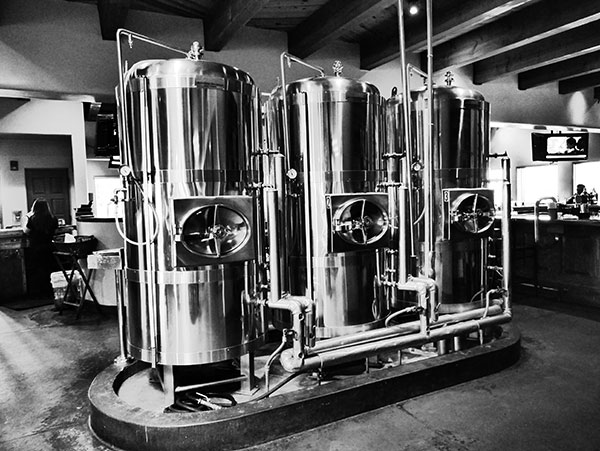
Copper tanks at the Blue Corn Cafe & Brewery Restaurant in Santa Fe, New Mexico
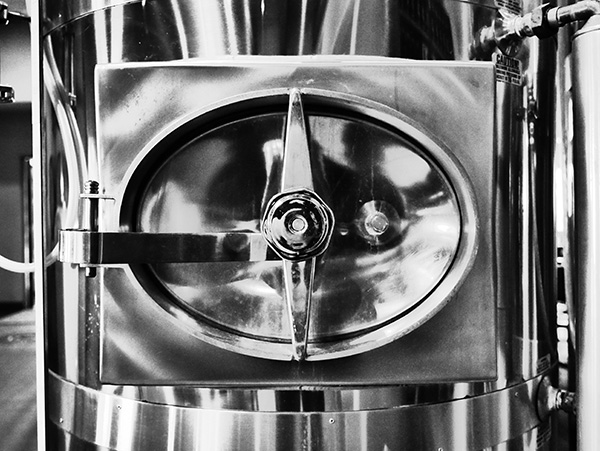
Copper tank handle detail. Love the shape and form that comes forward using this technique.
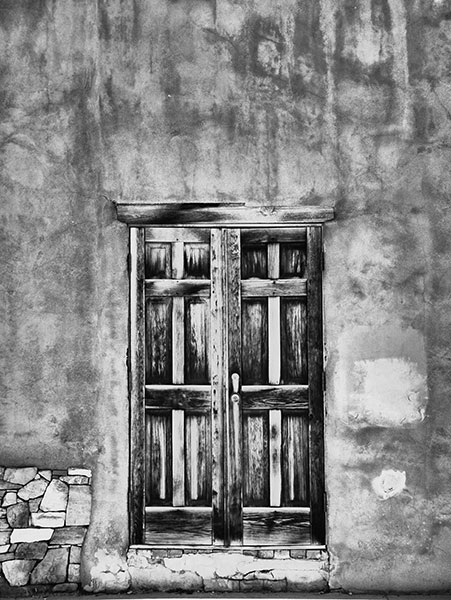
Downtown Santa Fe door and wall with wall. Textures galore!
One thing to remember when using in-camera presets is to save images as a jpeg. I usually shoot in RAW plus jpeg so I can have the best of both worlds. If you only save in RAW you will see the processed black and white image on the back of your camera and upon download momentarily on your computer as the viewing jpeg info is stripped away leaving you only the RAW information.
Travel is a great way to get the creative juices flowing… When and where is your next road trip?
Yours in Creative Photography, Bob
by successfulbob | architectural photography, black & white, fine art photography, landscape photography, Lumix GH3, Lumix GX7, Lumix Lounge, panorama, people photography, photography, photography education
I compete to stretch my photography skill set in order to keep growing and to get some feedback from my peers on how my work is stacking up.
This year I received a more than pleasant surprise as my most successful ever in imaging competition at Professional Photographers of America International Photographic Competition. I will be awarded the Diamond Photographer of the Year for my Master Artist entries and The Silver Photographer of the Year for my entries in the Photographic Open case.
I also inadvertently answered another question that comes my way from fellow photographers when referencing the Lumix line of Micro 4/3rds mirrorless cameras… Is the chip big enough? Is there enough quality to use this camera for professional work? The answer is a resounding, “You betcha!”.
I entered eight images overall. Seven were captured with various Lumix cameras. Five images were accepted into the PPA’s prestigious Loan Collection. Variety was the watchword with the entries including a portrait, art images, architecture and a scenic.
Here are the images from the Master Artist case in which judges are looking for the skills involved in post production. Guide images are used to show some of the process going from RAW capture to finished product. These images earned the Platinum Photographer of the Year designation which will be awarded in Nashville at the PPA convention.

‘Horn in F’ original image captured with Lumix GH2. Textures with Lumix GH2 & Lumix GH3.
Used my ‘Step & Repeat” Photoshop action to make multiple copies of the French Horn. Images were copied, rotated and multiple texture layers in various blend modes were used to complete the art.

‘Musical instruments Museum’ original image captured with Lumix GH2. See above description for technique.

‘Nautilus’ original captured with the Lumix GX7. The blossom was isolated and
copied, resized and manipulated multiple times to create the Nautilus shape.
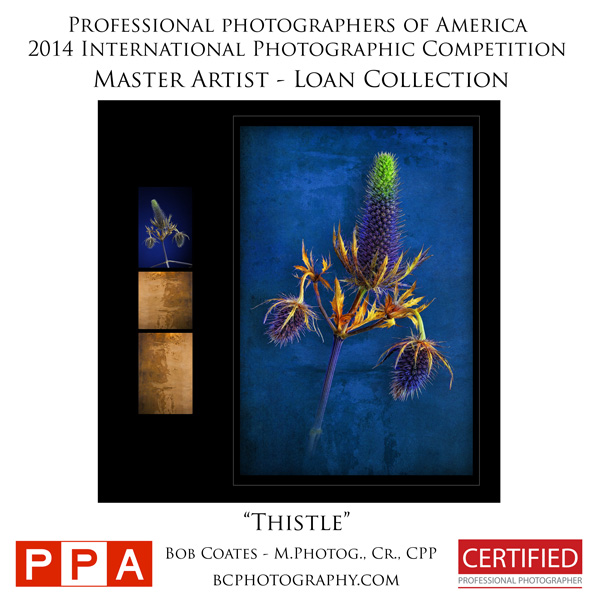
‘Thistle’ image captured with 5D Mark II using Helicon focus and focus stacking then worked with textures and color.
Here are the Four images submitted in the Photographic Open category. Three were accepted into PPA’s General Collection with one image admitted into the Loan Collection leading to the Platinum Photographer of of the Year Award which will be given at the PPA annual convention in February. If you a not already a PPA member it’s a great idea. If you join you can go to the convention for free in Nashville next year.

‘Rooftop View’ captured with Panasonic Lumix GH2. NIK Color FX Pro was used along with textures, blend modes and layer masks.

‘Sedona, Arizona Panorama’ Captured with Lumix GH3. Multiple images stitched together in AutoPano Pro then some NIK Color FX Pro to enhance the depth and dimension.

‘Still the One’ Captured with Lumix GH3. Converted to sepia tone with partial spot color mask for the flag.

‘Santa Fe Street Portrait’ Captured with Lumix GX7 a great street camera with a very low profile and lots of features I really enjoy. It’s my favorite “With Me” Camera. Converted to Black and white using NIK Silver Effects Pro 2.
When I first started working with the Micro 4/3rds format I was a little concerned about sensor size but as the new Panasonic cameras and pro glass were introduced I was able to put those fears aside and now I’m exclusively using the format for all my commercial and fine art work including architecture, product, portraits, fine art imagery and more. Is this the be all and end all format for every photographer and every need?? No, of course not! I’ve found it fits my working style and as long as my customers and I are pleased with the final results that’s what matters.
Questions? Give me a shout.
Yours in Creative Photography, Bob
PS Just in case you haven’t read my disclaimer section I am a Panasonic Lumix Luminary and I travel around the country teaching photography with them as my sponsor. If you would like me to come teach at your photography organization get in touch my contact info is at the top of the page.
by successfulbob | black & white, Lumix GH4, photography education
I was asked the question how do you a black and white image conversion. To steal a quote from Willy Shakespeare, “Let me count the ways…”
That’s kind of like asking ‘What film do you use?’ Or, ‘What are the settings on your camera?’ I use multiple methods depending upon the image and ultimate use of the image. Is it for a fine art landscape? Portrait of a person? Architecture? What are the different colors within the image? Is it being printed on canvas, photo paper, in a magazine or newspaper” All have a different feel and needs… We can now touch every single pixel in an image and control it’s tone Ansel Adams would have been in heaven!
I have an action that incorporates using the LAB mode. Covert to LAB throw away the A and B Channels. (that’s color info) convert to Greyscale. Convert back to RGB. Add a curves bump to taste.
Black and white converter in Photoshop.
Channel mixer.
Hue saturation.
NIK Silver FX Pro 2. Wonderful software!
Combinations of some of the above methods mixed together for different areas of the image.
Now my Lumix mirrorless cameras have presets that give me results that are repeatable and quite interesting. I shoot RAW plus jpeg to have the information that was presented to the camera and sometimes I will take the camera BW jpeg and also process the RAW and mix them together to get the look I want.
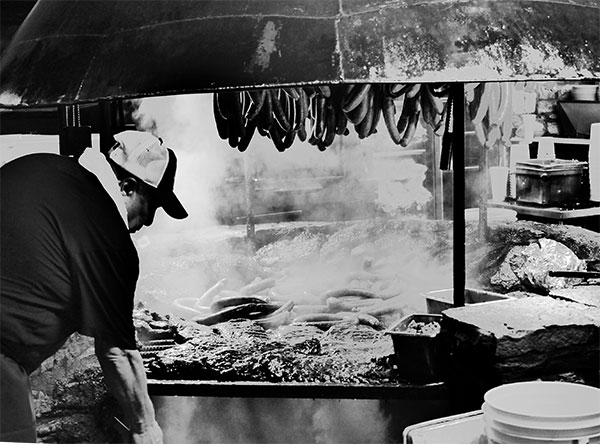 In Austin Texas with the Luminary team. Went to a BBQ place last night. Illustrative Art setting
pushed to black and white on the Lumix GH4
Don’t forget there are more tweaks that can be made to specific areas of an image by dodging and burning. (avoid using the dodge/burn tool in Photoshop! It mashes up pixels. Instead create a soft light layer and paint with black at a low percentage to burn. Another layer paint with white to dodge)
Their could be a whole field of study here just on this subject. I have a two hour program talking about this and could probably do a two day class on this subject called ‘Inspired by Ansel’
Here is a link to some blog posts on black and white shooting. https://chd.lzi.mybluehost.me/category/photography/black-white
by successfulbob | architectural photography, black & white, Lumix GX7, Lumix Lounge, photography education
Sometimes it takes more than one image to tell a story… So here are three that speak of an unusual intersection in Chicago during a photo walk at the Out of Chicago Conference…
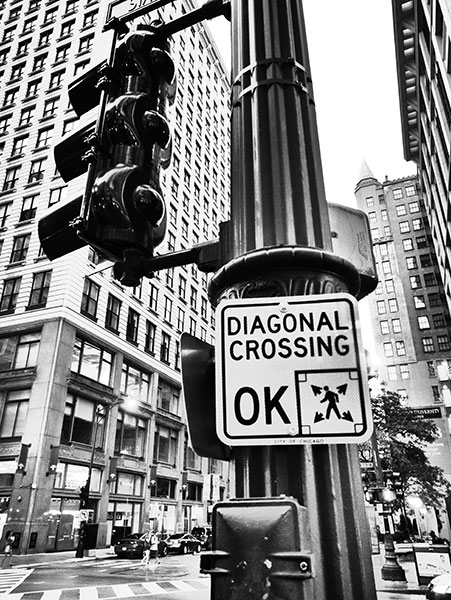 A strong dark slight diagonal of the signal pole with signage shouts the beginning the story.
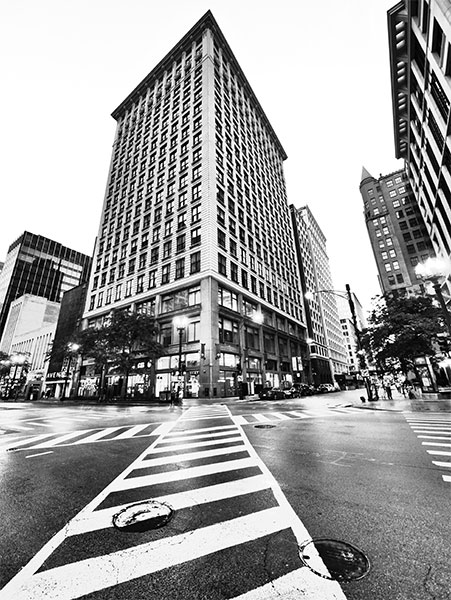 The crosswalk with with strong leading lines to a possible destination across the way… Lots of shapes and line to wander around in the image.
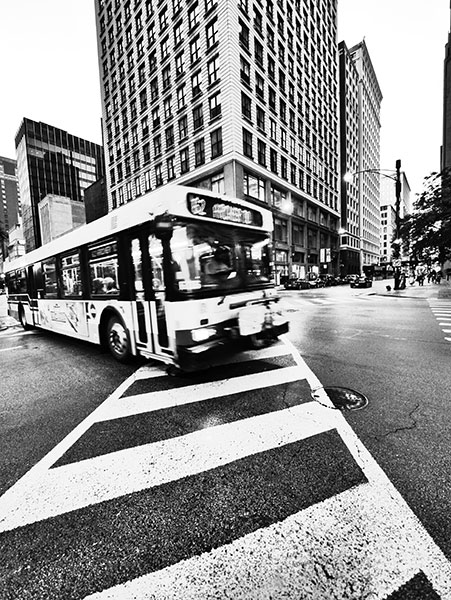 And the reason you might want to be sure to wait for the signal!
Images created with the Lumix GX7 and 12-35mm f2.8 Vario lens. Exposure 14mm f4 ISO 3200 1/50th sec. Camera set to Illustrative Art Mode pushed to black and white.
Think about creating stories in series with your image making… I could see these photos presented as a triptych.
Yours in Photography, Bob
by successfulbob | architectural photography, black & white, Lumix GX7, Lumix Lounge, photography education
Now this is Graffiti I can get into….
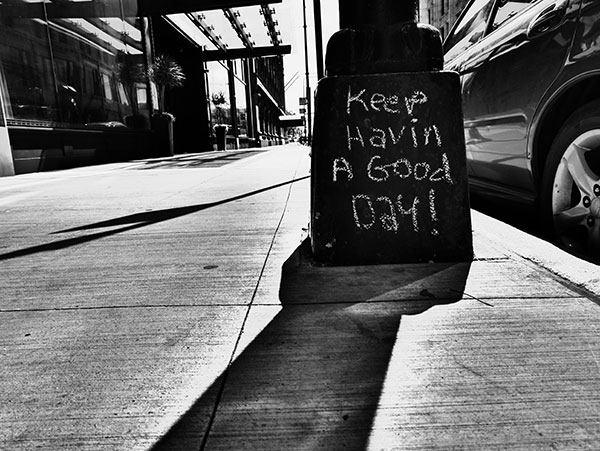 Keep havin a good day! Image made with Lumix GX7 and 12-35mm f2.8 Lumix Vario lens.
Impressive Art setting pushed to black and white to get the graphic feel.
Found this on my wanderings around Chicago after the Out of Chicago Conference this past week while working my way through the streets toward the Art Institute of Chicago.
I can only wish you the sentiment expressed on the streetlight. What could be better? “Happy 4th of July!!
Yours in Photography, Bob
by successfulbob | architectural photography, black & white, Lumix GX7, Lumix Lounge, photography education, photography seminar
While roaming the streets of Chicago during the Out of Chicago conference I was led to a place to capture a ‘Batman’ image. One of the organizers was on our photo walk and had found this great spot to play with the architecture and come up with this…
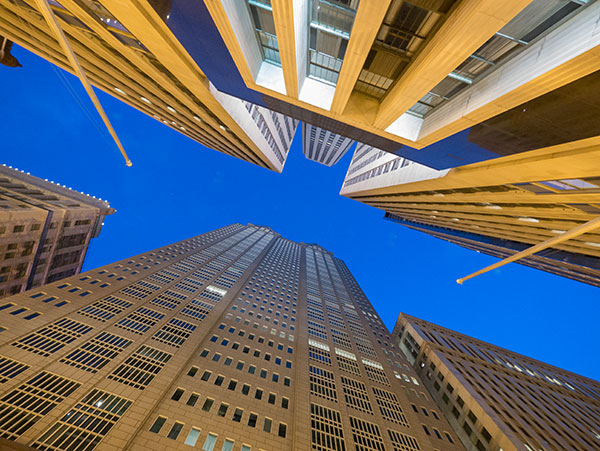 Check out the blue sky for the batman logo formed by the buildings.
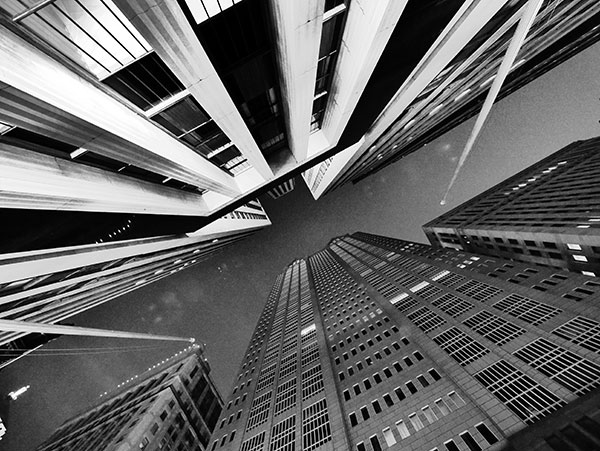 Had to experiment for a different look.
Using the Lumix GX7 with the 7-14 f4 Aspherical Vario lens (a sweet and sharp lens with no distortion) in Illustrative Art mode set to Black & White and under-exposed by about a stop led to this more graphic rendition on the same scene. Totally different feel don’t you think? Don’t be afraid to get in there and play with the camera presets, especially since you can tweak them Remember to shoot in RAW plus jpeg so you get the arty image as a jpeg but also get all the information present at the time of capture so you can tweak away in post for a totally different look.
How do you find it? Just go down the streets looking up everywhere you go – you’ll eventually find it! Actually you can head out on a photo tour with Teresa Peek of Tour Through a Lens. She was the one who hooked us up with this spot giving very specific instructions on where to stand and what to look for. I promised I wouldn’t tell so you can wander around looking for it on your own or check out her photo tours.
Yours in Photography, Bob


